How to Install Laminate Flooring Around Radiator Pipes
The 1/8 inch that ruins everything
Most guys skip the leveling compound. They think the underlayment will hide the dip. It won’t. I spent three days grinding concrete on a job last month just so the floor wouldn’t click like a castanet. That experience taught me that the physics of a floor are unforgiving. When you are dealing with laminate flooring, you are working with a product that is essentially compressed sawdust and resin. It wants to move. It needs to move. If you do not give it the space to breathe, especially around a heat source like a radiator pipe, it will fail. A floor is a machine. It has moving parts. Those parts are the individual planks that expand and contract with the seasons. If you lock those planks against a copper pipe, you are inviting a buckle that will ruin your entire install. You have to think like an engineer, not just a guy with a saw. The subfloor is your foundation. If it is not flat within 1/8 inch over a 10 foot span, your laminate joints will eventually snap under the pressure of foot traffic. This is the reality of floor leveling that most DIY videos ignore because it is hard work and it smells like wet rock.
Why your subfloor is lying to you
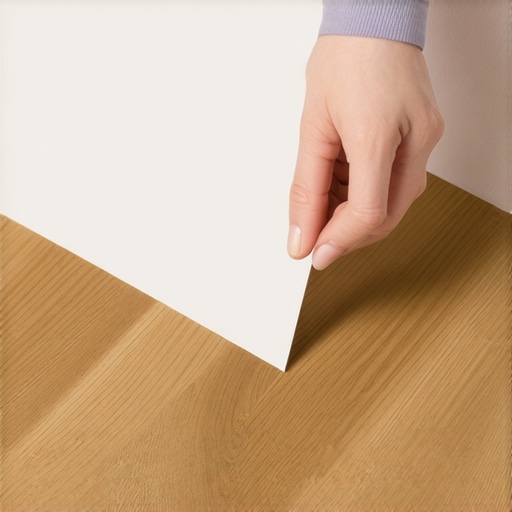
Floor leveling requires a microscopic understanding of the slab or wood deck to ensure that laminate planks remain structurally sound around radiator pipes. You cannot trust your eyes when it comes to levelness. You need a 10 foot straightedge. Any dip deeper than a nickel is a potential failure point. In the context of a radiator pipe, the floor must be perfectly flat so the plank can slide freely during expansion. If there is a dip near the pipe, the plank will tilt. When the plank tilts, the hole you cut for the pipe will bind against the metal. This binding creates a pivot point. Every time someone walks across the room, that pipe acts as a lever, prying the laminate joints apart. You might think a heavy underlayment will fix this. It will not. In fact, too much cushion is a disaster. While most people want the thickest underlayment, too much cushion actually causes the locking mechanisms on laminate to snap under pressure because the floor deflects too much. You want a high density underlayment that provides support, not a sponge. This is the difference between a floor that lasts twenty years and one that fails in two.
“A floor is only as good as the subfloor beneath it; deflection is the enemy of every joint.” – Master Flooring Axiom
The physics of heat and laminate movement
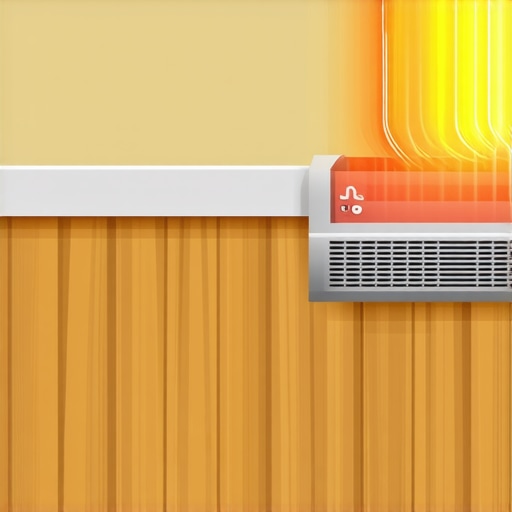
Radiator pipes introduce localized thermal expansion that can cause laminate flooring to buckle if the expansion gap is insufficient. Laminate is sensitive to temperature and humidity. The core of the plank is High Density Fiberboard. This material is hygroscopic. It absorbs moisture from the air. When the radiator turns on in the winter, the air around the pipe dries out, but the pipe itself gets hot. This creates a micro-climate in that specific corner of the room. The heat causes the resin in the laminate to soften slightly while the dry air pulls moisture out of the wood fibers. This causes the plank to shrink or expand at a different rate than the rest of the floor. If you haven’t left a minimum 10 millimeter gap around that pipe, the plank will eventually press against the hot metal. This can cause the decorative wear layer to delaminate or the core to warp. You must maintain the integrity of the floating floor system. It must be able to shift as a single unit without snagging on obstacles. This is why we never nail or glue laminate to the subfloor. It is a living, moving entity.
Measuring the pipe diameter with mechanical accuracy
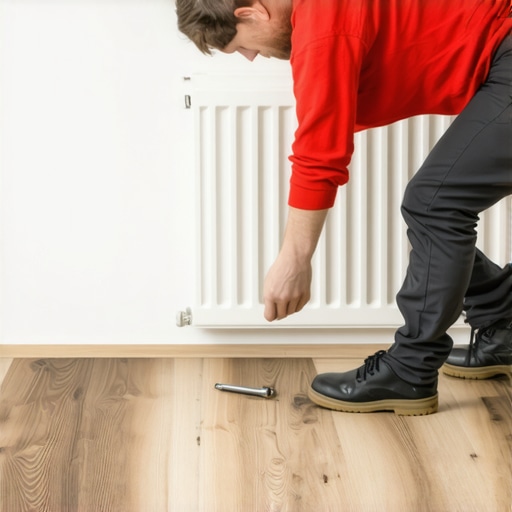
Accurate measurement of the radiator pipe location involves calculating both the pipe diameter and the necessary expansion buffer for a seamless look. You don’t just guess where the hole goes. You measure from the wall to the center of the pipe. Then you measure from the last installed plank to the center of the pipe. Mark these coordinates on your plank. But here is the secret. You don’t drill a hole the size of the pipe. You drill a hole that is at least 1/2 inch larger than the pipe. If the pipe is 3/4 inch, you use a 1 1/4 inch spade bit or hole saw. This allows for the required expansion gap on all sides. I have seen countless installs where the guy used a bit that was the exact size of the pipe. By mid-August, the floor had pushed so hard against those pipes that the planks were peaking three inches off the subfloor in the middle of the room. It looked like a mountain range. Use a sharp bit. A dull bit will chatter and chip the melamine wear layer, leaving a jagged edge that looks like a beaver chewed it. Clean cuts are the mark of a professional. You want a crisp circle that will be covered by a radiator flange or a bit of matching caulk.
| Subfloor Material | Max Moisture Content | Leveling Requirement | Acclimation Time |
|---|---|---|---|
| Concrete Slab | 3 percent | 1/8 inch per 10 feet | 72 hours |
| Plywood Subfloor | 12 percent | 3/16 inch per 10 feet | 48 hours |
| Existing Tile | N/A | 1/8 inch per 10 feet | 48 hours |
Cutting the puzzle piece for the pipe
Cutting the relief path behind the radiator pipe requires a V-cut strategy to ensure the piece can be glued back into place securely. Once you have drilled your hole, you have to get the plank around the pipe. You cannot lift the radiator. It is heavy. It is plumbed with iron or copper. It is not moving. You have to move the floor around it. You take your jigsaw and cut from the hole to the edge of the plank that faces the wall. I prefer a 30 degree beveled cut. This creates more surface area for the glue. Some guys do two straight cuts to take out a small square block, but a single angled cut is cleaner. When you slide the plank into place, the pipe sits in the hole. Then you take the small piece you cut out and glue it back behind the pipe. Use a high quality PVA wood glue. Do not use construction adhesive. Construction adhesive is too thick and will prevent the piece from sitting flush. You want a thin, strong bond. Wipe away any squeeze-out immediately with a damp rag. If the glue dries on the surface, you will never get it off without ruining the finish. This is where your patience is tested. You have to hold that piece for a minute to let the tack set. If the wall is close, you can use a small shim to wedge it into place while it dries.
The adhesive bond and the radiator heat gap
Selecting the correct adhesive for reattaching the cut piece behind a radiator pipe is vital for long-term stability in high-heat zones. The heat from the pipe will degrade cheap glues. You need something that can handle the thermal cycling. When the radiator is screaming at 180 degrees, a low-grade glue will soften and the joint will open up. Then dust and pet hair get in there. It looks terrible. I always recommend a waterproof wood glue because it has a higher heat resistance once cured. This is the same logic we use in showers or kitchens. Even though the laminate itself is not waterproof, the joints need to be protected. After the glue has dried, do not be tempted to fill the gap around the pipe with silicone. While it might look better, silicone can sometimes act as an anchor, restricted the floor’s movement. Instead, use a decorative radiator pipe cover. These are two-piece plastic or wood rings that snap together around the pipe. They hide the expansion gap and the cut line perfectly. They come in finishes that match almost any laminate. This is the professional way to finish the job. It shows you care about the details. It shows you are not a hack.
- Verify subfloor levelness with a 10 foot straightedge
- Acclimate laminate planks in the room for at least 48 hours
- Use a hole saw bit 1/2 inch larger than the pipe diameter
- Apply PVA glue to the relief cut piece behind the pipe
- Install a radiator flange to cover the expansion gap
- Maintain a 10mm perimeter gap around all fixed objects
The ghost in the expansion gap
Expansion gaps act as the safety valve for a laminate floor, preventing structural failure during seasonal humidity shifts. I have heard people complain that the gaps are ugly. They want to push the laminate tight against the baseboard or the pipe. That is a rookie mistake. The gap is the most important part of the install. It is the ghost that haunts the floor. If it is not there, the floor will scream. In a carpet install, you stretch the material to the walls. In tile, you bridge the gap with grout and caulk. But laminate is different. It is a floating system. It is not attached to anything. It sits there, held down only by gravity and its own weight. If you pinch it at a radiator pipe, you are creating a fixed point. A floating floor with a fixed point is no longer a floating floor. It is a stressed membrane. Eventually, that stress has to go somewhere. It will go up. It will result in peaked joints that catch the light and look like garbage. I always tell my apprentices that if they can’t fit their pinky finger in the gap before the trim goes down, it is too tight. You have to respect the material. Laminate is a miracle of modern engineering, but it is still subject to the laws of physics. If you treat it like a static object, it will prove you wrong. Treat it like a moving system, and it will stay beautiful for decades.
“A floor is only as good as the subfloor beneath it; deflection is the enemy of every joint.” – Master Flooring Axiom