The Cardboard Template Trick for Complex Tile Cuts
The Cardboard Template Trick for Complex Tile Cuts and Professional Floor Leveling
Most guys skip the leveling compound. They think the underlayment will hide the dip. It won’t. I spent three days grinding concrete on a job last month just so the floor wouldn’t click like a castanet. That is the reality of the trade. If you do not respect the subfloor, the finish floor will punish you every time you walk across the room. I have seen fifteen thousand dollar wide-plank installs ruined by a two hundred dollar mistake in subfloor preparation. You can have the most expensive Italian porcelain in the world, but if your substrate is not within one eighth of an inch over ten feet, you are just installing expensive rubble. This guide is about the gritty reality of the job site, the smell of oak dust, and the physics of a perfect installation.
The humble cardboard savior of the master bath
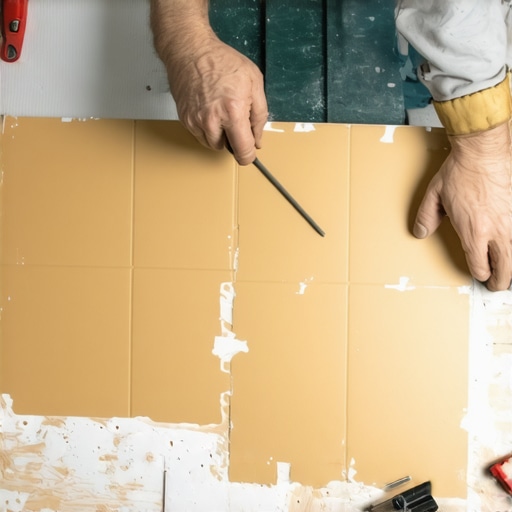
Cardboard templates for tile are essential for mapping complex cuts around toilet flanges, curved shower drains, and intricate door casings. By using thin cereal box cardboard or construction paper, an installer can transfer exact geometries to porcelain or natural stone, ensuring a zero-tolerance fit without wasting expensive materials on trial and error. This method is the gold standard for high-end showers where precision is the only acceptable outcome. You take a piece of rigid but thin cardboard and cut it into strips. You lay these strips around the obstruction, whether it is a pipe or a weird corner. You hot glue or tape the strips together to create a physical negative of the space. Then, you simply lay that frame onto your tile and trace the line with a wax pencil. It is a simple mechanical solution to a geometric nightmare. I have used this on every carpet install transition and laminate layout for two decades. It beats a contour gauge every time because it gives you a rigid reference point that does not shift when you move to the wet saw.
The flat truth about floor leveling
Floor leveling is a structural requirement defined by the TCNA and NWFA to prevent mechanical failure of locking systems or grout cracking. Using a self-leveling underlayment (SLU) allows a contractor to neutralize subfloor deflection and create a planar surface for large format tiles or engineered wood. Gravity is your best tool here, but you have to understand the chemistry. When you mix a bag of leveler, you are dealing with a polymer-modified cementitious product that has a very specific working time. You cannot just dump it and walk away. You need a spiked roller to release the surface tension and get the air bubbles out. If those bubbles stay, they create pinholes that weaken the entire structure. I see people try to skip the primer. That is a death sentence. The dry concrete or plywood will suck the moisture out of the leveler so fast it will not bond. It will just sit there like a giant, brittle cracker waiting to snap. You need to achieve a surface that meets the L/360 deflection limit for tile, meaning the floor should not bend more than the length of the span divided by 360 under its intended load.
“A floor is only as good as the subfloor beneath it; deflection is the enemy of every joint.” – Master Flooring Axiom
Why water always wins in the shower
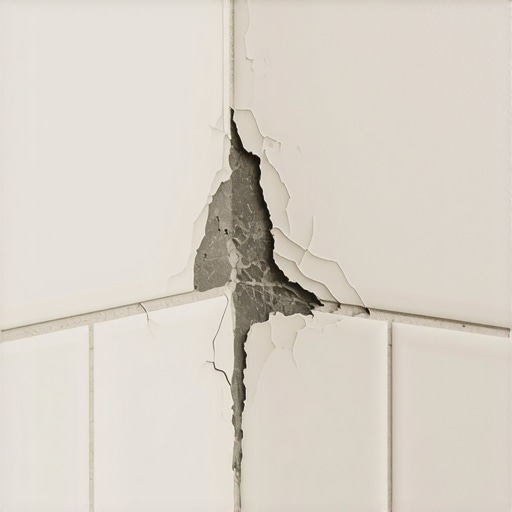
Shower waterproofing requires a bonded membrane or liquid-applied barrier to manage capillary action and hydrostatic pressure within the wet area. Successful showers depend on a pre-sloped mortar bed that directs all moisture migration toward the weep holes in the drain assembly to prevent mold growth. Most people think tile and grout are waterproof. They are wrong. Grout is a sieve. Water goes right through it. The real shower is the membrane underneath. If you do not have a consistent two percent slope toward that drain, water will sit in the mud bed and rot your house from the inside out. I have torn out showers where the 2×4 studs were nothing but black mush because the installer did not understand the physics of a vapor barrier. You need to ensure your transition from the floor to the wall is reinforced with band tape. Every screw hole in the cement board is a potential leak point. It is not about being pretty; it is about being a submarine.
The plastic lie of the laminate click
Laminate flooring and LVP (Luxury Vinyl Plank) require a floating installation with perimeter expansion gaps to accommodate thermal expansion and contraction. Failure to provide a quarter-inch gap at the walls will lead to buckling or joint separation, especially when the relative humidity of the room fluctuates throughout the seasons. Homeowners love the word waterproof, but the locking mechanisms are the weak point. If your floor is not level, every time you step on a plank, it flexes. That flex puts tension on the tongue and groove. Eventually, that thin plastic or HDF lip will shear off. Now you have a floor that gaps and collects dirt. No amount of clicking it back together will fix a broken joint. This is why floor leveling is more important for laminate than it is for almost anything else. You cannot hide a dip with foam underlayment. In fact, if the underlayment is too thick and soft, it actually makes the problem worse by allowing more vertical movement.
| Material Type | Janka Hardness / Mil Wear | Acclimation Time | Max Subfloor Variation |
|---|---|---|---|
| Solid White Oak | 1360 Janka | 7 to 14 Days | 1/8 inch in 10 feet |
| Engineered Maple | 1450 Janka | 3 to 5 Days | 3/16 inch in 10 feet |
| Luxury Vinyl (LVP) | 20 mil wear layer | 48 Hours | 3/16 inch in 10 feet |
| Laminate High End | AC4 Rating | 48 Hours | 1/8 inch in 10 feet |
The chemistry of the modified thin set bond
Modified thin-set mortar utilizes polymer additives to increase tensile strength and shear resistance between the tile body and the substrate. These polymers allow the mortar to deform slightly without losing its mechanical bond, which is vital for large format tile installations over radiant heat systems. When you look at a bag of thin-set, you are looking at a engineered balance of portland cement, graded sand, and water-retention agents. The polymers are usually ethylene-vinyl acetate. When the water evaporates, these polymers form a microscopic web that grips the pores of the tile. If you are installing porcelain, which has a water absorption rate of less than point five percent, you cannot use old-school unmodified mortar. It will not stick. It would be like trying to glue two pieces of glass together with mud. You need those polymers to create a chemical bridge. I always tell my apprentices to mix the mortar until it has the consistency of peanut butter. If it is too runny, the tile will slump. If it is too dry, it will skin over and you will get zero coverage. I always pull up a tile after setting it to check the back. If I do not see one hundred percent coverage in a wet area, I start over.
Carpet install failures that start in the corners
A professional carpet install hinges on power stretching the backing to a specific tension percentage to prevent rippling and premature wear. Using a knee kicker for the whole room is a sign of a hack installer; only a power stretcher can ensure the primary and secondary backings are properly seated on the tack strips. You see those ripples in old carpet? That is because the guy was lazy. He did not use the poles to stretch it wall to wall. Carpet is a textile. It moves. If you do not tension it properly, the latex bond in the backing will eventually break down as the carpet shifts under foot traffic. And do not get me started on the pad. People buy the cheap rebond pad to save money. The pad is the shock absorber. A cheap pad will collapse in the high traffic lanes within two years, and then your expensive carpet is rubbing directly against the subfloor. That is how you get bald spots. You need a high-density memory foam or a heavy rubber pad if you want the carpet to last twenty years instead of five.
- Check subfloor moisture with a pin-type meter for wood or a calcium chloride test for concrete.
- Ensure the substrate is free of paint, oil, and wax before applying adhesives or levelers.
- Vacuum the floor three times before any glue-down or thin-set application to remove micro-dust.
- Undercut door jambs with a flush-cut saw rather than trying to scribe the flooring around them.
- Use a transition strip at every doorway to allow for independent movement of different rooms.
- Always maintain a sixty-five to seventy-five degree temperature during the installation and curing phase.
The expansion gap mystery
The expansion gap is the most misunderstood aspect of structural flooring, serving as a pressure relief valve for organic and inorganic materials. Without this perimeter space, a floor will telescope its joints or peak at the seams because it has no lateral room to move during seasonal humidity changes. I have walked into jobs where the baseboards were tight against the hardwood. The floor had expanded so much in the summer that it actually pushed the drywall out. Think about the physics. A thousand square feet of oak can move as much as half an inch across the grain. If that movement is restricted by a wall or a kitchen island, the force has to go somewhere. It goes up. That is how you get crowning and cupping. You have to leave that gap. Hide it with your baseboard or shoe molding, but never fill it with caulk or grout. It needs to be empty air. That gap is the difference between a floor that lasts a century and one that fails in a season.
“A floor that cannot breathe is a floor that is destined to buckle.” – National Wood Flooring Association Standard