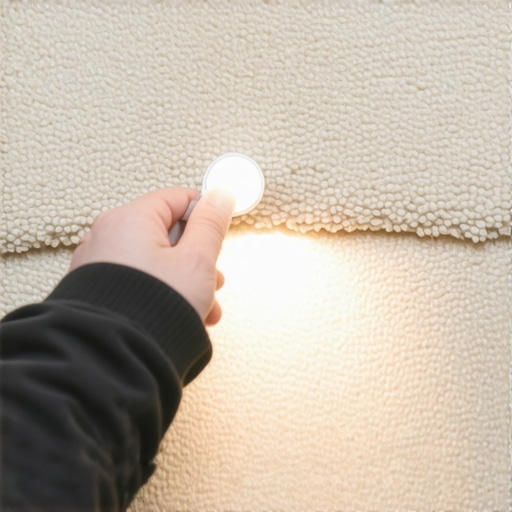
The ‘Flashlight’ Check for Carpet Seam Quality
I spent three days grinding concrete on a job last month just so the floor wouldn’t click like a castanet. Most guys skip the leveling compound because they think the underlayment will hide the dip. It won’t. I stood there in the gray dust, the smell of WD-40 and pulverized Portland cement heavy in the air, watching the laser level reveal a half inch drop that the previous installer ignored. That ignorance is why floors fail. When I walk onto a job site, I do not look at the color of the carpet or the grain of the wood first. I look at the light. Specifically, I look at how the light hits the floor at a low angle. If a seam is going to fail, if a subfloor is uneven, the light will find it long before your feet do. This is the reality of the trade. You are fighting physics every single day. One mistake in the prep work means a callback in six months. I do not do callbacks. I do the job right the first time because my knees cannot handle doing the same room twice.
The light that never lies
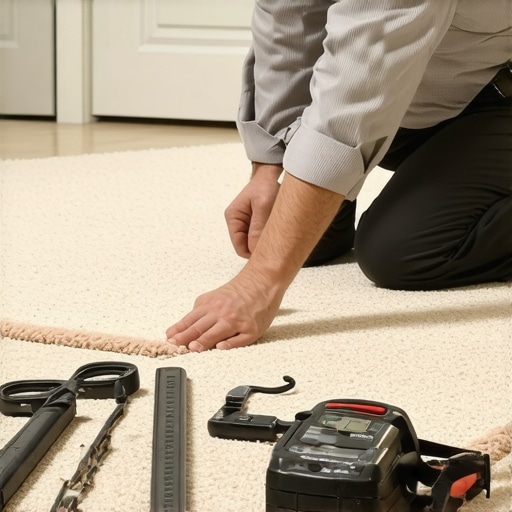
The flashlight check for carpet seam quality involves placing a high lumen light source directly on the floor surface to cast long shadows across the pile. This identifies peaks, valleys, and gaps in the seam that are invisible from a standing position. It reveals improper pile direction and poor tape adhesion. If you want to know if your carpet installer actually knew how to handle a seaming iron, turn off the overhead lights. Lay a heavy duty flashlight flat on the carpet, perpendicular to the seam. If you see a line of shadow, the seam is peaked. If you see a dark valley, the edges were not buttered or sealed correctly. A perfect seam should be nearly invisible even under this harsh, directional scrutiny. Most homeowners never think to do this. They wait until the sun hits the floor at 4 PM in July, see a giant ridge running across their living room, and then wonder why their expensive floor looks like a topographical map of the Andes. The flashlight check is the ultimate auditor of craft. It exposes the laziness of the installer who didn’t want to use a seam roller or who moved the iron too fast, leaving the hot melt adhesive partially cured and brittle. Use the light. The light does not have an opinion, and it cannot be bribed with a cup of coffee.
The subfloor lie that ruins everything
Floor leveling is the process of creating a flat plane within a tolerance of one eighth of an inch over a ten foot radius. It is not about making the floor level with the horizon but making it flat enough for the material to rest without stress. Failure here leads to broken locking tabs and carpet wrinkles. I have seen it a thousand times. A guy thinks he can just throw down some carpet padding and the foam will magically absorb the three quarter inch hump in the middle of the room. It does not work that way. The pad compresses. The carpet stretches. Eventually, that hump becomes a friction point. The backing of the carpet begins to delaminate because it is being flexed every time someone walks over the peak. For hard surfaces like laminate or LVP, the consequences are even faster. If the subfloor is not flat, the tongue and groove joints are under constant vertical shear. They are designed for lateral stability, not for the vertical gymnastics required by a wavy subfloor. I tell my clients that if they are not willing to pay for the self-leveling underlayment, they are not ready for a new floor. We use high flow, calcium aluminate based compounds that can reach three thousand PSI because a floor is only as good as the chemistry beneath it.
“A floor is only as good as the subfloor beneath it; deflection is the enemy of every joint.” – Master Flooring Axiom
The physics of the carpet seam tape
Carpet seam tape functions through the thermal activation of thermoplastic adhesives that penetrate the primary and secondary backings of the carpet. The bond must be achieved at a specific temperature to ensure the long chain polymers in the glue fuse with the synthetic fibers. When you run a seaming iron, you are dealing with a balance of heat and speed. If the iron is too hot, you melt the polypropylene backing of the carpet, creating a permanent structural failure. If it is too cool, the adhesive only sits on the surface of the fibers instead of wicking into the weave. This is where the flashlight check becomes a forensic tool. You can see the heat damage or the lack of penetration in how the pile sits. We look at the molecular bond. The adhesive must wrap around the bundles of face yarn and the warp and weft of the backing. If you are working in a cold house in the middle of winter, that glue is going to set too fast. You have to pre-heat the subfloor or slow down your iron. This is the difference between a mechanic and a hobbyist. A hobbyist just wants it to look good for the photos. A mechanic wants it to last for twenty years of foot traffic and vacuuming.
Why floor leveling is a structural necessity
Modern flooring materials like laminate and vinyl plank require a flat substrate to prevent the hydraulic effect of air being trapped in voids. Without proper leveling, the floor will bounce, leading to an audible clicking sound and eventual structural failure of the wear layer. People think floor leveling is just for tile showers where you need the water to run to the drain. That is a mistake. In a shower, the prep is about waterproof membranes and the pitch of the mud bed. But in a living room, leveling is about the integrity of the locking mechanism. When a floor bounces, it is pumping air and dust through the joints. This is the click you hear when you walk on cheap laminate installs. It is the sound of the floor dying. I use a ten foot straight edge. If I can slide a nickel under that straight edge anywhere in the room, I am not done grinding or pouring. We look for high spots first. Concrete slabs are rarely flat. They have curls at the edges and humps in the center from the way the cream rose during the pour. You have to take a diamond cup wheel to those high spots. It is loud, it is dusty, and it is the only way to get a professional result. After the grinding, we apply a primer. You cannot skip the primer. If you pour leveler on dry concrete, the concrete will suck the moisture out of the leveler so fast that the leveler won’t have time to bond. It will just flake off like old skin.
| Material Type | Max Deviation (10ft) | Acclimation Time | Ideal Humidity |
|---|---|---|---|
| Solid Hardwood | 1/8 inch | 7 to 14 Days | 35-55% |
| Engineered Wood | 3/16 inch | 3 to 5 Days | 30-60% |
| Laminate Plank | 1/8 inch | 48 Hours | 30-50% |
| LVP / SPC | 3/16 inch | 24 Hours | 35-65% |
Moisture and the slow death of laminate
Laminate flooring is composed of a high density fiberboard core that is extremely hygroscopic, meaning it absorbs moisture from the air and the subfloor. Without a proper moisture barrier and acclimation, the core will swell, causing the edges to peak. If you install laminate over a concrete slab without a six mil poly film, you are asking for a disaster. Concrete is a sponge. It holds moisture for years. Even if it looks dry on top, the hydrostatic pressure will push moisture vapor up into the floor. This is why I always use a moisture meter. I don’t care if the house is fifty years old or fifty days old. I check the relative humidity of the slab. If the reading is high, we don’t install. We wait, or we use a moisture mitigation system. This is a resin based coating that seals the pores of the concrete. Most big box stores won’t tell you about this because they want to sell the cheap underlayment. But the cheap underlayment won’t stop the vapor from ruining the fiberboard core. Once that core swells, the floor is ruined. There is no fixing it. You can’t sand it down. You have to rip it out and start over. This is why I have such a bad attitude about builder grade materials. They are designed to fail just after the warranty expires.
The 1/8 inch that ruins everything
Expansion gaps are the mandatory spaces left at the perimeter of a room to allow for the natural expansion and contraction of the flooring material. A missing gap will cause the floor to buckle or the joints to separate as the house shifts. I see it all the time. The installer wants a clean look, so they butt the laminate right up against the baseboard. It looks great for a month. Then the humidity changes. The wood fibers in the laminate expand. Since the floor has nowhere to go, it starts to lift in the middle of the room. It creates a bubble. You walk on it and it feels like a trampoline. That 1/8 inch gap is the difference between a successful install and a total loss. People think they can hide the gap with caulk. Do not use caulk. Caulk hardens. It restricts movement. You use a shoe molding or a baseboard to cover the gap, but the floor underneath must be free to move. It is a floating floor for a reason. It is not attached to the house. It is a separate entity that needs to breathe. This is the same reason why you don’t put heavy kitchen islands on top of floating floors. You lock the floor down in one spot, and when it tries to expand, it pulls the joints apart at the other end of the room.
“Deflection is not just a measurement; it is the silent killer of every tile and plank.” – TCNA Handbook Insight
The mandatory checklist for professional installs
- Verify subfloor flatness using a ten foot straight edge and a laser level.
- Check moisture content of the subfloor and the flooring material with a calibrated meter.
- Acclimate all materials in the room where they will be installed for at least forty eight hours.
- Check the pile direction of the carpet to ensure all pieces run the same way.
- Perform the flashlight test on every seam before the furniture is moved back in.
- Ensure a six mil poly moisture barrier is used over all concrete substrates.
- Leave a minimum quarter inch expansion gap at all vertical obstructions and walls.
The microscopic reality of seam failure
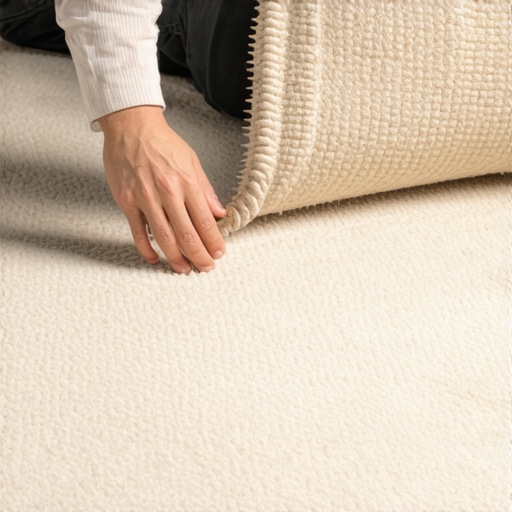
When we look at a carpet seam under magnification, we see the individual filaments of the yarn. In a good seam, those filaments are interlaced so that the eye cannot find the break. In a bad seam, the installer has overlapped the primary backing, creating a ridge, or they have left a gap where the backing is visible. This is where the flashlight comes in. The shadow created by a ridge is different from the shadow created by a gap. A ridge shows a bright line followed by a dark shadow. A gap shows a dark line with no highlight. We also have to consider the lateral stretch. If you don’t use a power stretcher, you are not a professional. A knee kicker is for positioning, not for stretching. If the carpet is not stretched to the manufacturer’s specifications, usually around one to one and a half percent in both directions, the seams will eventually pull apart. The tension on the seam tape must be uniform. If one side of the seam is tighter than the other, the tape will shear over time. This is the physics of the floor. It is about tension, temperature, and topography. If you ignore any of those three, the light will find your mistake.