How to Get Invisible Carpet Seams Using a Proper Heat Iron Technique
The myth of the vanishing carpet joint
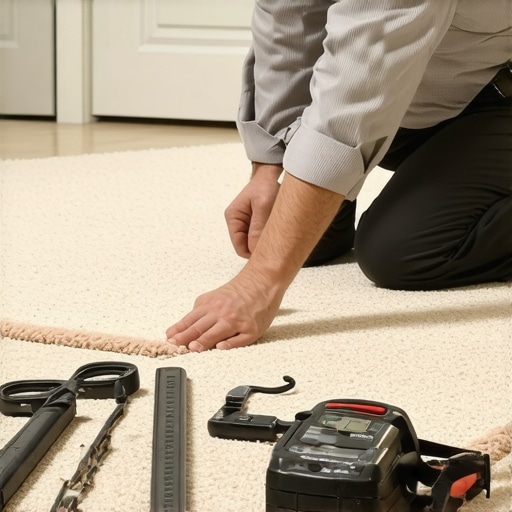
An invisible carpet seam is achieved by matching the pile direction, ensuring perfect row-cutting, and using a heat iron at the correct thermoplastic melting point. Most installers fail because they treat the carpet as a single layer of fabric, but a carpet install is a multi-layered engineering task involving the primary backing, the secondary backing, and the adhesive bond of the seam tape. I once walked into a luxury master suite where a custom-woven wool carpet looked like it had been stitched by a blind carpenter. The installer had used a cheap iron with a fluctuating thermostat, leaving a scorched trail that no amount of grooming could hide. It was an eight-thousand-dollar mistake that started with a twenty-dollar tool. To avoid this, you must understand the molecular behavior of hot melt adhesives and the structural integrity of the subfloor. If you think a carpet install is easier than laying laminate or waterproofing showers, you have never had to stretch a seam across a forty-foot room without it popping. The secret is not in the strength of your arms, but in the precision of the heat transfer through the tape and into the carpet backing. This process requires a floor leveling mindset where every fraction of an inch is accounted for before the iron even touches the tape.
The physics of the thermal bond
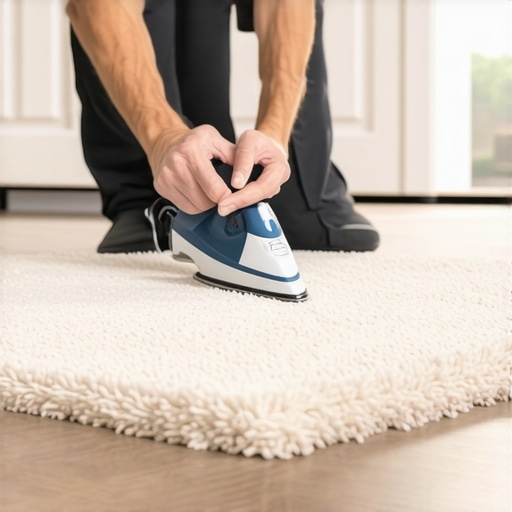
The heat iron works by liquefying thermoplastic resins on the seam tape to create a mechanical bond with the carpet backing. To master this, you must control the dwell time and the temperature setting based on the specific denier and fiber type of the carpet. Most modern irons have settings from one to five, but these are mere suggestions. A professional uses a heat shield and monitors the viscosity of the glue. If the glue is too thin, it wicks into the carpet face fibers, creating a permanent, crusty line. If it is too thick, the seam will be proud, creating a hump that catches light and looks like a scar across the floor. You are looking for a honey-like consistency that stays within the silicone-coated boundaries of the tape. Unlike laminate which relies on a mechanical click, or showers that rely on thin-set and membrane, a carpet seam is a flexible joint that must withstand tensile strength from a power stretcher. This is why floor leveling is vital, as any dip in the subfloor causes the iron to lose contact with the tape, resulting in a cold spot that will eventually split.
“A seam is only as durable as the penetration of the adhesive into the secondary backing; without full saturation, the joint is a structural failure waiting to happen.” – Master Flooring Axiom
Why your subfloor ruins your seams
A level subfloor ensures that the heat iron maintains consistent pressure across the entire length of the carpet seam. When there are humps or dips in the plywood or concrete, the iron will either bridge over the tape or dig into it, leading to uneven adhesive distribution and telegraphed joints. Many installers think floor leveling is only for hard surfaces like laminate or tile in showers. They are wrong. If the subfloor is not flat to within 3/16 of an inch over ten feet, the carpet will bridge over the low spots. When you walk over those spots, the carpet flexes, putting sheer stress on the seam. Eventually, the adhesive bond snaps. I spent three days grinding concrete on a job last month just so the floor wouldn’t click or show a seam line. This prep work is what separates a master from a handyman. You must check for moisture vapor emission as well. High moisture in a concrete slab can re-emulsify the seam adhesive, causing the tape to fail months after the carpet install is complete. Always use a calcium chloride test or an in-situ probe before committing to the layout.
The anatomy of the row cut
The most invisible seams are not cut with a straight edge but are row-cut by following the natural gaps between the tufts of the carpet. You must use a row spreader to find the path of least resistance, ensuring that you do not cut any face fibers, which leads to fraying and visible gaps. If you are working with a berber carpet, row-cutting is the only way to avoid the ‘zipper’ effect where the loops unravel. For plush or saxony carpets, you might need to trace cut, but the principle remains the same. You are trying to mesh two independent textile structures into one. This is far more complex than cutting laminate planks. If you accidentally shear the pile, the light will reflect off the cut ends differently than the natural tips, making the seam glow under LED lighting. This is especially true near showers or large windows where grazing light reveals every imperfection.
“The integrity of the row determines the invisibility of the union; a single sheared fiber is a lighthouse for the eye.” – Master Flooring Axiom
Proper tool calibration and heat settings
| Carpet Type | Iron Setting | Dwell Time (Seconds) | Tape Type |
|---|---|---|---|
| Action Bac (Synthetic) | 3 to 4 | 8 to 10 | Standard 3-inch Premium |
| Jute Backing (Natural) | 4 to 5 | 12 to 15 | High-Bond Wide Tape |
| Soft Yarn (Polyester) | 2 to 3 | 5 to 7 | Low-Melt Specialized Tape |
| Patterned Loop | 3 | 10 | Reinforced Scrim Tape |
The table above shows that polyester fibers are sensitive to high heat and can melt if the dwell time is too long. In contrast, natural jute requires more heat to penetrate the thick fibers. Using the wrong setting during the carpet install will lead to either delamination or fiber melt. Always test the iron on a scrap piece of carpet first. This is the same level of care you would use when checking the plumb of walls for showers or the expansion gaps for laminate floors. A master installer knows that floor leveling and tool calibration are the bookends of a quality job.
The ghost in the seam row
A ghost seam is an optical illusion caused by the tension of the carpet pulling away from the seam tape before the adhesive has fully crystallized. You must use seam weights made of finished wood or heavy steel to hold the carpet in place while it cools. These weights also act as a heat sink, drawing the thermal energy out of the primary backing to set the bond faster. Never use a toolbox or a plastic bucket as a weight. These do not allow moisture vapor to escape and can trap heat, causing the latex in the backing to bubble. The cooling phase is just as important as the heating phase. If you move the power stretcher too close to a warm seam, you will stretch the adhesive itself, thinning the bond and creating a visible dip. This is a common failure in high-traffic areas or near showers where humidity is higher. Patience is the hallmark of the professional. You should be able to walk away from a seam and not find it again without a flashlight and a magnifying glass.
Checklist for a perfect seam
- Verify pile direction across all pieces of carpet.
- Perform floor leveling on all subfloor joints and transitions.
- Use a row spreader to separate tufts before cutting.
- Seal all cut edges with seam sealer or latex adhesive.
- Calibrate heat iron to the specific carpet fiber.
- Use premium seam tape with a high adhesive weight.
- Allow the seam to cool completely before power stretching.
- Groom the face fibers with a carpet tractor or a seam roller.
Each step in this checklist is designed to prevent the structural failure of the joint. Skipping the seam sealer is the most common mistake. Without it, the tufts at the very edge of the cut will eventually fall out, creating a ‘bald’ line along the seam. This is especially problematic in carpet install projects that meet hard surfaces like laminate or the tiled entry of showers. Seam sealer acts like the grout in a tile job, providing that final bit of moisture resistance and mechanical lock. If you follow these steps, the floor leveling you performed will be rewarded with a surface that looks like it was grown in the room rather than assembled in pieces. Professionalism is found in the details that the homeowner never sees, hidden under the wear layer and the cushion.