The ‘Blue Tape’ trick for leveling uneven subfloor joints
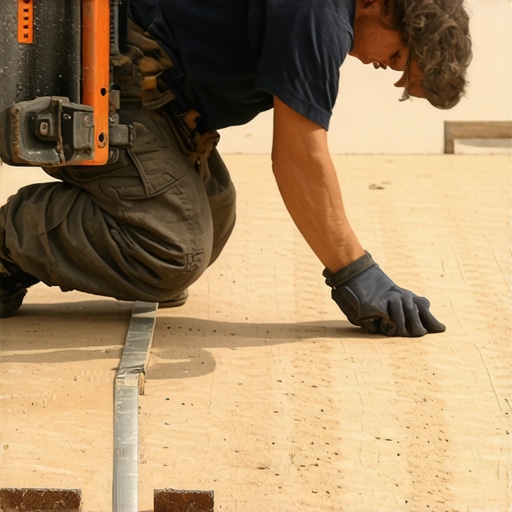
I spent three days grinding concrete on a job last month just so the floor would not click like a castanet. Most guys skip the leveling compound because they think the underlayment will hide the dip. It will not. I have spent twenty five years on my knees with a moisture meter and a level, and I can tell you that a floor is a performance surface, not a decoration. Most homeowners buy expensive wide plank walnut and think it just snaps together like a child’s toy. It does not. If your subfloor has a ridge or a dip, that floor is going to fail. It will not happen today. It will not happen tomorrow. But in six months, you will hear that rhythmic pop every time you walk to the kitchen for coffee. This is the reality of modern flooring installation where physics and chemistry meet the reality of a house that is constantly moving.
The ghost in the expansion gap
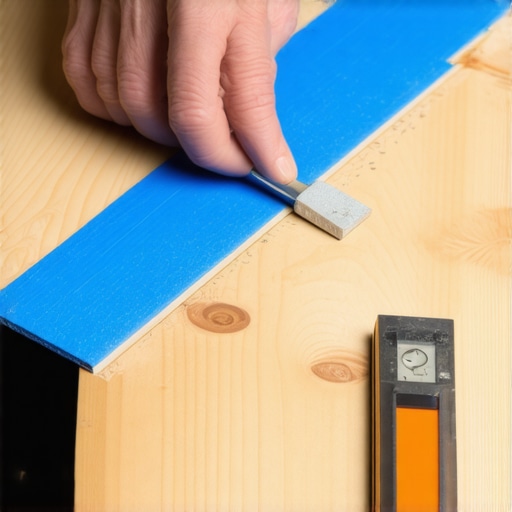
Subfloor leveling requires precision within one eighth inch over ten feet to prevent laminate click lock failure and carpet seam separation. Using blue painter tape for micro shimming addresses height variances at plywood joints without the mess of self leveling compound or the dust of sanding seams. This method creates a structural ramp for the planks. When we talk about the ghost in the expansion gap, we are talking about the air pockets left behind when a plank bridges a valley. That air is the enemy of silence. When you step on a plank that is bridging a gap, the locking mechanism undergoes vertical shear stress. Over thousands of footfalls, the plastic or wood fiber tongue will fatigue and eventually snap. You cannot fix a snapped tongue without ripping up the entire floor back to the wall. This is why the blue tape trick is a life saver for the small, annoying transitions that are too thin for traditional patch.
Why your subfloor is lying to you
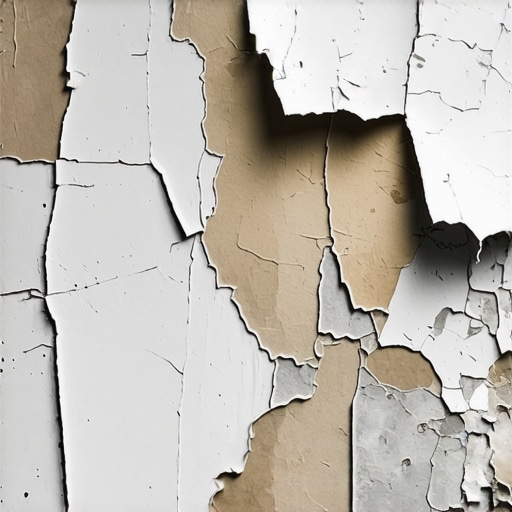
Plywood and OSB subfloors are organic materials that expand and contract based on the relative humidity of the crawlspace or basement below. Even if the floor was flat when the house was framed, it is likely no longer flat after the HVAC system has been running for a year. I have seen subfloors that look like rolling waves because the builder did not leave a gap between the sheets. When those sheets swell, the edges push against each other and lift. This creates a peaked joint. If you try to lay a floating floor over a peaked joint, the floor will teeter like a seesaw. This is where the mechanical reality of the installation becomes a structural engineering challenge. You have to understand the moisture content. If your plywood is at fourteen percent and your hardwood is at six percent, you are looking at a disaster in the making. The wood will move, the joints will open, and the blue tape will be the only thing keeping your sanity intact during the shim process.
“A floor is only as good as the subfloor beneath it; deflection is the enemy of every joint.” – Master Flooring Axiom
The 1/8 inch that ruins everything
Floor flatness tolerances are set by the National Wood Flooring Association to ensure the integrity of the wear layer and the longevity of the adhesive bond. A deviation of more than one eighth of an inch over a ten foot radius will cause audible clicking in laminate and premature wear on carpet pads. We are talking about the thickness of two quarters. If you can slide two quarters under your level, you have a problem. The blue tape trick works because of the consistent thickness of the tape itself. High quality blue tape is approximately five to six mils thick. By layering the tape in a staggered, pyramid fashion, you can create a perfectly graduated ramp that supports the floor. This is not for filling holes. This is for addressing the micro transitions where a sander would take off too much material and a liquid leveler would be too thin to stay stable. It is about the chemistry of the bond. Most people do not realize that thin set and levelers need a certain mass to remain structural. If you feather a leveler down to a paper thin edge, it will often pulverize under the weight of traffic. Tape does not pulverize. It is flexible and resilient.
The chemistry of adhesive failure
Moisture vapor transmission from a concrete slab can dissolve the polymer chains in low quality adhesives and cause LVP planks to cup. When you are working near showers or wet areas, the vapor barrier must be continuous to prevent subfloor rot and mold growth. I have pulled up floors in bathrooms where the installer thought the waterproof vinyl was enough. The vinyl was fine, but the subfloor underneath was a black, slimy mess because the moisture had no way to escape. You have to think about the perm rating of your underlayment. While most people want the thickest underlayment they can find, too much cushion actually causes the locking mechanisms on LVP to snap under pressure. You want a high density, low compression underlayment. Think about it like a shoe. A soft, squishy sole feels good for a minute, but if you are running a marathon, you need support. Your floor is running a marathon every single day.
| Material Type | Max Deviation (10 ft) | Acclimation Time | Ideal Humidity |
|---|---|---|---|
| Solid Hardwood | 1/8 inch | 7 to 14 Days | 35 to 55 percent |
| Engineered Wood | 1/8 inch | 3 to 5 Days | 30 to 60 percent |
| Laminate / LVP | 3/16 inch | 48 Hours | 35 to 65 percent |
| Carpet Install | 1/4 inch | None | N/A |
The blue tape method for micro leveling
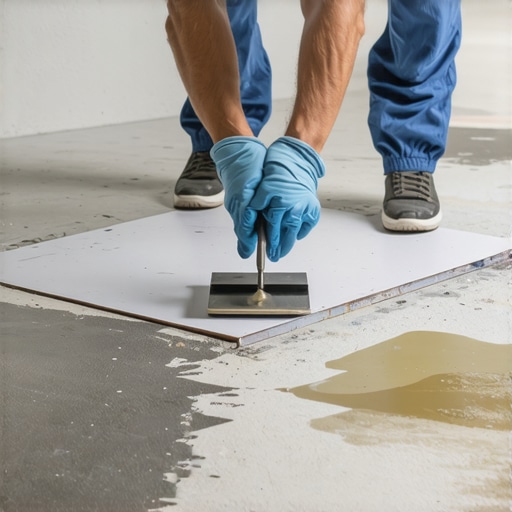
Micro leveling involves using high density tape to build up low spots at the joist lines where the subfloor has settled. This technique is particularly effective for laminate and engineered hardwood where traditional floor patch might crack or flake away over time. To execute this correctly, you need a six foot or ten foot straight edge. You find the valley. You mark the deepest point. Then, you start laying strips of tape. The first strip goes in the deepest part. The next strip is slightly longer, covering the first. You continue this until the level sits flat across the joint. It is a slow, methodical process. It requires patience. But the result is a floor that feels like a solid slab of stone under your feet. This is the difference between a floor that lasts five years and a floor that lasts fifty years. I have seen guys try to use cardboard or roofing felt for this. Those materials compress. Blue tape, when layered correctly, provides a stable, non-compressible shim that mimics the plane of the wood.
The checklist for a silent floor
- Check moisture levels in the subfloor and the flooring material using a calibrated pin meter.
- Clean the subfloor of all drywall mud, paint overspray, and construction debris.
- Identify all high spots by sliding a ten foot straight edge across the entire room.
- Sand down high plywood seams using a belt sander with forty grit sandpaper.
- Apply blue tape shims to any remaining low spots that are less than one sixteenth of an inch deep.
- Vacuum the entire surface twice to ensure no grit remains under the underlayment.
- Verify the expansion gap at every wall and vertical obstruction.
“Wood is a hygroscopic material; it never stops moving, even after it is nailed down.” – NWFA Technical Manual
The physics of sound dampening
Acoustic ratings such as IIC and STC are heavily influenced by the flatness of the subfloor and the density of the underlayment. An unlevel floor creates drum effects where the air gap between the subfloor and the plank amplifies the sound of footsteps. If you have ever lived in an apartment where it sounds like the person upstairs is wearing lead boots, you are likely hearing a floor with poor subfloor prep. The blue tape trick eliminates that air gap. By ensuring the plank is in full contact with the subfloor, the vibration of the footstep is transferred directly into the structure of the house rather than vibrating the air in the gap. This is the structural zooming I talk about. We are managing the physics of sound through the application of a five mil tape. It sounds insane to the average homeowner, but to an architect of floors, it is the only way to work. We are not just laying wood. We are managing energy and vibration.
The regional climate expert perspective
If you are installing in a place with high seasonal shifts, you have to be even more careful. The humidity of the summer will swell those plywood joints, and the dry heat of winter will shrink them. If you do not account for this movement during your subfloor prep, your leveling work will be for nothing. You have to leave that eighth inch gap between your subfloor sheets. You have to use the right fasteners. If the builder used nails instead of screws, you should spend the afternoon driving screws into the joists to stop the squeaks. A squeak is just two pieces of wood rubbing together because they have room to move. If you lock them down with screws and then level the joints with tape, you have a silent foundation. This is the mastery of the craft. It is about knowing what is happening under the surface where no one will ever see it. The blue tape is hidden, but its impact is heard every time a homeowner walks across a silent room. This is the hallmark of a master installer. We do the work that no one sees so that the work everyone sees remains perfect for decades. Skip the shortcuts. Use the tape. Check your levels. Respect the chemistry of the adhesives and the physics of the wood. That is how you build a floor that stands the test of time.