Why Your New Carpet Ripples Near the Windows and How to Stretch It Back
The anatomy of a carpet wave
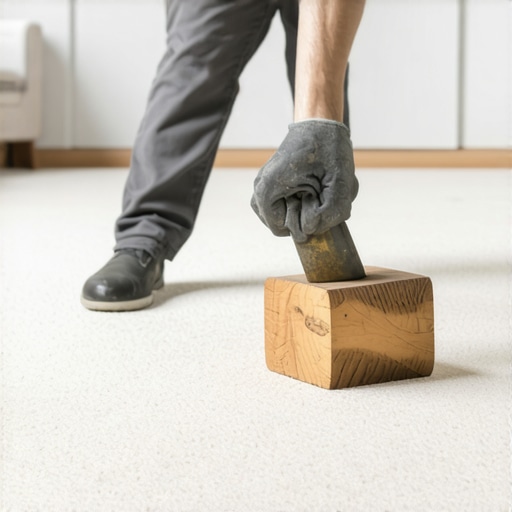
Carpet ripples near windows occur because of localized thermal expansion and the degradation of the latex adhesive holding the primary and secondary backings together. When intense sunlight hits specific fibers, the molecular structure of the synthetic yarn expands while the cooler sections of the room remain static, creating a physical bulge. I have spent twenty-five years on my knees with a moisture meter and a power stretcher. I have seen the same story a thousand times. I once walked into a house where a custom wool install looked like the rolling hills of Kentucky because the installer used a knee kicker instead of a power stretcher. It was a mess. The smell of old latex and oak dust always reminds me of these failures. You cannot just kick a carpet into place and expect it to stay. It requires physics. A carpet is a mechanical system under tension. When that tension is lost, the floor fails. Most guys skip the leveling compound and think the padding will hide the dip. It won’t. I spent three days grinding concrete on a job last month just so the floor wouldn’t click or shift. The same logic applies to carpet. If the subfloor is not flat, the carpet cannot be tensioned correctly. You are fighting a losing battle against gravity and friction from the moment you roll out the padding.
Heat and humidity are the silent killers
Direct sunlight through glass creates a greenhouse effect that spikes the temperature of the carpet fibers and the backing materials beyond their stable operating range. This heat causes the SBR latex adhesive to soften and lose its grip on the secondary backing, leading to permanent structural deformation. High humidity levels in the home further complicate this. Synthetic carpets are mostly plastic. Plastics expand when they get hot. If your carpet install was done in a cool environment and now it is sitting in the afternoon sun, those fibers have nowhere to go but up.
“A floor is only as good as the subfloor beneath it; deflection is the enemy of every joint.” – Master Flooring Axiom
The science of floor leveling is often ignored in carpet discussions. People think leveling is only for showers or laminate. That is a mistake. If the floor has a valley near the window, the carpet will naturally pool there. When the heat hits it, the expansion fills that valley and then pushes upward.
The tragedy of the knee kicker
Using a knee kicker as the primary tool for a carpet install is a violation of industry standards and the leading cause of premature rippling. A knee kicker is designed only for positioning and hooking the carpet onto tack strips, not for providing the required three to five percent stretch. Professional installers must use a power stretcher. This tool uses a long pole system that braces against one wall and pushes a spiked head into the carpet at the opposite wall. It provides thousands of pounds of force. This force pulls the carpet taut across the entire room. If you do not stretch the carpet to the point of mechanical resistance, it will ripple.
| Tool Type | Function | Effective Tensioning |
|---|---|---|
| Knee Kicker | Positioning and hooking | Low |
| Power Stretcher | Structural tensioning | High |
| Stay Nails | Holding stretch | Temporary |
| Tack Strips | Perimeter anchoring | Permanent |
The ghost in the expansion gap
Every floor covering requires an expansion gap or a specific amount of tension to account for environmental changes in the structure. For carpet, this means the backing must be stretched enough that it can absorb the thermal expansion caused by sunlight without losing its flat profile. When I see a carpet rippling by a window, I know the installer was lazy. They did not take the time to set up the power stretcher. They probably did not check the subfloor for moisture either. If the subfloor is damp, the latex in the carpet backing absorbs that moisture and loses its integrity. This is common near showers or in basements.
Why your subfloor is lying to you
Subfloors are rarely flat and their imperfections are amplified by the way light hits a floor near a window. A minor dip of one eighth of an inch can cause the carpet to lose its grip on the padding, creating a pocket where air and heat can gather. This is why floor leveling is essential even for soft surfaces. I use a straight edge on every job. If I see a gap, I fill it. If I see a hump, I grind it. This is the difference between a floor that lasts thirty years and one that fails in three.
- Check the subfloor with a ten foot straight edge.
- Apply high quality floor leveling compound to all low spots.
- Ensure the room is acclimated to seventy degrees Fahrenheit for forty eight hours.
- Use a power stretcher on every wall to wall installation.
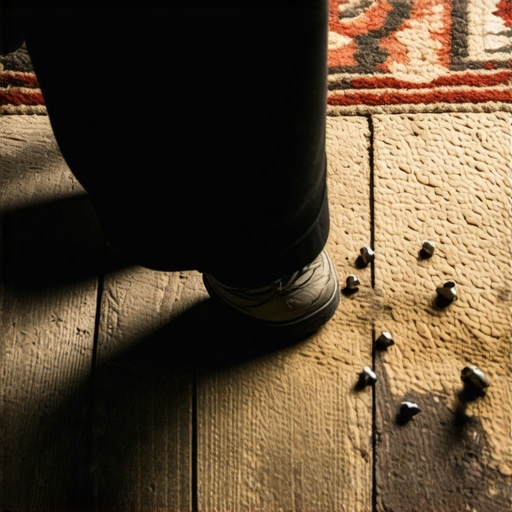
- Secure tack strips exactly one quarter inch from the baseboard.
The one eighth inch that ruins everything
The distance between the tack strip and the wall is the most overlooked measurement in a carpet install. If this gap is too wide, the carpet will not tuck properly; if it is too narrow, the carpet will not catch the pins of the strip. Most installers just eyeball it. I use a spacer. This precision ensures that when I apply the power stretcher, the carpet stays locked. If the carpet is loose at the perimeter, the sun will simply pull it off the pins.
“Proper tensioning is not an option; it is a structural requirement for the longevity of the textile.” – Master Flooring Axiom
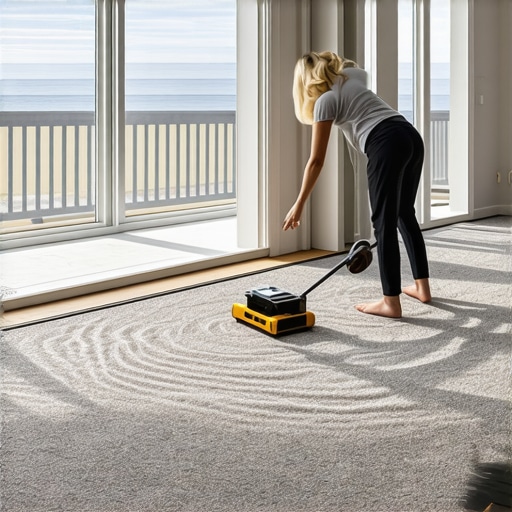
Restoring the tension near windows
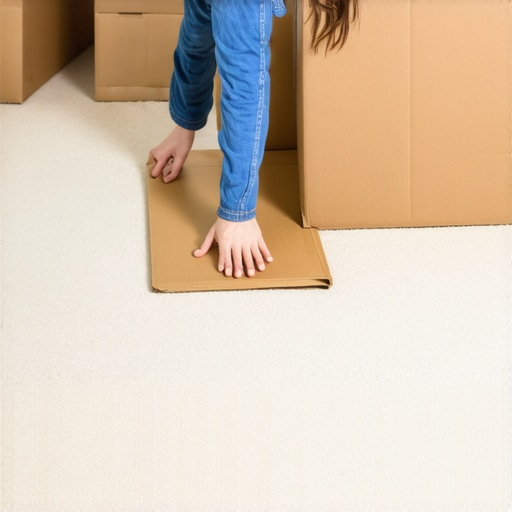
Restoring a rippled carpet requires a full re-stretch which involves pulling the carpet off the tack strips and using a power stretcher to relocate the excess material to the edges. You cannot simply kick the ripples out because the carpet has likely undergone some degree of permanent stretch. You have to trim the excess. This usually means removing the baseboards or carefully tucking the new material into the gully. If the ripples are severe, the carpet might need to be steam relaxed before re-stretching. This process helps the fibers return to their original shape.
Technical steps for a professional re-stretch
The process begins with clearing the room entirely because a power stretcher cannot work if there is furniture pinning the carpet down. You must release the carpet from the tack strips along at least two adjacent walls to allow the material to move. Once the carpet is free, the power stretcher is set up to pull the carpet toward the corners. You will likely find that you have an extra half inch to a full inch of carpet at the walls once the tension is properly applied. This excess is trimmed with a wall trimmer and tucked. This is the only way to fix the problem permanently. If you try to do it with a knee kicker, I guarantee the ripples will be back within six months. The heat from the window will simply win the battle again.
Laminate and transitions near carpet
When transitioning from carpet to laminate or tile, the transition strip must be anchored into the subfloor and not just the carpet itself. Many ripples start at these thresholds because the carpet is not anchored tightly enough against the transition. I see this in doorways all the time. The installer didn’t use a Z-bar or a proper transition strip. They just tucked the carpet against the laminate. As people walk over that spot, they pull the carpet away from the transition, creating a loose point where ripples can start.
Final thoughts for the job site
A professional carpet install is an exercise in engineering. It is about managing the forces of tension, friction, and thermal expansion. If you ignore the subfloor or skip the power stretcher, the sun will expose your mistakes. Do not trust anyone who says they can install a whole house with just a knee kicker. They are a hack. They don’t smell like oak dust and hard work; they smell like a shortcut. Use the right tools, level your floors, and give that carpet the stretch it deserves.