Why Your Shower Niche Still Leaks Despite Using Red Liquid Membrane
I spent three days grinding concrete on a job last month just so the floor wouldn’t click like a castanet. Most guys skip the leveling compound. They think the underlayment will hide the dip. It won’t. I have seen this same shortcut mentality ruin more bathrooms than I can count. I once walked into a high-end master suite where the homeowner was complaining about a musty smell. On the surface, the tile looked beautiful. The grout lines were straight. The nickel fixtures were polished. But when I pulled the baseboard on the adjacent wall, the drywall was black with mold. That expensive shower niche, the one they paid a premium for, was acting as a funnel. It was collecting water behind the tile and dumping it straight into the wall cavity. They used the red liquid membrane, the stuff everyone thinks is bulletproof, but they used it wrong. They treated it like paint instead of a structural waterproof barrier. This is the reality of modern shower construction. If you do not understand the physics of moisture migration and the chemistry of liquid-applied membranes, you are just building a timed leak. Your shower is a machine. If one part of that machine fails, the whole system collapses.
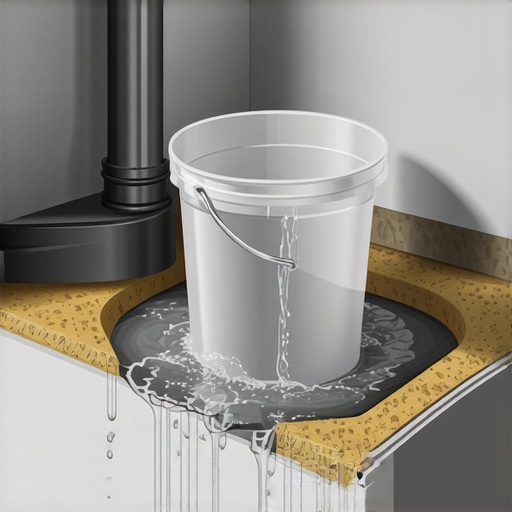
The myth of the waterproof bucket
A shower niche leaks because the liquid membrane failed to achieve a continuous bond at the change of plane or the dry film thickness was insufficient to bridge structural movement. Liquid membranes like RedGard or Hydro Ban require a specific wet film thickness to cure into a functional waterproof gasket. If you apply it too thin, the membrane remains porous at a microscopic level. Capillary action then pulls water through these pinholes, saturating the cement board behind the tile. In most failures, the installer treats the product like standard wall paint, ignoring the ASTM C1178 requirements for substrate preparation. This results in a film that looks red but acts like a sieve under hydrostatic pressure.
“A floor is only as good as the subfloor beneath it; deflection is the enemy of every joint.” – Master Flooring Axiom
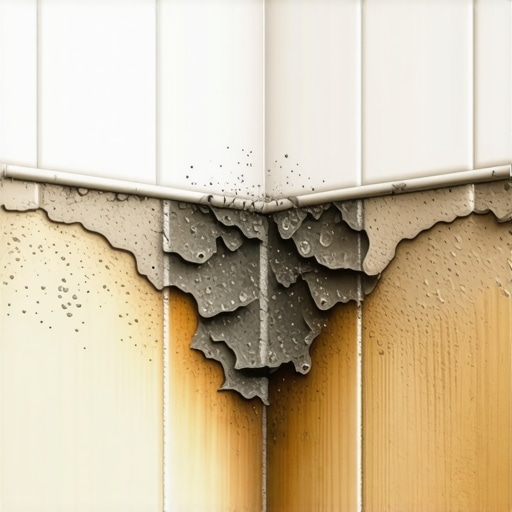
The physics of the corner failure
Structural movement in a shower niche occurs most aggressively at the 90 degree junctions where the niche box meets the wall studs. These areas are subject to different rates of expansion and contraction. When the house settles or the wood studs dry out, the joint opens. If you did not reinforce those corners with alkaline-resistant mesh tape or a dedicated fabric band, the liquid membrane will snap. It lacks the tensile strength to bridge a gap larger than 1/32 of an inch. You might think the tile and grout will hold it together, but grout is not waterproof. Grout is a filter. It slows water down, but eventually, the water hits that cracked membrane and finds the wood framing. This is why floor leveling is so vital in the surrounding bathroom area as well. If the subfloor is not rigid, the vibration from walking can transfer into the shower pan and up the walls, stressing those delicate niche joints until they fail.
The science of dry film thickness
Achieving the correct dry film thickness or DFT is the only way to ensure a liquid membrane meets ANSI A118.10 standards. Most manufacturers require a wet film thickness of 30 to 40 mils. To put that in perspective, a standard credit card is about 30 mils thick. If you cannot see a physical build-up of material, it is not thick enough. I see guys roll one coat on and call it a day. That is a recipe for disaster. You need a minimum of two coats, applied in opposing directions, to ensure you cover the pinholes caused by outgassing in the cement board. When the liquid hits the porous surface of the backer board, air bubbles rise to the surface. If you don’t hit it with a second coat after the first has tacked off, those bubbles become permanent tunnels for water to travel through. It is a molecular game of whack-a-mole. If you lose, your wall rots.
How floor leveling affects your shower pan
A stable shower niche starts with a perfectly level subfloor across the entire bathroom footprint to prevent differential settlement. If you have a dip in the floor where the shower meets the main room, the weight of the water and the person in the shower will cause the pan to flex. This flex translates directly to the wall transitions. While you might be focused on your laminate or carpet install in the bedroom, the structural integrity of your bathroom floor is what keeps your shower niche from tearing away from the studs. I always tell people to spend the money on high-quality self-leveling underlayment before they even think about the tile. If the foundation is moving, the waterproofing is irrelevant. You can use the most expensive membrane in the world, but if the house is shifting, that membrane will eventually give way at the weakest point which is always the niche.
| Feature | Liquid Membrane | Sheet Membrane | Foam Pre-made Niche |
|---|---|---|---|
| Thickness Control | Variable and User Dependent | Factory Calibrated | Consistent Structural Wall |
| Curing Time | 12 to 24 Hours | Instant | None Required |
| Vapor Permeability | Moderate to High | Very Low | Extremely Low |
| Movement Resistance | Low without Fabric | High | Maximum |
The ghost in the expansion gap
Expansion gaps are not just for your laminate floor or your hardwood planks they are a requirement for tile assemblies too. Every change of plane in a shower, especially the inside corners of a niche, must be treated as a movement joint. This means you do not fill those corners with hard grout. You must use a 100 percent silicone sealant that matches your grout color. Grout is rigid. When the wall expands in the summer humidity, the grout will crack. Once it cracks, it allows a concentrated stream of water to hit the membrane. If that membrane has any flaws, the water is in the wall. People hate the look of caulk, but I hate the look of a $20,000 bathroom being ripped out because the installer was too lazy to leave a 1/8 inch gap for movement. This is the same reason we leave gaps at the perimeter of a room during a carpet install or when laying down planks. Materials need room to breathe.
A checklist for a dry bathroom
- Check subfloor deflection and use floor leveling compound to ensure a rigid base for the shower pan.
- Install a pre-fabricated foam niche instead of building one out of 2x4s to minimize wood movement.
- Apply alkaline-resistant mesh tape to all niche corners before applying the first coat of liquid membrane.
- Use a wet-film gauge to verify that you have reached at least 30 mils of thickness per coat.
- Allow the membrane to cure completely until it changes color usually from light pink to dark red before tiling.
- Fill all internal niche corners with 100 percent silicone rather than cementitious grout.
Why your niche sill must slope
The bottom ledge of your shower niche must have a positive slope of at least 1/4 inch per foot toward the shower floor. If the sill is dead level, water will sit there. Surface tension keeps the water in place, and eventually, it will work its way through the grout and the thin-set. This creates a constant state of saturation. Most liquid membranes are rated for intermittent water exposure, not continuous submersion. When water ponds on a flat niche sill, it exerts constant pressure on the membrane. Over time, the polymers in the membrane can re-emulsify or simply degrade under the constant moisture. I always install a slight wedge of mortar on the niche sill before waterproofing. This ensures that every drop of water that hits the niche immediately drains back into the shower pan and down the drain. It is a simple step that 90 percent of contractors skip because they are in a hurry to get home.
“Water follows the path of least resistance; your job is to make that path lead to the drain and nowhere else.” – TCNA Handbook Principle
The chemistry of the bond
Modified thin-set adhesives rely on a chemical bond to the liquid membrane which can be compromised by dust or improper curing. If you wait too long to tile over certain membranes, they can pick up job site dust, which acts as a bond breaker. Conversely, if you tile too soon, the moisture trapped in the thin-set can prevent the membrane from fully cross-linking. You end up with a layer of mushy adhesive that never truly hardens. This is especially dangerous in a niche where the weight of the tiles is pulling against the wall. I have seen entire niche faces pop off because the installer didn’t wipe down the red membrane with a damp cloth before thin-setting. It is these small details, the microscopic interactions between polymers and cement, that determine if your shower lasts 30 years or 30 months. You have to respect the chemistry.