Why Your Shower Curb Is Already Leaking and How to Seal the Corners
Most guys skip the leveling compound. They think the underlayment will hide the dip. It won’t. I spent three days grinding concrete on a job last month just so the floor wouldn’t click like a castanet. That same job had a shower curb that felt like a wet sponge because the guy before me didn’t understand how water moves through a wall. Most people think tile and grout are waterproof. They are not. Grout is a sieve and tile is just a hard skin. The real work happens beneath the surface where the subfloor meets the shower pan. When a curb leaks, it is rarely a problem with the tile itself. The failure is structural. It is a failure of the liquid membrane or the sheet membrane to bridge the gap between the horizontal and vertical planes. I have seen thousand dollar bathroom renos rot out in two years because of a 1/8 inch gap in the corner tape. This is not about aesthetics. This is about managing the physics of water and the chemistry of adhesives.
The structural failure of the modern shower curb
Shower curb leaks occur when the waterproofing layer fails to account for the capillary action of water through cementitious materials. Water does not just sit on top of grout. It travels through the microscopic pores of the mortar bed. If the curb was built with a 2×4 stack that was not properly wrapped in a topical waterproofing system, those boards will absorb every drop of moisture that moves through the tile. Wood expands when wet. Tile does not. This differential movement snaps the bond between the thin-set and the substrate. Once that bond is gone, the leak is no longer a slow drip. It is a flood. A curb must be built from solid masonry or a high-density foam core that is 100 percent waterproof. Wood is a liability in a wet zone. I have pulled out dozens of rotted pine curbs that were covered in nothing but a plastic liner and some hope. Hope is not a waterproofing strategy.
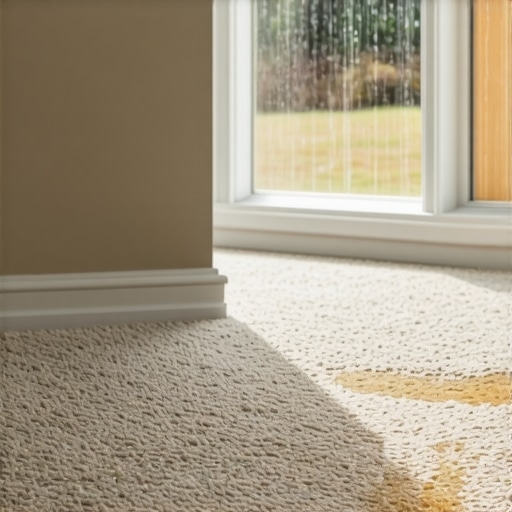
The mechanics of a curb require a slight inward slope. I am talking about a 1/8 to 1/4 inch pitch toward the drain. Most installers leave it flat. When it is flat, water pools. Gravity then pulls that water toward the outside of the shower. If your bathroom floor is soft right next to the shower, your curb is already a sponge. The water is migrating through the corner joints. These joints are the weakest point in any shower. They are where two different planes meet and they are where the most stress occurs. Without a proper band of waterproof fabric or a high-solids liquid membrane, those corners will crack. You might not see it, but the water sees it. Water is patient. It wins eventually.
“A floor is only as good as the subfloor beneath it; deflection is the enemy of every joint.” – Master Flooring Axiom
The physics of water migration in mortar
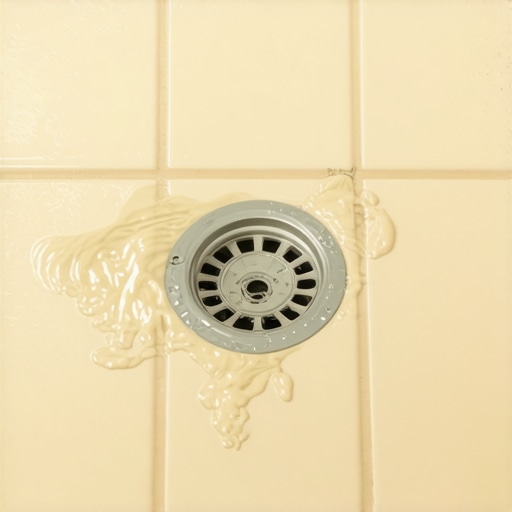
Water migration in shower systems is driven by hydrostatic pressure and the porous nature of traditional sand and cement beds. When you take a shower, you are dumping gallons of water onto a surface that is designed to be permeable. The grout lines act as channels. The mortar bed beneath the tile absorbs this water. In a traditional water-in, water-out system, this moisture is supposed to hit a sloped pan liner and exit through weep holes in the drain. The problem is that most people do not understand how to clear those weep holes. They get clogged with thin-set. The water then sits in the mortar bed. It becomes stagnant. It starts to grow mold. Eventually, the water level rises high enough to top the curb or find a pinhole in the liner. This is why I advocate for topical waterproofing. You want to stop the water at the tile line, not four inches below it. If the water never gets into the mortar bed, the system lasts forever.
| Waterproofing Method | Permeability Rating | Installation Speed | Risk of Failure |
|---|---|---|---|
| Traditional PVC Liner | Moderate | Slow | High |
| Liquid Applied Membrane | Low | Medium | Low |
| High-Density Foam Board | Zero | Fast | Very Low |
| Sheet Membrane (Fabric) | Zero | Medium | Very Low |
The chemistry of the bond at the corner
Sealing the corners of a shower curb requires a chemical bond between the waterproofing membrane and the substrate that can withstand constant thermal expansion. I use modified thin-sets because they contain polymers. These polymers are essentially liquid rubber. When the thin-set cures, these polymers form a lattice that allows for a tiny bit of movement. In a corner, you need this flexibility. If you use a cheap, unmodified thin-set, it will cure into a brittle rock. The first time the house settles or the hot water hits the cold tile, that rock will crack. Once it cracks, the waterproofing is compromised. The corner is the epicenter of this stress. You must use a pre-formed corner piece or a flexible band that is embedded into the thin-set. Do not try to fold a large sheet into a corner. It will bunch up. It will create a hump. Your tile will never sit flat over a hump. I have seen guys spend hours trying to grind down the back of a tile just to hide a messy corner. That is a waste of time. Do it right the first time.
Modern membranes like those from Schluter or Laticrete are engineered at the molecular level to be vapor tight. This is vital for steam showers but it is also essential for a standard stall. Vapor drive is a real thing. When the air in the shower is hot and the air in the wall cavity is cool, the water vapor wants to move toward the cool air. It will push through the wallboard if there is no barrier. This leads to rot in the studs. You will not smell it for years. By the time you do, the structural integrity of your home is gone. This is why the TCNA standards are so strict about coverage. You need 95 percent thin-set coverage in wet areas. No exceptions. Most guys just throw a few dots of mortar on the back of the tile. This creates air pockets. Air pockets are where water collects. Air pockets are where mold thrives.
The capillary trap in common mortar
A capillary trap is formed when moisture is pulled into tight spaces through surface tension, leading to long-term saturation of the shower curb. To prevent this, the seal between the curb and the walls must be continuous. I see many installers stop the membrane at the floor level. This is a mistake. The membrane must go up the wall at least six inches past the top of the curb. This creates a bathtub effect. If the water cannot find a seam, it cannot leak. The corner where the curb meets the wall is the most common point of failure. It is where the framing of the curb meets the framing of the wall. These two structures move at different rates. Without a flexible seal, that joint will open up. I always use a liquid waterproofing over the seams even if I am using a sheet membrane. It is cheap insurance. A five-gallon bucket of red goop costs a lot less than a mold remediation team.
“The integrity of the waterproofing layer is the single most important factor in the longevity of any tiled wet area assembly.” – TCNA Handbook Excerpt
The checklist for a leak-proof curb
- Check subfloor levelness and grind down high spots before building the curb.
- Use a solid masonry or foam curb core instead of wood 2x4s.
- Ensure a minimum 1/8 inch slope toward the shower drain.
- Apply a topical waterproofing membrane to all surfaces of the curb.
- Embed pre-formed waterproof corners into modified thin-set at every junction.
- Perform a 24-hour flood test before installing any tile.
- Use a 100 percent silicone sealant at the transition between the curb and the bathroom floor.
The seal at the corner and the zero-threshold myth
The corner defense is the final line of resistance against water intrusion into the bathroom floor framing. Many people today want a zero-threshold shower. They want that clean, minimalist look. But zero-threshold showers are a nightmare to waterproof if the subfloor was not built for it. You have to recess the entire floor to get the slope right. If you just try to slope the tile down from a flat floor, you end up with a lip. That lip is a trip hazard. And water will still find a way out. For a standard curb, the seal must be absolute. I prefer liquid membranes for the corners because they flow into the gaps. You paint it on. You let it dry. You paint it on again. It becomes a seamless rubber skin. It is the best way to handle the complex geometry of a curb. Sheet membranes are great for flat walls, but they are bulky in the corners. Every mil of thickness counts when you are trying to set tile.
While most people want the thickest underlayment, too much cushion actually causes the locking mechanisms on LVP to snap under pressure. The same logic applies to showers. You do not want a thick, squishy layer of anything under your tile. You want a thin, high-strength bond. The goal is a rigid system that manages water. If the curb moves, the grout will crack. If the grout cracks, the water gets in. If the water gets in, the curb rots. It is a simple chain of events that leads to a disaster. I have seen it a hundred times. Homeowners think they are saving money by skipping the waterproofing steps. They are just deferring the cost. A leaked shower costs four times as much to fix as it does to build correctly. Don’t be the guy who has to call me to rip out his dream bathroom because the curb was an afterthought.