The ‘Flashlight Test’ for Spotting Weak Carpet Seams Before They Fray
The Flashlight Test for Spotting Weak Carpet Seams Before They Fray
I spent three days grinding concrete on a job last month just so the floor would not click like a castanet. That is the reality of this trade. Most guys skip the leveling compound. They think the underlayment will hide the dip. It will not. I have spent twenty five years on my knees with a moisture meter and a level. I have seen every shortcut in the book and I have seen the disasters they cause. When it comes to a carpet install, the finish line is not when the last tack strip is covered. The finish line is when that seam is structurally sound and invisible to the naked eye. But there is a secret weapon that separates the pros from the hacks. It is not an expensive laser. It is a simple flashlight. If you shine a light low across the floor, the shadows will tell you the truth about your subfloor and your seams. This is the structural reality of flooring that most homeowners never see until it is too late.
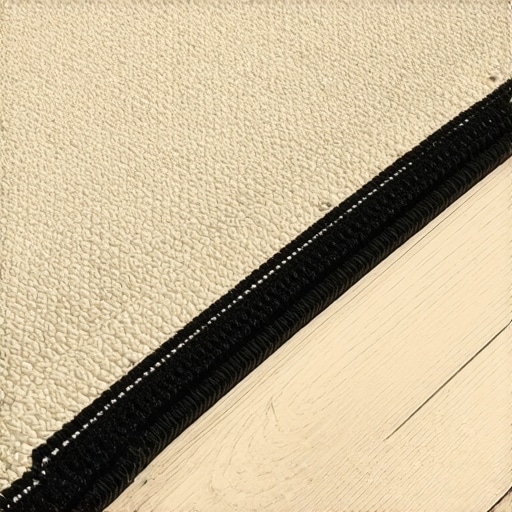
The shadow of a bad seam
Identifying a weak carpet seam requires a high intensity flashlight held at a low angle to reveal peaks and valleys in the pile. This technique highlights improper adhesive bonding or overlapping backings that lead to premature fraying. A carpet install is only as good as the physical bond between the two pieces of fabric. When you look at a floor from a standing position, the overhead lighting hides the imperfections. You see a flat surface. But the flashlight test changes the physics of the room. By placing the light source directly on the floor, you create long shadows. These shadows reveal the topography of the carpet. If a seam is peaked, it means the installer pulled the pieces too tight or the seam tape is too thick. If there is a valley, the subfloor is likely dipping. Both issues will cause the fibers to rub against each other every time someone walks over them. This friction leads to fraying. Fraying is the death of a carpet. Once those fibers start to pull away from the primary backing, the integrity of the entire room is compromised.
“A floor is only as good as the subfloor beneath it; deflection is the enemy of every joint.” – Master Flooring Axiom
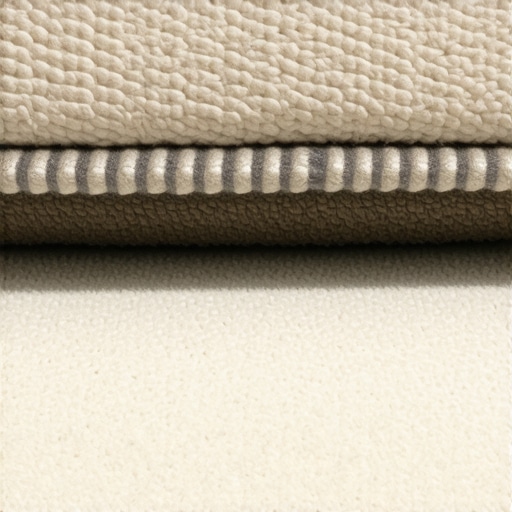
Why the flashlight never lies about carpet peaks
Carpet peaks occur when the tension of the stretch is not distributed evenly across the seam tape or when the adhesive fails to saturate the backing. This structural failure creates a raised ridge that catches the light and eventually the bottom of every shoe. Most people think a carpet is just a rug thrown over a pad. It is not. It is a system under tension. When we use a power stretcher, we are putting hundreds of pounds of force on those seams. If the installer did not use a high quality thermoplastic seam tape, the heat bond will not hold. I have seen seams that look perfect on day one but start to peak on day ninety. This happens because the house settles or the humidity changes. In a region with high moisture, the secondary backing of the carpet can actually swell. If the seam is not perfectly flat, that swelling creates a ridge. The flashlight test reveals this ridge immediately. If you see a shadow that is more than a sixteenth of an inch tall, you have a problem that will lead to a fray within two years.
The chemistry of thermoplastic seam tape
Thermoplastic seam tape relies on a specific melting point to create a molecular bond between the carpet backing and the fiberglass mesh of the tape. If the iron is too hot, it scorches the latex. If it is too cold, the glue never penetrates the fibers. We are talking about a very narrow window of temperature. Most installers just crank the iron to five and move as fast as they can. That is how you get a weak seam. You need to understand the chemistry of the adhesive. The glue needs to flow into the primary backing. It needs to wrap around the base of the tufts. This is what prevents fraying. When you walk on a carpet, the weight of your body creates a shear force. If the glue is only on the surface, the tufts will pull out. I call this the bald spot syndrome. It starts at the seam and spreads. The flashlight test shows you where the glue is uneven. An uneven glue line creates an uneven shadow. It is that simple.
Subfloor geometry and the failure of level
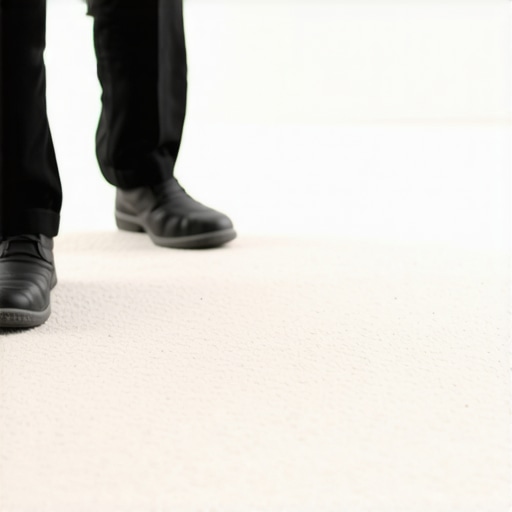
Floor leveling is the most ignored step in a carpet install despite being the most critical for seam longevity and walking comfort. A subfloor should be flat to within one eighth of an inch over a ten foot span. If it is not, the carpet will bridge over the dips. This creates a hollow space. When you step on that space, the carpet flexes. That flex puts a massive amount of stress on the seam. Imagine bending a piece of plastic back and forth until it snaps. That is what happens to a carpet seam over a dip. I have walked onto jobs where the installer tried to hide a half inch dip with extra padding. That is a crime in this industry. Too much cushion actually causes the locking mechanisms on LVP or laminate to snap under pressure, and it causes carpet seams to pull apart. You need a solid, flat base. I spend more time with a grinder and a bag of self-leveling compound than I do with a carpet knife. That is why my floors last thirty years while others last five.
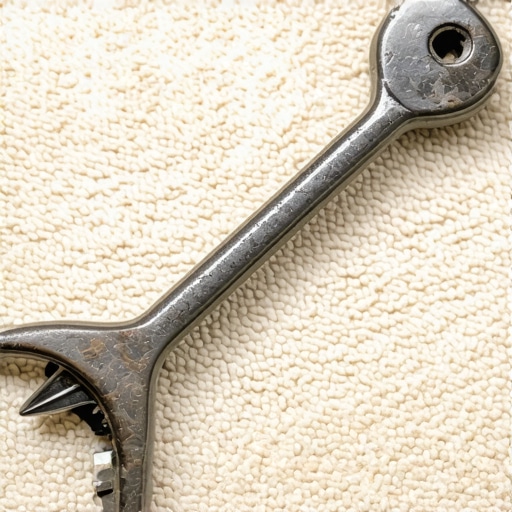
The structural physics of the knee kicker versus the power stretcher
The power stretcher is a mandatory tool for any professional carpet install to ensure the material is stretched to its structural limit without damaging the seams. A knee kicker is for positioning. It is not for stretching. Any installer who tries to stretch a whole room with just a knee kicker is doing you a disservice. Without a power stretcher, the carpet will eventually develop ripples. Ripples move. As they move, they pull at the seams. This constant movement is what causes the edges to fray. The flashlight test will show you these ripples long before they are visible to the naked eye. You will see a subtle wave in the shadow. This tells you the carpet was not stretched to the proper percentage. Most synthetic carpets require a stretch of one to one and a half percent in both directions. If you do not hit that mark, the floor is failing from the moment it is tucked into the tack strip.
| Metric | Standard Requirement | Consequence of Failure |
|---|---|---|
| Subfloor Flatness | 1/8 inch over 10 feet | Seam peaking and valley formation |
| Carpet Stretch | 1% to 1.5% | Ripples and seam displacement |
| Seam Tape Temp | 135 to 150 Degrees F | Latex scorching or adhesive failure |
| Pad Density | 6 to 8 pounds per cubic foot | Cellular collapse and seam stress |
Why padding density dictates seam longevity
Padding density is more important than padding thickness because it provides the structural resistance needed to keep the carpet seam from flexing downward. A common mistake is choosing the thickest, softest pad available. This is like building a house on a mattress. The seam needs a firm base. If the pad is too soft, the seam will sink every time it is stepped on. This vertical movement causes the two pieces of carpet to rub against each other. This is mechanical abrasion at the microscopic level. Over time, this abrasion cuts through the glue and the fibers. I always recommend a high density rebound pad or a solid rubber pad. It might not feel like walking on a cloud, but it will keep your seams from fraying. The flashlight test during a walk-through will show if the padding is uneven or if the seams of the pad are overlapping under the carpet. Overlapping pad seams create a literal mountain range under your carpet that will wear through the backing in months.
“Every failure in a finished floor can be traced back to a technician who ignored the microscopic details of the substrate.” – Master Flooring Axiom
How moisture ruins the bond from below
Moisture vapor transmission from a concrete slab can chemically break down carpet adhesives and cause the seam tape to delaminate. This is a huge issue in basements or on new construction slabs. If you do not test the moisture content, you are guessing. And guessing is how you lose money. I have seen jobs where the carpet looked great for six months, then suddenly every seam started to open up. The culprit was high pH moisture coming up through the concrete. It turned the seam glue into a gummy mess. You cannot fix that. You have to rip it all out. This is why a vapor barrier is not optional. Whether you are doing laminate or carpet, you need to protect the finish material from the ground. I have even seen this happen in showers where the transition to the bedroom carpet was not properly sealed. The moisture wicks into the carpet fibers and travels down the seam like a fuse. The flashlight test will show a slight discoloration or a darkening of the seam area if moisture is present.
The checklist for a perfect carpet install
- Verify subfloor flatness using a 10 foot straight edge before the pad is laid.
- Ensure all concrete slabs have been tested for moisture and pH levels.
- Check that the carpet has acclimated to the home temperature for at least 24 hours.
- Use a power stretcher to achieve a minimum 1 percent stretch in all directions.
- Seal all cut edges with a specialized seam sealer before joining them with tape.
- Verify the seam iron temperature matches the manufacturer specifications for the tape.
- Perform the flashlight test across every seam in the room with all overhead lights off.
The 1/8 inch that ruins everything
Precision in cutting the carpet edges is the difference between a seam that lasts decades and one that frays within weeks. If an installer leaves even an eighth of an inch of a gap, the seam is reliant entirely on the tape. If the edges are too tight, they will crawl up each other and create a peak. I use a row cutter to follow the natural grain of the carpet. This ensures that I am not cutting through the tufts but between them. If you cut through the tufts, you have already started the fraying process. The flashlight test is the ultimate judge of this. A perfectly cut and joined seam will not cast a shadow. It will blend into the texture of the room. It takes patience. It takes a sharp blade. I change my blades every ten feet. Most guys use one blade for the whole house. That is how you get ragged edges and poor seams. Flooring is a trade of millimeters. If you ignore the millimeters, the centimeters will haunt you. Never accept a job that has not been checked with a low angle light. It is the only way to be sure that your investment is protected from the inevitable friction of daily life.