The ‘Towel Test’ for Finding a Slow Leak Under Your New Shower Drain
I spent three days grinding concrete on a job last month just so the floor wouldn’t click like a castanet. Most guys skip the leveling compound. They think the underlayment will hide the dip. It won’t. I was out there in a dust mask, the smell of pulverized stone and WD-40 thick in the air, because the previous installer ignored a 3/16 inch birdbath in the slab. That dip collected moisture from a pinhole leak in the shower pan that no one saw for six months. By the time I got there, the expensive flooring was floating on a soup of grey sludge and mold. This is the reality of residential construction. People want the pretty finish, but they ignore the structural engineering happening beneath their socks. A floor is not a decoration. It is a performance surface that must manage moisture, deflection, and chemical bonds. If you ignore the physics of the subfloor, the chemistry of the adhesive will eventually ignore you.
The shadow under the drain
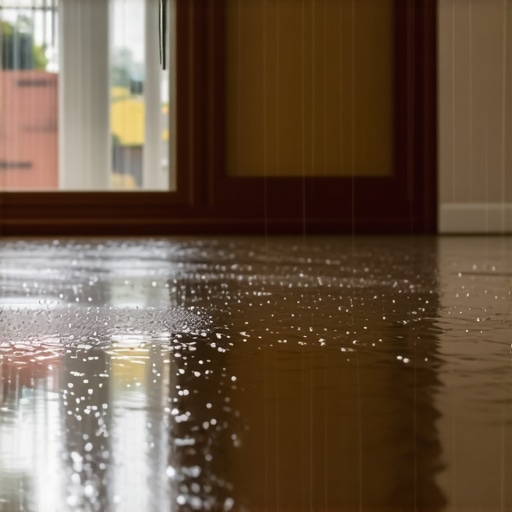
A slow leak under a shower drain often manifests as a subtle darkening of grout lines or a slight swelling in nearby floor transitions. Water follows the path of least resistance, which usually means it travels through the capillary channels of a concrete slab or the cellulose fibers of a plywood subfloor. By the time you see a puddle, the structural integrity of your floor leveling compound has likely already been compromised by hydrostatic pressure. You need to catch it while the moisture is still microscopic and moving through the pores of your building materials.
The towel test is a diagnostic tool designed to exploit the natural wicking properties of fabric to identify moisture migration that is too slow for the naked eye to see. When a shower drain has a failed compression gasket or a hairline crack in the PVC throat, water does not always spray out in a visible fountain. Instead, it weeps. This weeping saturates the mortar bed or the surrounding subfloor. Over weeks, this moisture creates a localized zone of high humidity that attracts mold and weakens the bond of any flooring adhesive. You are looking for evidence of failure before the floor begins to buckle or the carpet starts to smell like a wet basement.
“A floor is only as good as the subfloor beneath it; deflection is the enemy of every joint.” – Master Flooring Axiom
The physics of the towel test
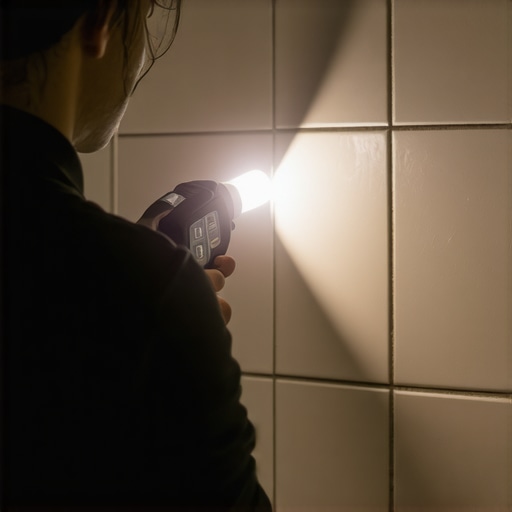
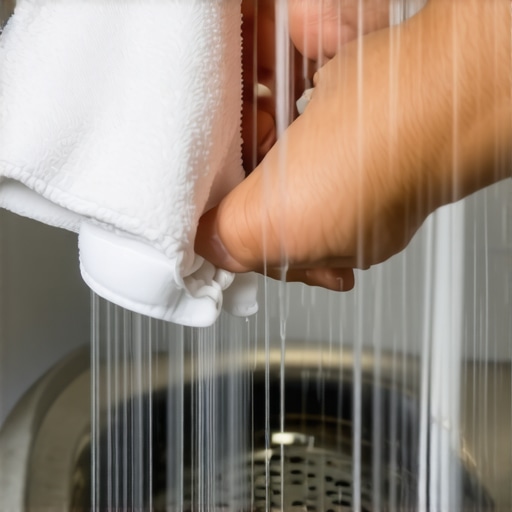
To perform the towel test you must first dry the area around the shower transition completely using a fan or a heat gun. Once the surface is bone dry to the touch, place a clean, white, heavy cotton towel directly against the base of the shower curb or the edge of the drain assembly. The white color is vital because it shows the yellowish tint of mineral deposits or the dark grey of mold spores that water carries as it travels through a subfloor. This is not just about liquid water. It is about the vapor drive that occurs when a warm shower heats the air and forces moisture into the cooler subfloor.
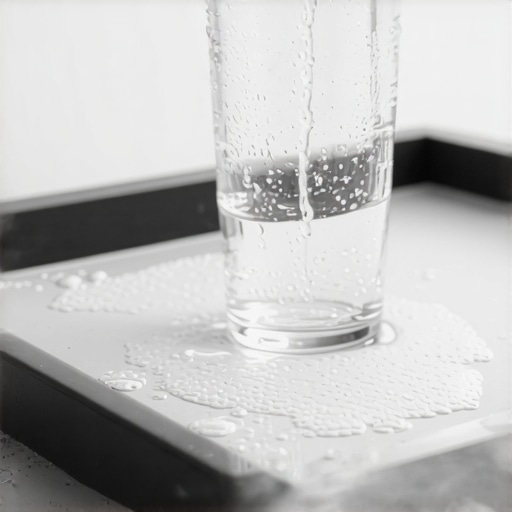
Leave that towel in place for exactly twelve hours without using the shower. Then, run the shower for twenty minutes and leave the towel for another twelve hours. If the towel feels damp or shows a watermark, you have a mechanical failure in the plumbing or the waterproofing membrane. This test works because cotton has a high affinity for water molecules, pulling them out of the subfloor pores through a process called capillary action. If the towel picks up moisture, your floor leveling compound is likely already absorbing that water, which will lead to a total failure of your laminate or carpet install within eighteen months.
Why your subfloor is lying to you
Subfloors often appear dry on the surface while holding a reservoir of moisture deep within their structure. Concrete is basically a hard sponge. It has a network of microscopic tubes that can pull water upward from a leak for several feet in every direction. If you are planning a laminate install, this is your primary enemy. Laminate is made of high-density fiberboard, which is essentially compressed sawdust and resin. When that fiberboard meets moisture, the wood fibers expand at a different rate than the resin, leading to peaked seams and a floor that looks like a series of small mountains.
Floor leveling is another area where installers fail because they do not understand the chemistry of the materials. Most self-leveling underlayments are gypsum-based or portland cement-based. If these materials are subjected to constant moisture from a shower leak, they undergo a process called ettrigite formation or simply soften back into a paste. I have seen entire bathrooms where the leveler just turned back into mud because a drain was weeping. You cannot fix a dip in the floor if the source of the moisture is still active. The leveler will lose its bond to the slab, and your floor will start to move and squeak.
| Material Type | Moisture Tolerance | Acclimation Time | Common Failure Point |
|---|---|---|---|
| Solid Hardwood | Very Low | 7 to 14 Days | Cupping and Crowning |
| Engineered Wood | Medium | 3 to 5 Days | Delamination of Veneer |
| Laminate | Low | 2 Days | Swelling at the Joints |
| Luxury Vinyl (LVP) | High | 2 Days | Locking Tab Breakage |
The 1/8 inch that ruins everything
The industry standard for floor flatness is usually 1/8 inch over a ten foot radius. If your subfloor deviates more than this, the locking mechanisms on your laminate or LVP will be under constant vertical stress. Every time you walk across the floor, the joint flexes. This is called deflection. If you add a slow leak from a shower to this equation, the water lubricates the joint and softens the material, making the failure happen twice as fast. You will hear a clicking sound. That click is the sound of your floor dying. It is the sound of the plastic or fiberboard tabs rubbing together until they snap.
I always tell homeowners that the padding or underlayment is not a substitute for a flat floor. Some people think buying the thickest, squishiest padding will help. It is actually the opposite. Too much cushion allows for too much movement. You want a high-density, low-compression underlayment that provides a firm base. In wet areas near showers, you also need to ensure that the underlayment has a high Moisture Vapor Transmission Rate (MVTR) rating or acts as a total vapor barrier. But a vapor barrier is a double-edged sword. If you have a leak, the barrier will trap the water against the subfloor, accelerating the rot of your plywood or the degradation of your concrete.
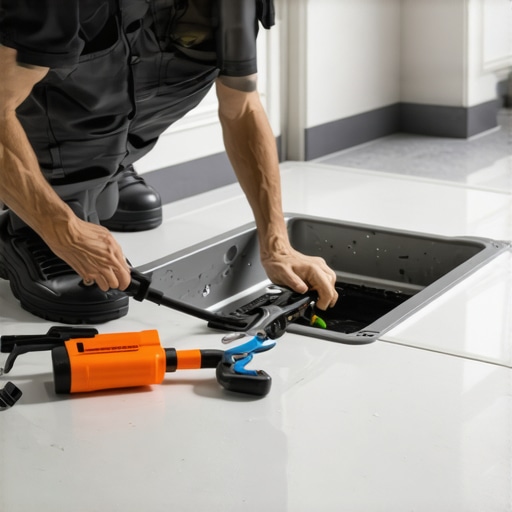
- Inspect the drain flange for cracks in the plastic.
- Check the silicone seal between the floor and the shower base.
- Verify that the floor leveling compound is rated for wet areas.
- Use a moisture meter to check the subfloor before any laminate install.
- Ensure the carpet install includes a moisture-proof pad if near a bathroom.
The ghost in the expansion gap
Every floating floor requires an expansion gap at the perimeter to allow for the natural movement of the building. When a shower leak introduces humidity, the flooring expands. If you did not leave a 1/4 inch to 3/8 inch gap at the walls and the shower transition, the floor will hit the wall and have nowhere to go but up. This results in a bubble or a hump in the middle of the room. I once saw a laminate floor that had risen four inches off the subfloor because the installer tight-fitted it against a shower curb that was leaking. The wood soaked up the water, grew by half an inch, and the whole thing became a structural arch.
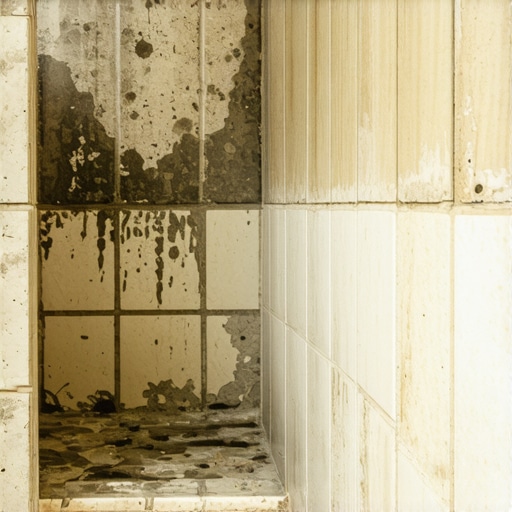
Carpet install near a leaky shower is a different kind of nightmare. Carpet acts as a giant microbial filter. The pad underneath is usually a polyurethane foam which is basically a petri dish for mold when it gets wet. If your towel test comes back positive, do not even think about laying carpet until the plumbing is gutted and replaced. The health risks of stachybotrys mold growing in a wet carpet pad are too high. You are better off with bare concrete than a wet carpet.
“Waterproof flooring is a marketing term, not a technical reality; the subfloor is never waterproof.” – TCNA Handbook Insight
The chemistry of a failed bond
When water meets floor leveling compound it triggers a chemical reaction that can release high pH salts to the surface. This is known as efflorescence. These salts break down the adhesive bond of vinyl tiles or the pressure-sensitive adhesives used in many modern flooring products. If you see white powder coming up through your floor seams, you have a major moisture problem. It is usually coming from the shower. The towel test might seem primitive, but it detects the presence of this moisture before the chemical breakdown begins.
In regions with high humidity, like the coastal South, this problem is magnified. The slab is already struggling with moisture from the ground. Adding a shower leak to the top of the slab creates a moisture sandwich that will destroy any organic material. If you are in a high-humidity zone, you should be using epoxy-based levelers and inorganic flooring materials. Solid wood is a death wish in a bathroom environment in the South. You need products that can breathe or products that are truly inert.
The slow rot of unvented slabs
Concrete slabs without a proper vapor barrier underneath are susceptible to rising damp which hides the symptoms of a shower leak. When you have a leak, the water goes down and meets the moisture coming up. This saturates the slab and makes the floor leveling compound lose its compressive strength. I have seen slabs where I could dig the leveler out with a screwdriver because it had the consistency of wet chalk. You need to know what is under your slab before you try to fix what is on top of it.
If the towel test shows moisture, your next step is a calcium chloride test or a pin-less moisture meter. You need to quantify the pounds of moisture per one thousand square feet. If that number is over three pounds, you cannot install laminate. If it is over five pounds, even some LVP products will fail because the moisture will cause the adhesive on the wear layer to delaminate. The towel test is your first warning shot. Ignore it and you will be paying someone like me to come out with a concrete grinder and a very expensive bill to fix the mess. Do it right the first time. Check the drain. Level the floor. Leave the gap. This is the only way a floor survives the reality of a wet environment.