The ‘Bucket Weight’ Secret for Holding Down Curvy Laminate Planks
A high-performance floor is a feat of engineering, not a weekend craft project. My hands are permanently stained with oak dust and my knees have the mileage of a cross-country semi-truck, so believe me when I say that most laminate failures start long before the first plank is clicked into place. I once walked into a luxury condo where the entire floor sounded like a tap dancer on a hollow drum. Most guys skip the leveling compound. They think the underlayment will hide the dip. It won’t. I spent three days grinding concrete on a job last month just so the floor wouldn’t click like a castanet. That experience reinforced a hard truth: if your subfloor isn’t flat to within 3/16 of an inch over 10 feet, your expensive laminate is nothing more than expensive firewood.
The physics of the plank arc
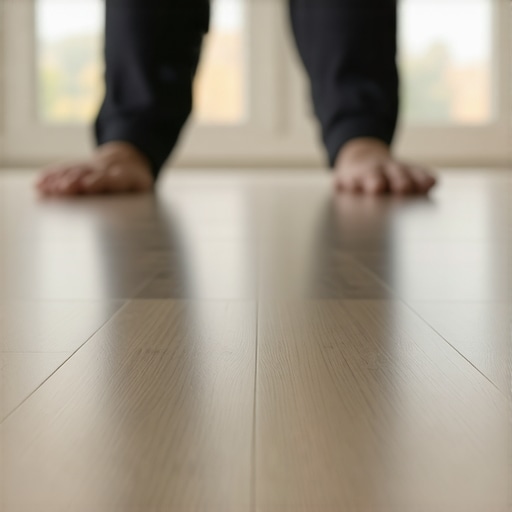
Laminate planks often exhibit a natural curve or bow due to internal tension within the high-density fiberboard (HDF) core and the balancing paper. This curvature is a result of moisture imbalance or manufacturing stresses that must be neutralized during the installation process to ensure the click-lock mechanism remains fully engaged and does not experience vertical shear. When a plank has a slight crown, it creates a pocket of air underneath. As you walk over it, the plank flexes downward, straining the tongue and groove. Over time, this repetitive stress causes the locking profile to fatigue and eventually snap. To fix this, we use the bucket weight secret. By placing 40 to 50 pounds of weight, usually 5-gallon buckets of joint compound or thin-set, directly over the arched section for 24 hours, you force the HDF fibers to relax into a flat position. This is not about bending the wood; it is about managing the structural memory of the material. The physics of the core involves melamine resin and compressed wood fibers. These materials are hygroscopic, meaning they react to the ambient humidity. If your job site is at 60 percent humidity and the planks were stored at 30 percent, that curve is going to fight you every step of the way.
“A floor is only as good as the subfloor beneath it; deflection is the enemy of every joint.” – Master Flooring Axiom
Why your subfloor is lying to you
Floor leveling is the most overlooked phase of any professional installation because it requires patience and a 10-foot straightedge. A subfloor may look level but actually contain gradual swells and dips that exceed the tolerances of modern laminate locking systems. You have to understand the difference between level and flat. A floor can be slanted like a mountain and still be flat enough for laminate, but a floor that is level can have a 2-inch dip in the middle that will destroy your installation. I use a self-leveling underlayment with a minimum compressive strength of 3,000 PSI. If you are working over concrete, you have to test the Moisture Vapor Transmission Rate (MVTR). If the slab is pumping out more than 3 pounds of moisture per 1,000 square feet over 24 hours, your laminate is going to cup and the bucket weight trick won’t save you. You are looking for a surface that feels like a sheet of glass. Any grit, any pebble, any dried drywall mud will create a pressure point. When the plank sits on a high spot, it acts as a fulcrum. When you step on the side of the plank, the leverage pulls the joint apart on the other side. It is basic mechanical advantage, and it works against you every time.
The 1/8 inch that ruins everything
Expansion gaps at the perimeter of a room are the lifeblood of a floating floor system. You must maintain a consistent 1/4 inch to 3/8 inch gap between the laminate and every fixed vertical surface to allow for the inevitable thermal expansion and contraction of the HDF core. People hate seeing that gap, so they push the planks tight against the baseboard or the drywall. This is a catastrophic error. When the humidity rises in the summer, the floor grows. If it has nowhere to go, it will hump up in the middle of the room. I have seen floors lift six inches off the subfloor because some DIY installer thought the gap was ugly. You cover that gap with shoe molding or quarter round, but you never, ever nail the molding into the floor itself. You nail it into the wall. The floor must be free to slide underneath. This is especially true near heavy objects like kitchen islands. Never install a kitchen island on top of a floating floor. You effectively anchor the floor in one spot, and when it tries to expand, the tension has to go somewhere else, usually resulting in a failed joint three rows away.
| Feature | Specification Requirement | Impact on Performance |
|---|---|---|
| Subfloor Flatness | 3/16 inch per 10 feet | Prevents joint fatigue |
| Core Density | 850-900 kg/m3 | Determines impact resistance |
| Wear Layer | AC4 or AC5 Rating | Resists scratching and traffic |
| Acclimation Time | 48 to 72 Hours | Stabilizes moisture content |
| Underlayment Type | High-Density Foam | Reduces sound and deflection |
The chemistry of the core
High-density fiberboard is the structural heart of laminate flooring, composed of wood fibers bonded with synthetic resins under intense heat and pressure. The internal bond strength of the HDF determines how well the locking system will hold under the weight of furniture and foot traffic. We are talking about a material that is engineered to be more stable than solid wood, but it is not invincible. The resins used are typically urea-formaldehyde or melamine-urea-formaldehyde. These chemicals provide the rigidity and the moisture resistance, but they also make the material brittle. If you try to force a curvy plank together with a tapping block and too much aggression, you will mushroom the tongue. Once that tongue is deformed, the joint will never sit flush. This is why the bucket weight is a surgical tool. You aren’t forcing the joint; you are gently persuading the board to sit in its intended plane. If you see a plank with a significant twist, throw it in the closet for a cut piece. Don’t try to win a fight against a twisted board. The internal stresses will eventually win, and you will be back in six months to fix a gapping floor on your own dime.
“Thermal expansion is a physical certainty; ignore the perimeter gap at your own peril.” – Master Flooring Axiom
The bucket weight secret
Applying localized pressure with weighted buckets is the most effective way to eliminate the “bounce” in a newly installed laminate floor. You should place weights on the ends of planks where the subfloor has minor deviations or where the plank itself has a slight manufacture-induced bow. I keep a stack of 5-gallon buckets in the van for this exact reason. When I hit a spot where the floor feels a little springy, I don’t just hope the furniture will weigh it down. I set a bucket of water or joint compound on it and leave it overnight. This allows the underlayment to compress slightly and the locking mechanism to settle. It is a trick of the trade that separates the pros from the guys who just read the box instructions. You are essentially pre-loading the floor. This is particularly vital when you are transitioning from one room to another. Those T-moldings can be tricky. If the floor is bouncing at the transition, the molding will eventually pop out or the track will bend. Weighting the area during the first 24 hours ensures a solid, quiet transition that lasts for years.
Transitioning from carpet to laminate
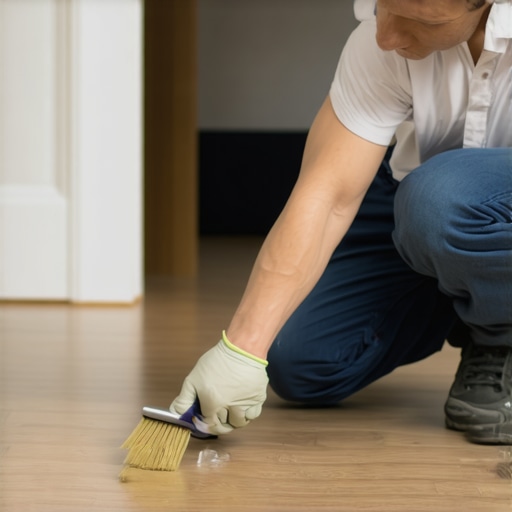
Carpet install logic differs fundamentally from hard-surface installation because carpet is a tensioned system while laminate is a floating, gravity-based system. When removing carpet for laminate, you must ensure the subfloor is completely cleared of tack strips and staples, which can create catastrophic noise issues under a new floor. I have seen guys leave the old tack strip holes unfilled. You can’t do that. Those tiny craters can cause the underlayment to dip, which leads to the clicking sounds everyone hates. If the previous carpet was installed over a slab, you likely have hundreds of small divots where the tack strip nails were driven in. You need to skim-coat those with a rapid-setting patch. Furthermore, the height difference between a thick carpet with pad and a 12mm laminate can be nearly an inch. This affects your door casings and your baseboards. You have to undercut the door jambs so the laminate can slide underneath. Never cut the laminate around the jamb; it looks amateur and it restricts the floor’s movement. Use a jamb saw to get a clean, flat cut that allows the plank to hide the expansion gap perfectly.
Why showers are the enemy of laminate
Installing laminate near showers and tubs requires a specialized sealing protocol to prevent moisture from infiltrating the HDF core. While many products are marketed as waterproof, the HDF core will still swell if water sits in the expansion gap at the perimeter of the bathroom. I tell clients all the time that “waterproof” is a marketing term, not a physical law. If you are putting laminate in a bathroom, you must leave the expansion gap and then fill that gap with a 100 percent silicone sealant. This creates a flexible, watertight gasket that allows the floor to move but keeps the water out. I also use a topical joint sealer on the click-lock edges in high-risk areas. It is a clear liquid that you apply during installation. It acts as a secondary barrier. If a shower leaks or someone splashes too much, the water stays on the surface instead of wicking into the fiberboard. If that core gets wet, it expands and never shrinks back. You get what we call “peaking,” where the edges of the planks push up and create sharp ridges. At that point, the floor is ruined.
- Acclimate the laminate in the room where it will be installed for at least 48 hours to match the local humidity.
- Always use a 6-mil poly vapor barrier over concrete slabs to block moisture from reaching the HDF core.
- Check every plank for damaged tongues or grooves before clicking them together; a small chip can ruin the entire row.
- Maintain a 3/8 inch expansion gap around the entire perimeter including door frames and pipes.
- Use a tapping block and a dead-blow mallet to ensure joints are fully seated without damaging the finish.
- Seal all perimeter gaps in wet areas with 100 percent silicone to prevent water infiltration.
Final technical axioms
Success in flooring is found in the details that no one sees once the baseboards are on. It is the three hours spent with a grinder. It is the decision to buy the expensive 6-mil poly instead of the cheap stuff. It is the patience to let the planks acclimate for three days instead of rushing the job. If you treat the floor as a structural component, it will perform for decades. If you treat it like a rug, it will fail in a year. Use the weights. Check your level. Respect the physics of the material. Your knees will thank you, and your clients will have a floor that is as silent and solid as the day it was installed. A floor is a foundation for life, so build it like you mean it.