The ‘Sanding Block’ Secret for Seamless Laminate Edges
I’ve spent three decades on my knees with a moisture meter and a level, and my hands are permanently stained with the dust of a thousand jobs. Most guys skip the leveling compound. They think the underlayment will hide the dip. It won’t. I spent three days grinding concrete on a job last month just so the floor wouldn’t click like a castanet. That is the reality of the trade. If you think a carpet install covers up sins, you are right, but laminate is an unforgiving mirror. It reflects every bump and valley in your subfloor. When you walk across a poorly prepped floor, you hear that hollow tick-tick-tick. That is the sound of a failing locking mechanism. It is the sound of a homeowner who wanted to save fifty bucks on floor leveling and instead ruined a five-thousand-dollar investment. You cannot cheat the physics of a flat surface. You either do the work or you watch the joints separate before the first season is over.
The ghost in the expansion gap
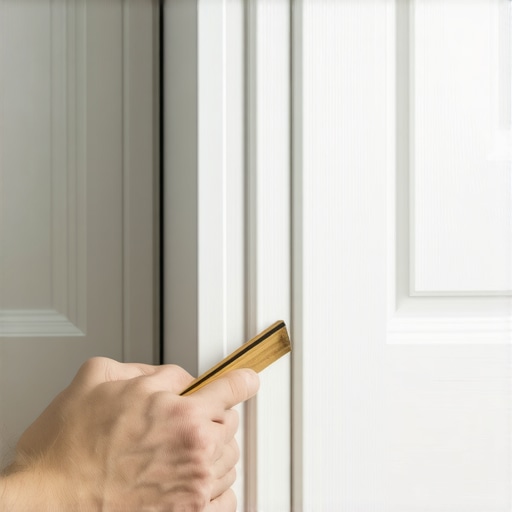
Laminate flooring requires a quarter-inch expansion gap around the entire perimeter to accommodate seasonal humidity shifts. Using spacers during the installation process ensures the HDF core does not buckle against the drywall. Failure to maintain this perimeter gap leads to peaking and joint failure under hydrostatic pressure. Most people look at the gap and see a mistake. I look at it and see a floor that can breathe. Wood fibers are hygroscopic. They take in moisture from the air and they grow. If you lock that floor tight against a wall, that energy has to go somewhere. It goes up. It turns your floor into a mountain range. I have seen laminate push hard enough to pop the baseboards right off the wall. You need to respect the gap. It is the difference between a floor that lasts twenty years and one that fails in twenty days.
“A floor is only as good as the subfloor beneath it; deflection is the enemy of every joint.” – Master Flooring Axiom
Why your subfloor is lying to you
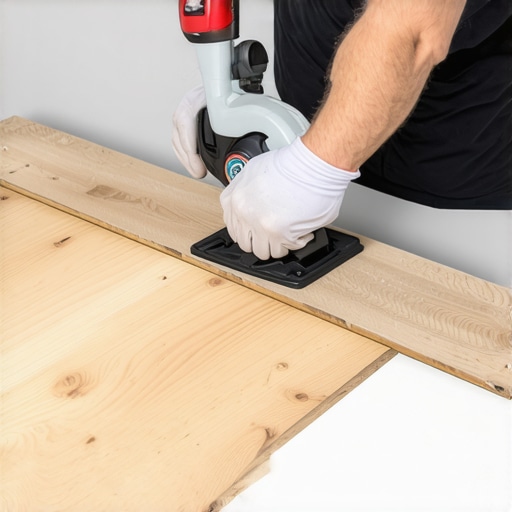
Floor leveling requires a 3/16-inch tolerance over a 10-foot radius to prevent laminate plank failure. Using self-leveling compound or Portland-based patch ensures the locking mechanism remains intact. Ignoring floor flatness leads to joint separation and audible clicking sounds during foot traffic. You might take a six-foot level and think it looks fine. It isn’t. You need a ten-foot straightedge. When you find a low spot, you don’t just dump some underlayment in it. You mix a high-flow self-leveler. I prefer a cementitious product with a high compressive strength, something over 4,000 PSI. You pour it, you use a spiked roller to get the air out, and you wait. If you rush this, the moisture in the patching compound will migrate into the underside of your laminate. Now you have cupping before you even put the furniture back. Concrete is like a sponge. It holds water for years. You need to use a calcium chloride test or a pinless moisture meter to check the Relative Humidity (RH) of that slab. If it is over 75 percent, you need a vapor barrier, not just a thin sheet of plastic.
Molecular friction and the sanding block technique
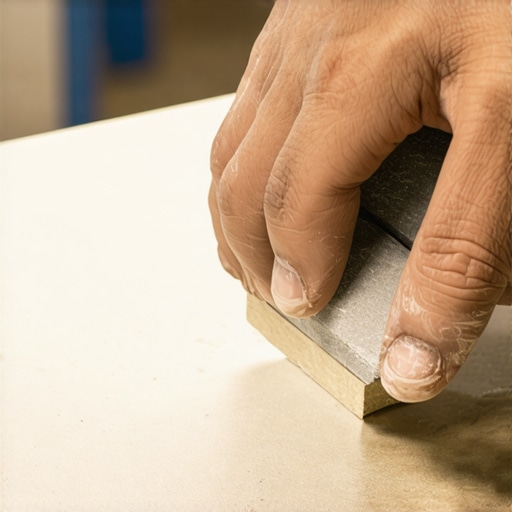
The sanding block secret involves using 220-grit sandpaper to lightly buff the factory edges of the laminate tongue. This removes micro-burrs and resin buildup that prevent the click-lock system from seating perfectly flush. This technique reduces mechanical friction and ensures tight-jointed aesthetics without damaging the wear layer. When high-density fiberboard (HDF) is cut at the factory, the blades create heat. That heat melts the resins used to bind the wood fibers. As the blade exits the cut, it leaves a tiny, microscopic ridge of hardened resin. You can’t see it, but you can feel it when the planks don’t want to snap together. I take a fine-grit sanding block and I give that tongue a single, quick pass. I am not trying to change the shape. I am just cleaning the machining artifacts. When you do this, the planks slide together like silk. No more tapping block abuse. No more mushrooming the edges because you had to hammer it home. It is a subtle move, but it is what separates a professional install from a DIY disaster.
| Feature | Laminate Flooring | Carpet Install | LVP (Vinyl) |
|---|---|---|---|
| Subfloor Tolerance | 3/16 inch per 10 ft | 1/2 inch per 10 ft | 1/8 inch per 10 ft |
| Moisture Resistance | Moderate (HDF Core) | Low (Pad retention) | High (Polymer) |
| Acclimation Time | 48 to 72 Hours | None | 24 to 48 Hours |
| Janka Hardness | N/A (Wear Layer) | N/A | N/A |
Why carpet installers struggle with rigid flooring
Carpet install professionals are used to tension-based systems where tackless strips and power stretchers handle the structural integrity of the surface. Transitioning to laminate requires a shift toward compression-based physics and structural rigidity. In a carpet job, you can hide a dip in the floor with a double layer of pad. If you try that with laminate, the floor will flex too much. That vertical deflection will snap the locking tongues right off the core. I have seen guys try to use carpet transitions for hard surface flooring. It doesn’t work. You need a Z-bar or a slim-track transition. You have to understand that laminate is a floating floor. It is not attached to the subfloor. It is one big, heavy rug made of wood. If you pin it down at the edges like you do with carpet, it will buckle in the middle when the humidity rises. You have to let it move. You have to let it breathe.
The 1/8 inch that ruins everything
Precision measurements in laminate installation mean the difference between a flush finish and a gapping floor. A deviation of just one-eighth of an inch at the start of your first row will result in a two-inch gap by the time you reach the other side of a twenty-foot room. This is called run-out. You have to square your room. Most houses are not square. They are rhombuses built by people in a hurry. I pull a 3-4-5 triangle to find my true square. I snap a chalk line. I don’t follow the wall. I follow the line. If the wall is crooked, I scribe the first row of laminate to match the wall while keeping the tongue side perfectly straight. It takes more time. It is a pain in the neck. But it is the only way to ensure the end joints stay tight across the entire floor span. If you start crooked, you stay crooked, and eventually, the locking system will just give up.
“Deflection is the silent killer of the floating floor; a subfloor that moves is a floor that fails.” – NWFA Technical Manual
Shower transitions and the moisture wall
Showers and wet areas represent the greatest threat to a laminate floor because of capillary action and high ambient humidity. Using a silicone-based sealant in the expansion gap near bathroom transitions prevents water infiltration into the HDF core. While many brands claim to be waterproof, that usually only applies to the top surface. If water gets into the groove or under the plank, the fiberboard will swell like a dry sponge in a bucket. This is called edge wicking. I never install laminate inside a bathroom with a shower unless I am using a mop-on sealer for the joints. Even then, I prefer a porcelain tile or a stone-plastic composite (SPC) for those areas. If you must use laminate, you need to be surgical with your caulking gun. You fill that perimeter gap with 100% silicone. This allows the floor to expand but keeps the subfloor dry. It is a structural barrier, not just a cosmetic one.
- Check subfloor flatness using a 10-foot straightedge.
- Perform calcium chloride moisture tests on all concrete slabs.
- Acclimate laminate planks in the room for at least 48 hours.
- Use a 220-grit sanding block on all tongue edges.
- Maintain a 1/4-inch expansion gap around all vertical obstructions.
- Seal all wet area transitions with 100% silicone sealant.
- Install a 6-mil poly vapor barrier over crawlspaces.
The chemistry of the wear layer also matters. Most laminate uses aluminum oxide suspended in a melamine resin. This creates a surface that is incredibly hard but also very brittle. If you drop a heavy tool, it won’t dent, it will shatter the resin matrix. This is why you need a clean workspace. A single piece of sawdust trapped in the locking groove can prevent the joint from closing. I keep a vacuum running the whole time. I wipe every groove before I click it in. It sounds obsessive. It is. But when I finish a job, you can’t even find the seam with a flashlight. That is what 25 years of experience looks like. You don’t get there by taking shortcuts. You get there by respecting the physics of the material and the structural reality of the subfloor. Get your kneepads on and do it right the first time. Your back might hurt, but your reputation will be solid.