Why Your Floor Leveler Turned Into a Dusty Mess Overnight
I smell like WD-40 and oak dust most days. My knees have the permanent callous of a man who has spent twenty five years chasing a flat plane across crooked joists and wet concrete. Most guys skip the leveling compound. They think the underlayment will hide the dip. It won’t. I spent three days grinding concrete on a job last month just so the floor wouldn’t click like a castanet. That sound is the death knell of a bad install. When a homeowner calls me because their self leveling underlayment is turning into white powder under their new laminate, I already know the autopsy results before I park the truck. You cannot cheat the chemistry of a cementitious bond. A floor is a structural performance surface. If you treat it like a cosmetic skin, it will fail you every single time. It will buckle. It will crunch. It will eventually turn back into the dust from which it came.
The science behind the dust
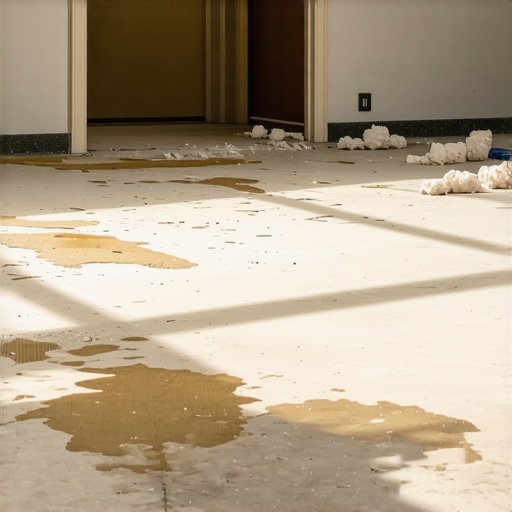
Floor leveling failure happens when the chemical hydration process of the cementitious underlayment is interrupted by high substrate porosity or excessive water-to-powder ratios. When calcium aluminate cement cannot form a stable crystalline matrix, the surface remains friable and lacks the compressive strength required for laminate or LVP installations. Most people think they can just pour and walk away. They are wrong. The physics of a subfloor require a perfect balance of moisture retention and mechanical grip. If the concrete slab underneath is too thirsty, it sucks the life out of the leveler before the crystals can lock together. You end up with a chalky mess that you can scratch away with a fingernail. It is a heartbreak that costs thousands to grind off and redo.
“A floor is only as good as the subfloor beneath it; deflection is the enemy of every joint.” – Master Flooring Axiom
The ghost in the expansion gap
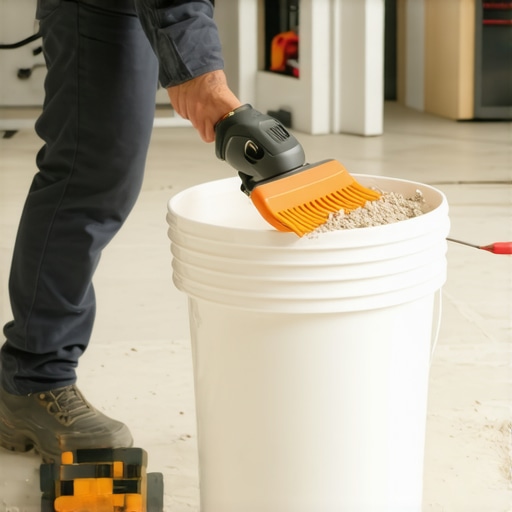
Expansion gaps are the lungs of a floor. If you do not give a floor room to breathe, it will choke. I have seen carpet install jobs where the tack strips pulled right out of the leveler because the leveler was too weak to hold the nail. This happens because the installer didn’t use a primer. Priming is the bridge between the old world and the new. Without a high-solids acrylic primer, the leveler is just sitting on top of the dust. It is a floating island of failure. You need that primer to soak into the pores of the concrete and create a tacky surface that the leveler can grab onto. If you skip this, the leveler dries too fast. The water leaves the mix, the chemistry stops, and you are left with a pile of expensive gray sand. I have seen guys try to mix it with a stick. You need a high-speed mixer to shear the polymers and get them working. If you don’t hear the motor straining, you aren’t doing it right.
The moisture factor in concrete slabs
Concrete is a sponge. It looks solid, but it is full of tiny straws called capillaries. If the Relative Humidity in your slab is too high, the leveler will never bond. If it is too low and you don’t prime, the slab steals the water. You need a calcium chloride test or an in-situ probe to know what is happening inside that rock. In wet environments like showers, this becomes even more dangerous. The Tile Council of North America is very clear about substrate preparation. If the leveler is dusty, your thin-set will not stick. Your tiles will pop like Pringles. You have to understand hydrostatic pressure. Water pushing up from the ground can turn a perfectly good leveler into a mushy soup over six months. Always check the moisture. Always.
| Leveler Condition | Cause of Failure | Physical Result | Fix Required |
|---|---|---|---|
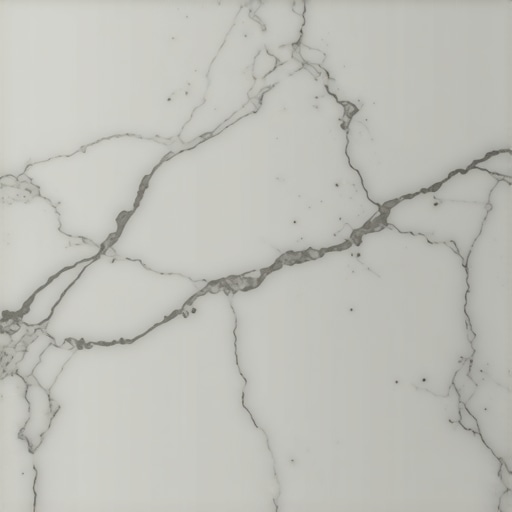
| Chalky Surface | Too much water in mix | Low compressive strength | Full removal and replacement |
| Pinholes | No primer used | Air bubbles escaping slab | Resurface with skim coat |
| Cracking | Movement in subfloor | Structural deflection | Sistering joists or bracing |
| Peeling | Contaminated slab | Bond breaking from oil/wax | Mechanical grinding |
The 1/8 inch that ruins everything
Modern flooring has tight tolerances. A click-lock laminate floor usually requires a floor to be flat within 1/8 of an inch over a 10 foot span. That is not a lot of room for error. If your leveler is dusty and uneven, the joints of your floor will be in a constant state of vertical deflection. Every time you walk across the room, the tongue and groove are rubbing together. Eventually, they snap. Then you have a floating floor that is actually floating away from itself. The Janka Hardness Scale tells us how tough the wood is, but it doesn’t matter how hard the oak is if the ground beneath it is soft. I tell people all the time that the floor is just the clothes. The subfloor is the skeleton. If the skeleton is brittle, the clothes will rip.
- Check the temperature. Never pour leveler if the room is below 50 degrees Fahrenheit.
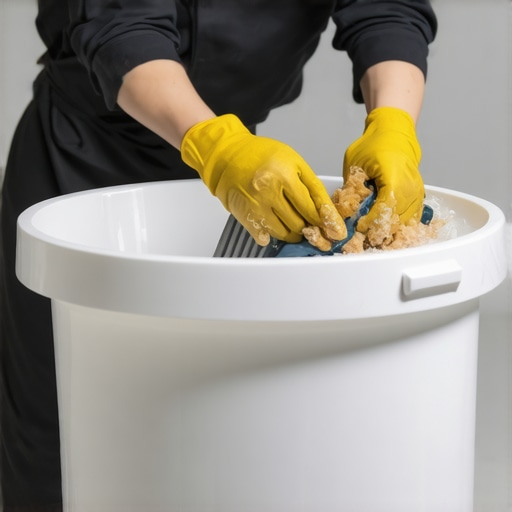
- Measure the water to the ounce. Using a bucket and “eyeballing” it is a recipe for a dusty floor.
- Mechanical preparation is king. Sometimes you have to use a diamond grinder to open the pores of the concrete.
- Use a spiked roller. This releases the air bubbles that cause the leveler to look like Swiss cheese.
- Let it cure. Don’t walk on it just because it looks dry. The chemistry takes 24 to 48 hours to finish.
When showers become swimming pools
In a bathroom, the leveler has a harder job. It has to handle intermittent saturation and vapor drive. If you use a standard interior leveler in a shower area without a waterproofing membrane like Schluter-Kerdi, you are asking for a mold factory. The leveler will absorb the moisture, lose its integrity, and the tiles will start to crunch. The TCNA Handbook warns that any substrate must be able to support the weight of the tile without bending. Dusty leveler has zero shear strength. If you can rub the surface and see a cloud of white, stop what you are doing. Do not lay tile. Do not pass go. You have to consolidate the surface with a deep-penetrating sealer or grind it off. There are no shortcuts in a wet area.
“Substrate preparation is 90 percent of the labor; the finish is just the reward for not being lazy.” – Master Flooring Axiom
The chemistry of the bond
Let’s look at the molecules. Self-leveling underlayments use superplasticizers to flow. These chemicals allow the cement to stay liquid with less water. If you add too much water because you want it to flow better, you drown the polymers. The polymers are what give the leveler its flexural strength. Without them, you just have a very thin, very weak layer of concrete. It is like trying to build a house out of crackers. It looks fine until you put a heavy kitchen island on top of it. Then the crackers crush. If you have radiant heat, the problem is even worse. The heat will expand the leveler. If it is dusty and weak, it will just turn into a powder under the heat cycles. You need a fiber-reinforced leveler for those jobs.
Why your subfloor is lying to you
You look at a concrete slab and it looks dry. It looks solid. It is lying. It is full of efflorescence and old adhesive residue. Even a tiny bit of yellow carpet glue from 1982 will kill the bond of a new leveler. You have to be a detective. I use a carbide scraper to test the strength of the old surface. If it flakes, the leveler will flake. People want the thickest underlayment because they think it feels soft, but too much cushion actually causes the locking mechanisms on LVP to snap under pressure. You want a flat, hard, stable base. A dusty leveler is none of those things. It is a failure in a bag. Follow the NWFA guidelines. Acclimate your materials. Test your slab. Don’t be the guy who has to call me to grind his mistakes off the floor at three times the original cost.