The ‘Paper Test’ for Finding High Spots Before Laying Laminate
Most guys skip the leveling compound. They think the underlayment will hide the dip. It won’t. I spent three days grinding concrete on a job last month just so the floor wouldn’t click like a castanet. That job was for a homeowner who had already fired two crews. The first crew told him the floor was fine because they used a thick pad. The second crew just slapped down planks and walked away with their check. Within two weeks, the clicking started. Every time someone stepped near the kitchen transition, the laminate joints groaned. When I pulled up those planks, I found a 3/16 inch high spot that acted like a fulcrum. It was a seesaw that eventually snapped the locking mechanism. This is why the paper test is the only thing standing between a professional install and a total failure. I have been on my knees for twenty five years with a moisture meter and a level. I know that a floor is not a decoration. It is a structural engineering challenge that begins the moment you clear the site to the subfloor.
The hidden danger of high spots on subfloors
A high spot on a subfloor is a localized elevation that exceeds the manufacturer tolerance for flatness, typically more than 1/8 inch over a 6 foot radius. These peaks create stress points on laminate locking systems, leading to joint failure, audible clicking, and premature wear of the wear layer. When you lay a floating floor over a humped subfloor, you are essentially creating a bridge. That bridge has no support on either side of the peak. Every step causes the plank to deflect. Over thousands of footfalls, the High-Density Fiberboard (HDF) core of the laminate begins to fatigue. The tongue and groove mechanisms, which are only a few millimeters thick, cannot withstand that constant vertical movement. They will crack. Once they crack, the floor starts to separate, and moisture from your mop or a spilled drink will find its way into the core, causing the edges to swell like a cheap sponge.
“A floor is only as good as the subfloor beneath it; deflection is the enemy of every joint.” – Master Flooring Axiom
The physics of the paper test method
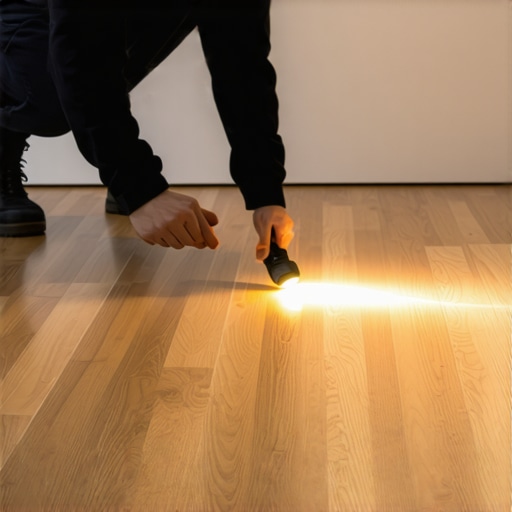
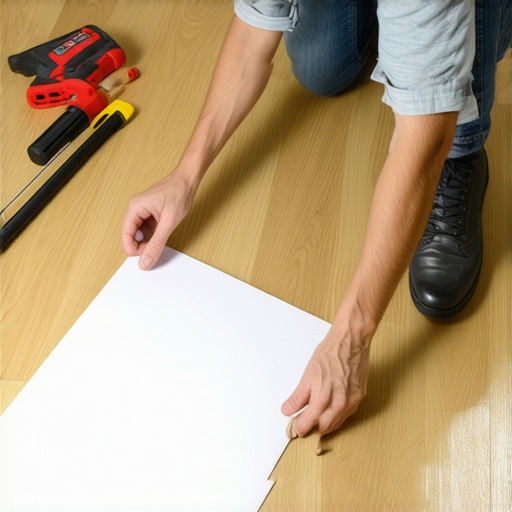
The paper test involves sliding a standard sheet of 20 pound bond paper under a professional straightedge to identify gaps and peaks across the subfloor surface. It translates visual observations into tactile measurements to ensure the surface meets the rigorous flatness standards required for modern click-lock laminate systems. You need a 6 foot or 10 foot straightedge. Do not use a 4 foot level from a big box store. It is too short to catch the long rolls in a concrete slab or the sag in a plywood subfloor. You place the straightedge on the floor and try to slide the paper underneath. If the paper slides through easily, you have a low spot. If the straightedge rocks back and forth like a cradle, you have found a high spot. The paper test is about finding the point where the light disappears under the level. If you cannot get a single sheet of paper under the level at any point along its length, you are working with a truly flat plane. This is rare. Most subfloors are a landscape of hills and valleys that need to be tamed before the first plank is clicked into place.
Tools required for precision subfloor mapping
Achieving a professional grade subfloor requires a specific kit including a 10 foot aluminum straightedge, a moisture meter, a grinding wheel with a vacuum shroud, and high quality leveling compounds. Using improper tools like short levels or low density underlayment leads to inaccurate readings and eventual floor failure under normal traffic loads. I always keep my straightedge in a padded case. If you drop it, it bends. A bent level is a liar. I also use a set of feeler gauges if I want to be surgical, but the paper test is the standard for field work because everyone has a piece of paper. You also need a wax crayon or a graphite pencil to mark the boundaries of the high spots. Never use a permanent marker or a spray paint that might bleed through the underlayment and stain the laminate from below. Chemistry matters. Some adhesives in markers react with the plasticizers in vinyl or the resins in laminate.
| Subfloor Material | Max Tolerance (10 ft) | Acclimation Time | Preferred Leveling Method |
|---|---|---|---|
| Concrete Slab | 1/8 inch | 72 Hours | Diamond Grinding |
| CDX Plywood | 3/16 inch | 48 Hours | Sanding/Shimming |
| OSB Board | 3/16 inch | 48 Hours | Replacement/Sanding |
The chemistry of subfloor leveling compounds
Self leveling compounds are high performance cementitious products engineered to flow into low spots and create a smooth, level surface with high compressive strength. These products utilize polymers to ensure a chemical bond to the existing substrate while maintaining enough flexibility to resist cracking under minor structural shifts. I see guys buying the cheapest bag of leveler they can find. That is a mistake. You want a product with a high MPa rating. If the leveler is too soft, it will crumble under the weight of your furniture. You also have to consider the moisture vapor emission rate (MVER) of the slab. If you trap moisture under a self-leveler without a proper primer, the osmotic pressure will pop that leveler right off the floor. I have seen entire rooms where the leveling compound came up in chunks because the installer didn’t use a primer. You must treat the concrete like a living thing. It breathes. It moves. If you don’t respect the chemistry, the floor will punish you.
- Clean the subfloor of all drywall mud and paint overspray.
- Check moisture levels using a calcium chloride test.
- Identify high spots using the 10 foot straightedge and paper test.
- Grind down concrete peaks using a dustless shroud system.
- Apply a high quality primer before using any leveling compound.
- Allow full cure time as specified by the manufacturer.
The ghost in the expansion gap
Expansion gaps are the intentional spaces left around the perimeter of a room to allow a floating floor to expand and contract with changes in atmospheric humidity. Failure to provide adequate gaps causes the floor to bind against walls, leading to buckling and the failure of locking mechanisms at the high spots. People think waterproof means stable. It does not. The core of a laminate floor is still wood fiber. When the humidity in your house goes from 30 percent in the winter to 60 percent in the summer, those planks are going to grow. If you have a high spot in the middle of the room, it acts like a pivot. As the floor tries to expand, it pushes against the wall and the high spot forces the joint upward. It is simple physics. You need at least 1/4 inch or 3/8 inch around every vertical obstruction. This includes door frames, cabinets, and pipes. I see people install kitchen islands on top of laminate. That is a crime. You are pinning the floor. It cannot move. When it tries to expand, it will buckle at the weakest point, which is always that high spot you ignored during the paper test.
“Standard installation practices require a flat surface to within 3/16 inch over 10 feet for all wood based laminate products.” – NWFA Technical Guidelines
Why your subfloor is lying to you
A subfloor may appear flat to the naked eye while hiding significant structural deviations that will compromise a laminate installation. Visual inspections are insufficient because light and shadows can mask gradual slopes and sudden peaks that only a precision straightedge and the paper test can reveal. I have walked onto jobs where the light coming through the window made the floor look like a mirror. Then I put my straightedge down and found a 1/2 inch dip. The subfloor is a liar. It is influenced by the settling of the foundation, the drying of the floor joists, and the weight of the walls above it. In older homes, the joists often crown. This creates a hump that runs right down the middle of the room. If you don’t grind that down or shim the low sides, your laminate will feel like a trampoline. You have to be cynical. Trust nothing. Measure everything. The paper test is your truth detector in an industry full of shortcuts and half truths.
The 1/8 inch that ruins everything
The difference of a mere 1/8 inch in subfloor height is enough to exceed the vertical deflection limits of most laminate locking systems. This small measurement represents the threshold between a quiet, durable floor and one that suffers from joint separation and structural clicking. Think about the thickness of a nickel. That is about 2 millimeters. If your floor is off by more than that, you are asking for trouble. Most manufacturers are very specific about this. If you file a warranty claim because your floor is falling apart, the first thing the inspector will do is put a straightedge on the floor. If they find a high spot, your warranty is void. They will blame the installer. And they will be right. The paper test is your insurance policy. It takes an extra hour to do it right, but it saves you thousands of dollars in replacement costs. Don’t be the guy who thinks the foam underlayment will fix it. Underlayment is for sound and minor imperfections, not for structural leveling.