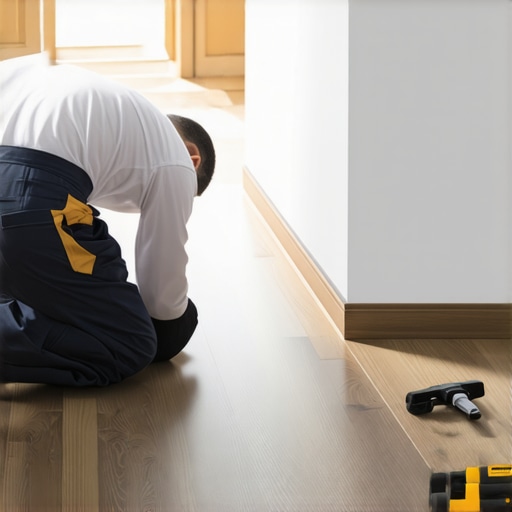
The ‘Masking Tape’ Trick for Cutting Laminate Without Chipping the Edge
The ‘Masking Tape’ Trick for Cutting Laminate Without Chipping the Edge
Most guys skip the leveling compound. They think the underlayment will hide the dip. It won’t. I spent three days grinding concrete on a job last month just so the floor wouldn’t click like a castanet. That job taught me that shortcuts always cost triple in the end. Whether you are dealing with a 12 millimeter thick plank or a thin budget product, the structural integrity starts with the slab and ends with the precision of your saw blade. I have seen fifteen thousand dollar installations ruined because the installer did not understand the physics of a splinter. I have spent twenty five years with sawdust under my nails and a moisture meter in my pocket. I have seen every failure in the book from cupping walnut to buckling vinyl. The trick to a professional finish is not just having the right tools. It is about understanding how materials react to stress and friction at a molecular level.
The physics of the brittle top layer
Laminate flooring consists of a high density fiberboard core topped with a photographic layer and a hard melamine or aluminum oxide wear layer. Chipping occurs because the saw blade teeth exit the brittle surface, pulling fragments upward and shattering the protective resin finish. This brittle nature is what gives laminate its scratch resistance, but it makes it a nightmare to cut. When the saw blade rotates, the teeth act like tiny chisels. As they exit the material, they exert upward pressure on the decorative layer. Since the melamine is hard and inflexible, it snaps rather than bends. This results in those ugly white jagged edges that even the widest T-molding cannot always hide. You need to provide a counter pressure to keep that surface intact.
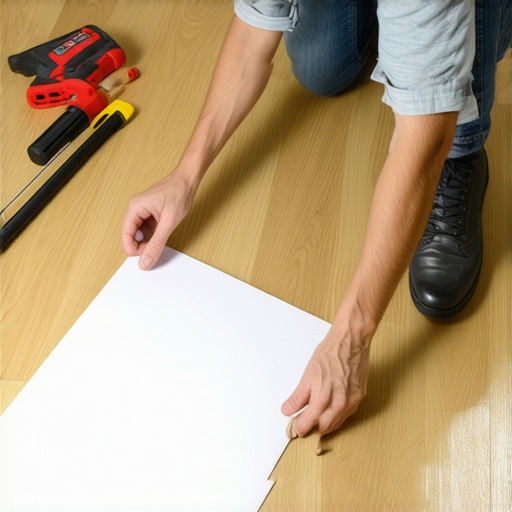
The mechanism of masking tape support
Applying high quality painters tape or masking tape directly over the cut line creates a temporary structural bond that holds the surface fibers in place. The adhesive provides the necessary tension to resist the upward force of the saw teeth, ensuring a clean shear rather than a shatter. When you wrap the tape around the edge of the plank, you are effectively creating a sandwich. The tape acts as a sacrificial layer. The saw blade must pass through the tape before it hits the wear layer. This micro-second of resistance stabilizes the melamine. Use blue or green painters tape because it leaves no residue on the surface of your laminate. I have seen guys use duct tape, which is a disaster. The aggressive adhesive of duct tape can actually pull the decorative film off the board when you try to remove it. Stick to the medium tack options for the best results.
Why your subfloor is lying to you
Proper floor leveling is the foundation of any laminate project and must be completed before you ever pull out a saw. If your subfloor has a deviation of more than three sixteenths of an inch over a ten foot radius, your planks will flex and eventually break. I see this every day. A homeowner thinks the foam underlayment will act like a giant sponge and soak up the bumps. It does not. All it does is create a void. Every time you walk over that void, the locking mechanism on your laminate planks flexes. Over time, that friction generates heat and mechanical fatigue. The joints will start to separate, and once they do, the floor is toast. You need to use a self leveling compound or a grinder to ensure that surface is flat as a billiard table. This is especially true when transitioning from a space that recently had a carpet install. Removing tack strips leaves hundreds of tiny craters that need to be filled.
“A floor is only as good as the subfloor beneath it; deflection is the enemy of every joint.” – Master Flooring Axiom
The danger of laminate in showers and wet areas
While many modern products are marketed as waterproof, they are rarely suitable for high moisture environments like showers or wet rooms. The core of the laminate is still wood fiber, which will expand if water penetrates the seams or the perimeter expansion gaps. I have had clients ask if they can run laminate right up to the edge of a walk in shower. My answer is always a firm no. If you want that look, go with a luxury vinyl plank or a porcelain tile. Laminate is a sponge in disguise. Even the best ‘waterproof’ laminate relies on a tight seal at the joints and a silicone bead at the perimeter. In a bathroom, the humidity levels fluctuate wildly. This causes the planks to grow and shrink. If that movement is restricted by a heavy vanity or a tight fit against a shower pan, the floor will buckle.
The transition from a carpet install
Switching from carpet to laminate requires a total recalibration of the subfloor and the door casings. Carpet hides a multitude of sins that laminate will highlight, such as protruding nails and uneven plywood seams. When you pull up old carpet, you are often left with a mess of staples and tack strip holes. You cannot just lay your underlayment over this. You need to spend the time to pull every single staple. If a staple is left behind, it will eventually rub against the bottom of the laminate. This creates a clicking sound that will drive you crazy. It sounds like a ghost walking through your house. I always tell my apprentices that the prep work is ninety percent of the job. The actual plank laying is just the reward for a job well done.
Technical specifications and blade selection
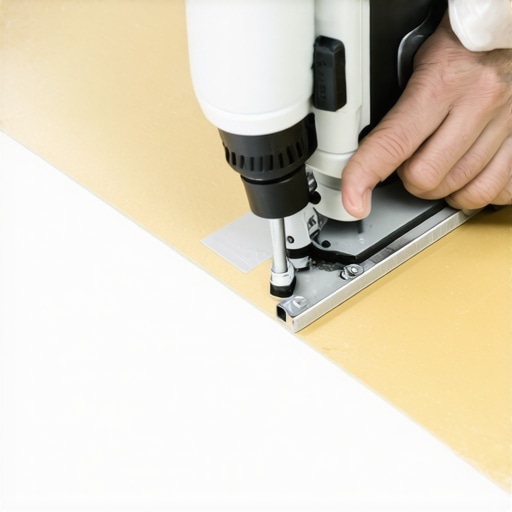
The type of blade you use is just as important as the tape trick. You want a high tooth count blade, typically eighty teeth or more for a twelve inch miter saw. A low tooth count blade is meant for framing and will chew through laminate like a chainsaw. You also need to pay attention to the Janka hardness of your material. While Janka is usually for solid wood, it gives you an idea of the density you are dealing with.
| Blade Type | Tooth Count | Cut Quality | Best Use Case |
|---|---|---|---|
| Framing Blade | 24-40 | Poor | Rough framing only |
| Fine Finish | 60-80 | Good | Baseboards and trim |
| Ultra Fine | 80-100 | Excellent | Laminate and veneers |
| Diamond Blade | N/A | Superior | Porcelain and stone tile |
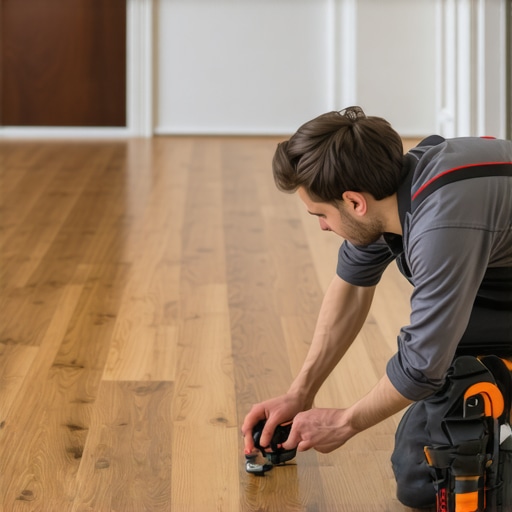
The checklist for the perfect cut
Before you make your first cut, follow these steps to ensure you do not waste a single plank. Laminate is expensive, and mistakes add up fast.
- Acclimate the flooring in the room for at least forty eight hours to stabilize the moisture content.
- Measure twice and mark your cut line on the masking tape, not the board itself.
- Check the rotation of your saw blade to ensure it is cutting into the decorative face, not out of it.
- Verify that your subfloor moisture is below twelve percent for wood or four percent for concrete.
- Set your saw to a high RPM to ensure a clean shear through the melamine.
The ghost in the expansion gap
An expansion gap is not a suggestion, it is a structural requirement for any floating floor installation. You must leave at least a quarter inch to a half inch gap around the entire perimeter of the room to allow for seasonal movement. I once walked into a house where the laminate was peaking at the seams. It looked like a series of small mountains. The installer had jammed the planks tight against the drywall. When the humidity went up in the summer, the floor had nowhere to go but up. I had to go around the entire room with a toe kick saw to create the gap that should have been there in the first place. This is a common mistake for DIYers who want a tight look. Remember, the baseboard and shoe molding are there to cover that gap, not to hide your laziness. Laminate is a living, moving thing. You have to respect its need to breathe.
“Deflection in the subfloor will manifest as failure in the finish floor, regardless of the material quality.” – TCNA Installation Standards
The chemistry of adhesive and bonds
If you are doing a glue down installation, which is rare for laminate but common for some engineered products, the chemistry of the adhesive is paramount. You need to understand the flash time. If you lay the floor too early, the moisture in the glue will cause the HDF core to swell. If you wait too long, the glue will skin over and you will get no transfer. It is a delicate balance. This is why I prefer the click lock systems for residential laminate, provided the subfloor is flat. The mechanical bond of a high quality locking system is often superior to a cheap adhesive bond in a high humidity environment. Humidity is the silent killer of floors. It creeps in from the crawlspace and wreaks havoc before you even notice the smell of mold.
The zero threshold dream
Everyone wants that flat, uninterrupted look from room to room. In the world of laminate, that is a dangerous game. Most manufacturers require a T-molding in any doorway or any room longer than thirty feet. This is because the mass of the floor becomes too great for the expansion gaps to handle. If you try to run one continuous floor through a whole house, the cumulative expansion will eventually pull the joints apart or cause a massive buckle in the center of the house. I know T-moldings are ugly. I hate them too. But they are a necessary evil. They act like the expansion joints on a bridge. Without them, the structure fails. If you want a zero threshold look, you have to switch to a glue down product that does not move as much. But even then, you are fighting the laws of physics. Wood moves. Heat expands. Cold contracts. You cannot change these facts.