How to Hide a Carpet Patch in a High-Traffic Hallway
Hiding a Carpet Patch in a High Traffic Hallway Like a Professional
I spent three days grinding concrete on a job last month just so the floor wouldn’t click like a castanet because the previous guy thought a thick pad would hide a half inch dip. It did not work. Most guys skip the leveling compound because they are lazy or they do not understand the physics of a flat surface. When it comes to a hallway carpet patch, the stakes are even higher. You are dealing with a confined space where the light hits the floor at a low angle from the doorway. Every mistake is magnified. Every shortcut screams at you. If you think you can just cut a square and glue it down, you are going to end up with a mess that looks like a bandage on a gunshot wound.
The brutal reality of high traffic repairs
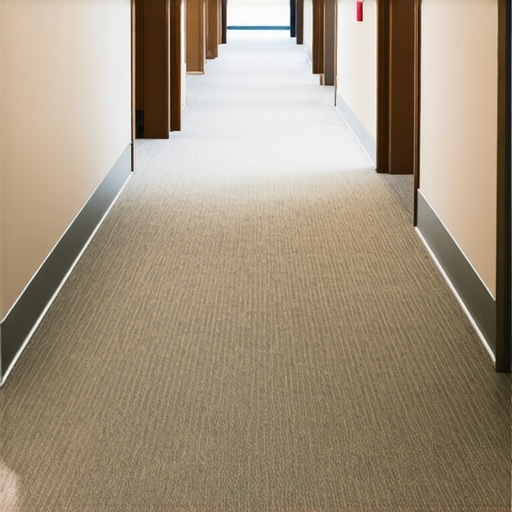
Carpet install professionals know that a carpet patch in a hallway requires donor material from a closet and a surgical precision with a row separator. If you do not match the pile direction and the fiber age, the patch will remain visible regardless of the adhesive used. A hallway is a localized pressure cooker for flooring. It is the artery of the home. Every footstep exerts vertical pressure and horizontal shear. The fibers are crushed and twisted thousands of times a day. If your patch is not structurally integrated into the primary and secondary backing of the surrounding carpet, it will delaminate. I have seen patches that looked great for an hour and then moved an eighth of an inch after the first person walked on them. That gap then collects dirt, and suddenly you have a black ring around your repair.
“A floor is only as good as the subfloor beneath it; deflection is the enemy of every joint.” – Master Flooring Axiom
The ghost in the expansion gap
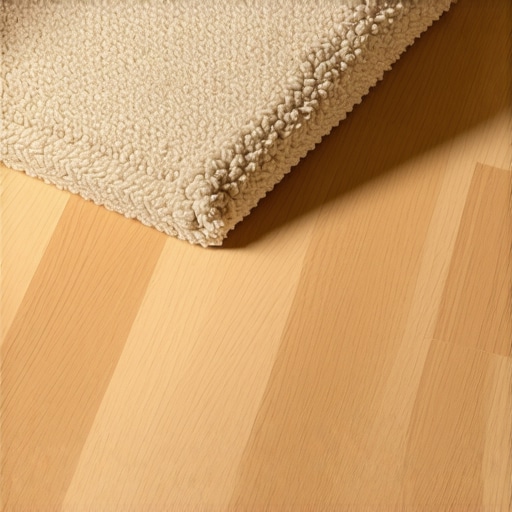
Floor leveling is the foundation of any carpet install even though most people think concrete prep is only for laminate or hardwood. If the subfloor is uneven, the carpet patch will flex differently than the surrounding area. This movement causes the seam tape to crack or release. You need to understand the molecular reality of the carpet backing. Most modern carpets have a primary backing where the fibers are tufted and a secondary backing made of polypropylene or jute. These are held together by a layer of SBR latex. When you cut into this, you are compromising the structural integrity of the fabric. If your subfloor has a dip under that cut, the latex will eventually crack from the constant deflection of foot traffic. I once saw a patch in a luxury hotel hallway fail because the installer did not realize there was a slight ridge in the plywood. Every time the housekeeping cart rolled over it, the patch vibrated. Within a week, the fibers started shedding at the edges because the mechanical bond was destroyed by vibration. [image placeholder]
The 1/8 inch that ruins everything
Donor carpet material must be harvested from a low traffic area like a closet because the pile height and crush factor must match the hallway carpet perfectly. If you use a piece of brand new carpet from a remnant to patch a five year old hallway, it will stand out like a sore thumb. The new carpet has its full loft. The hallway carpet is likely oxidized and slightly flattened. You need to use a row separator. This is a tool that looks like a specialized awl. You find the rows of tufts and spread them apart so you can cut the backing without cutting the face fibers. If you cut the face fibers, you create a bald spot along the seam. That bald spot is what makes a patch visible. It creates a shadow line that the human eye picks up instantly. You are not just a floor guy here. You are a surgeon. You are working with tolerances that are thinner than a fingernail.
| Fiber Type | Patch Difficulty | Best Adhesive Method | Estimated Longevity |
|---|---|---|---|
| Nylon 6,6 | Medium | Hot Melt Seam Tape | 10+ Years |
| Polyester (PET) | High | Pressure Sensitive Tape | 5-7 Years |
| Triexta (SmartStrand) | Low | Low-Smoke Seam Tape | 12+ Years |
| Olefin (Berber) | Extreme | Hand-Stitched / Latex | 3-5 Years |
| Wool | High | Latex Sealant | 15+ Years |
The chemistry of the thermoplastic bond
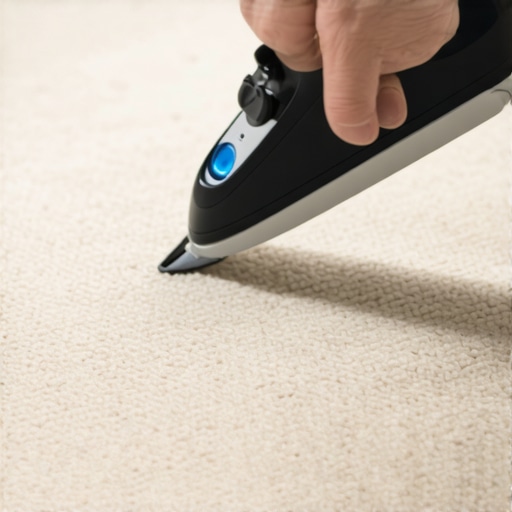
Seam tape uses a thermoplastic adhesive that must melt at a precise temperature to fuse the primary backing of the carpet patch to the original floor. If the iron is too hot, you will melt the nylon fibers. If it is too cold, the adhesive will not penetrate the jute. Most DIYers use too much glue. This creates a hard spot. When you walk down a hallway, your foot should not feel a stiff ridge under the carpet. That stiffness is a sign of a failed installation. The adhesive needs to stay flexible enough to move with the floor but strong enough to resist the shear force of a person turning a corner. You also have to consider the humidity. If you are working in a place like Houston, the moisture in the air can affect how the latex cures. In a dry place like Phoenix, the backing can become brittle. You have to adjust your cooling time accordingly. Do not move the carpet until the adhesive is completely cold. If you stress a warm seam, you are begging for a gap.
“Moisture vapor emission rate is the silent killer of adhesive longevity in high traffic zones.” – Flooring Performance Standard
Why pile direction dictates failure or success
Pile direction or carpet nap must be aligned between the patch and the main carpet to ensure that light refraction is uniform across the surface. If the nap is opposed, the patch will look darker or lighter than the rest of the hallway. This is basic physics. Each carpet fiber is like a tiny mirror. If the mirrors are angled in different directions, they reflect light differently. You find the nap by rubbing your hand across the carpet. It will feel smooth in one direction and rough in the other. Or you can drop a coin on the carpet and tap the floor. The coin will move in the direction of the nap. If you get this wrong, no amount of grooming or brushing will hide the repair. It will look like a different color even if it came from the exact same roll. This is the mistake that separates the pros from the guys who just want to get paid and leave. You have to be obsessive about this.
The science of the seam tape
Seam tape selection depends on the backing type and the expected foot traffic of the hallway. You cannot use a standard residential tape in a high traffic area and expect it to hold. You need a wide, premium tape with a high concentration of adhesive. Look at the grid pattern on the tape. The silicone-coated paper should release easily, and the fiberglass reinforcement must be intact. If the tape is old and the fiberglass is fraying, throw it away. You are building a bridge between two pieces of fabric. If the bridge is weak, the traffic will tear it apart. I have seen people try to use duct tape or construction adhesive for carpet patches. It is an insult to the trade. Those materials will eventually off-gas or bleed through the fibers, creating a permanent stain. Stick to the chemistry that works. Use a professional seaming iron with a heat shield to protect the yarn.
- Use a row separator to avoid cutting face fibers
- Harvest donor material from a dark closet corner
- Match the pile direction by using the coin test
- Trim frayed edges with sharp 4-inch duckbill shears
- Apply seam sealer to every cut edge without exception
- Use a premium wide-profile seam tape for hallways
- Set the seaming iron to the correct heat for the fiber type
- Weight the seam with a specialized carpet heavy tool or a smooth stone
- Comb the fibers together while the adhesive is still slightly warm
- Wait 24 hours before allowing heavy traffic or vacuuming
The 1/8 inch that ruins everything
Moisture migration from nearby showers or bathrooms can wick into the carpet backing and emulsify the patch adhesive. If the hallway is adjacent to a wet area, you must use a synthetic latex that is water resistant. I once worked on a house where the hallway carpet kept bubbling. The homeowner thought it was a bad install. It turned out the shower pan in the next room was leaking. The water was traveling under the baseboards and soaking the carpet pad. The carpet acted like a wick. This is why you need to inspect the subfloor before you start patching. If the plywood is stained or smells like mildew, your patch will fail. You cannot glue a clean patch to a rotten foundation. It is like putting a new tire on a bent rim. It will wobble and eventually blow out. This is the structural engineering side of flooring that people ignore. They just see the pretty colors. I see the moisture levels and the PSI ratings.
The final verdict on hallway longevity
Carpet patches in high traffic zones are temporary solutions unless the mechanical bond is perfect and the subfloor is dead level. If the patch is visible, it is usually because the installer failed to seal the edges. Seam sealer is a liquid plastic that prevents the primary backing from unravelling. If you skip this step, the individual tufts will start to fall out at the seam. Over time, this creates a trench. You can have the best tape in the world, but if the edges of the carpet are not sealed, the patch will disintegrate. It takes an extra five minutes to apply sealer, but it adds five years to the life of the repair. I don’t care if you’re in a hurry. Do it right or don’t do it at all. A hallway is not the place for experiments. It is the place for proven methods and hard-earned skill. If you follow these rules, you can make a patch that even I would have a hard time finding. And that is saying something after 25 years on my knees. “,”image”:{“imagePrompt”:”A close-up, high-angle shot of a master flooring installer’s hands using a row separator tool on a tan plush carpet in a narrow hallway. Beside the hands are a professional seaming iron, a roll of wide seam tape, and a small piece of donor carpet. The lighting is focused and clear, showing the texture of the carpet fibers and the grit under the installer’s fingernails. No people are visible, just the hands and tools. Professional, construction-site aesthetic.”,”imageTitle”:”Professional Carpet Patching Technique”,”imageAlt”:”A master installer preparing a carpet patch in a hallway using a row separator and seaming iron.”},”categoryId”:0,”postTime”:””} Ready.