The ‘Quarter Test’ for Checking Grout Joint Width
Most guys skip the leveling compound. They think the underlayment will hide the dip. It won’t. I spent three days grinding concrete on a job last month just so the floor wouldn’t click like a castanet. That is the reality of professional flooring. If the foundation is trash, the finish is trash. You can buy the most expensive Italian porcelain in the world, but if your subfloor has a 1/4 inch dip over ten feet, those tiles will lip, crack, or pop within two seasons. I have seen it a thousand times. Homeowners focus on the color of the grout, while I am looking at the deflection rating of the joists. You have to respect the physics of the assembly or the assembly will fail you.
The logic of the quarter test for grout
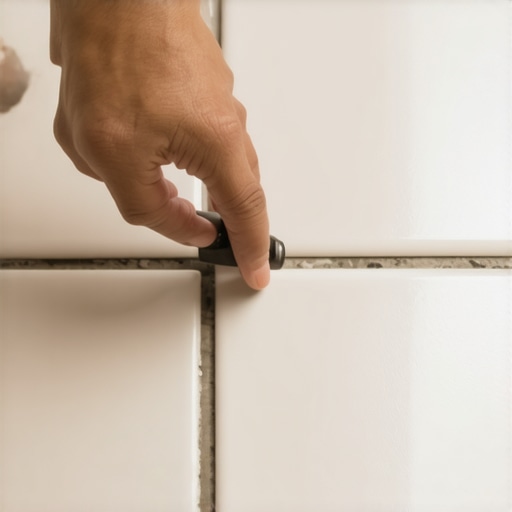
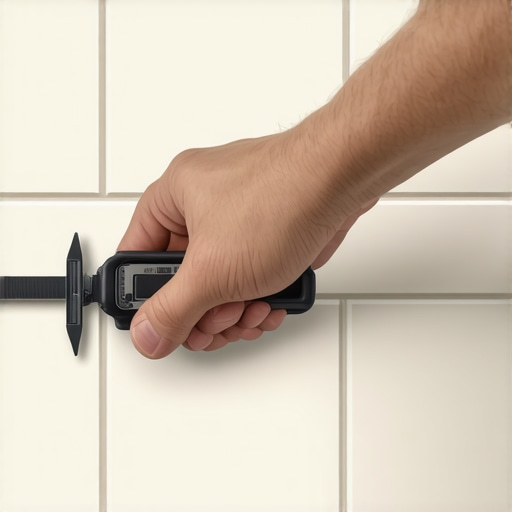
A standard United States quarter measures approximately 0.069 inches in thickness, making it a nearly perfect physical gauge for a 1/16 inch grout joint. Using this coin allows installers to verify that tile spacing remains consistent across large spans where plastic spacers might compress or slip during the setting process. This 1.75mm thickness provides a tactile reference point that is more reliable than a visual estimate, especially when working with rectified tiles that demand razor thin lines. When you slide that coin into the joint, it should fit snugly without forcing the tiles apart. If it drops in with room to spare, your joint is heading toward 1/8 inch, and your layout will eventually drift out of square. This is not just about aesthetics; it is about the structural distribution of the grout material itself.
The physics of grout joint chemistry
Grout is more than a decorative filler between tiles. It is a cementitious or epoxy based bridge designed to handle the microscopic movements of a building. When we talk about grout, we are talking about the hydration of Portland cement and the suspension of aggregate. In a narrow joint, like the one measured by a single quarter, the ratio of water to cement is vital. If you add too much water to make it easier to spread, you weaken the crystalline structure as it cures. The result is pinholes and powdery joints that will wash away the first time someone uses a heavy duty steam mop. For joints wider than 1/8 inch, you need sanded grout. The sand acts as a structural skeleton, preventing the grout from shrinking and cracking as the moisture leaves the mix. In a tight 1/16 inch joint, the sand grains would be too large to pack densely, which is why we use unsanded or high performance polymer modified grouts for that quarter width precision.
“A floor is only as good as the subfloor beneath it; deflection is the enemy of every joint.” – Master Flooring Axiom
Why your subfloor is lying to you
Floor leveling is the most ignored phase of a tile or laminate installation, yet it dictates the lifespan of the entire surface. A subfloor that appears flat to the naked eye often contains undulations that create air pockets beneath your flooring material. For a carpet install, these dips are hidden by the padding, but for hard surfaces, they are a death sentence. In showers, an unlevel subfloor leads to improper drainage and standing water, which eventually breaches the waterproofing membrane. You need to pull a ten foot straightedge across the room. If you see light under that bar, you have work to do. I use a self-leveling underlayment with a high compressive strength, usually over 4,000 PSI, to ensure the base is rock solid. If you ignore this, your grout joints will eventually crumble because the tiles are flexing into those voids every time someone walks across the room.
| Grout Type | Minimum Width | Max Width | Primary Use Case |
|---|---|---|---|
| Unsanded | 1/16 inch | 1/8 inch | Polished stone and tight joints |
| Sanded | 1/8 inch | 5/8 inch | General floor tile and heavy traffic |
| Epoxy | 1/16 inch | 1/2 inch | Commercial kitchens and showers |
The 1/8 inch that ruins everything
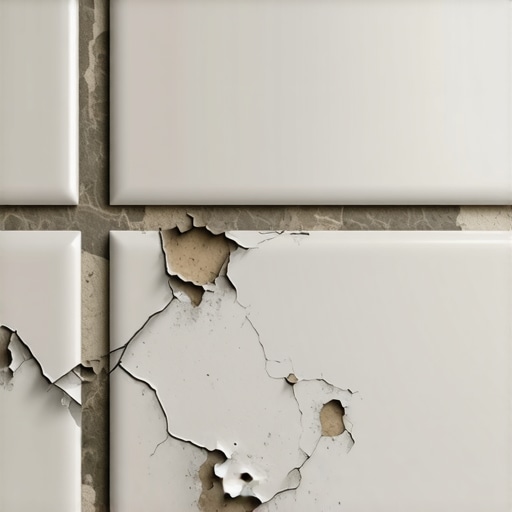
Precision in spacing is the difference between a floor that looks professional and one that looks like a DIY disaster. When grout lines are inconsistent, the human eye picks up on the misalignment instantly. This is particularly dangerous when installing large format tiles, which are anything larger than 15 inches on one side. These tiles often have a slight crown or bow from the kiln firing process. If you try to set them with a joint narrower than a quarter, you will deal with lippage, where one tile edge sits higher than the neighbor. This creates a trip hazard and an ugly shadow line. By maintaining a strict 1/16 or 1/8 inch gap, you provide enough space for the grout to ramp slightly between the tiles, masking those minor manufacturing variances. In humid regions like the Gulf Coast, the moisture in the air causes subfloors to expand, making these gaps even more necessary to prevent tenting.
The ghost in the expansion gap
Expansion joints are mandatory per TCNA EJ171 standards, yet they are the first thing lazy installers skip. Every 20 to 25 feet in a large interior space, you need a soft joint filled with 100 percent silicone rather than hard grout. This allows the entire floor assembly to move as the temperature and humidity change. Without this, the floor will eventually buckle or the grout will turn to dust at the stress points. This applies to laminate and carpet install transitions as well. A laminate floor is a floating system; it needs at least a 1/4 inch gap at every wall and vertical obstruction. If you lock it tight against the baseboard, the floor will peak at the seams. I have seen entire living rooms lift off the ground because the installer did not leave room for the wood fibers to breathe. It is the same with showers; every change of plane, like where the wall meets the floor, must be a silicone joint, not grout. Grout cannot handle the differential movement of two different planes.
Checklist for a successful tile installation
- Verify subfloor deflection meets L/360 for ceramic and L/720 for natural stone.
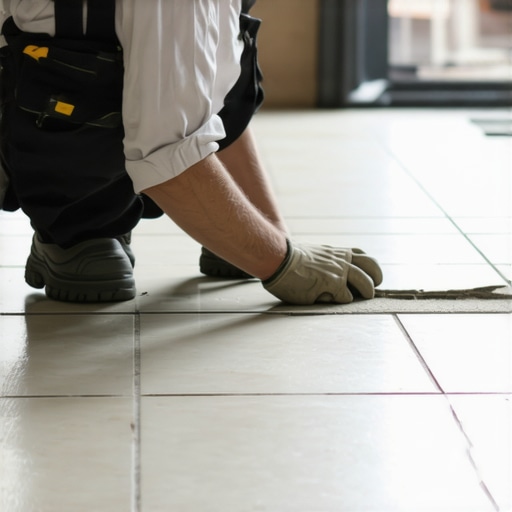
- Clean all debris from the thin-set tracks before the adhesive skins over.
- Check grout joint width every three rows using the quarter test for consistency.
- Ensure 95 percent mortar coverage in wet areas like showers to prevent mold.
- Wait at least 24 hours before grouting to allow the moisture in the thin-set to escape.
- Mix grout with a low speed drill to avoid introducing air bubbles into the mix.
“Industry standards like those from the TCNA are not suggestions; they are the minimum requirements for a permanent installation.” – Tile Council of North America Guidelines
The reality of moisture and wear layers
When you are dealing with laminate or LVP, people get obsessed with the wear layer. They want the 20 mil or 30 mil thickness. While the wear layer protects against scratches, it does nothing for the stability of the core. If your floor leveling was skipped, that thick wear layer will not save the click locking mechanism from snapping. The same goes for moisture. I always use a 6 mil poly film over concrete slabs, even if the flooring says it has an attached pad. Concrete is a sponge; it constantly pulls moisture from the earth. If that vapor hits the underside of your flooring, it will cause delamination or mold growth. You cannot fight biology and chemistry with a fancy brand name. You fight it with proper barriers and flat surfaces. This is the difference between a floor that lasts five years and one that lasts fifty. Stop looking at the surface and start looking at what is underneath. That is where the real architecture of the floor happens.