How to Fix Gaps in Laminate Planks Without Pulling the Whole Floor
I have spent over twenty five years on my knees with a moisture meter in one hand and a level in the other. My work boots are usually caked with floor leveling compound and my clothes carry the scent of WD-40 and fine oak dust. I do not see a floor as a decoration or a color choice. I see it as a structural performance surface that is constantly in a state of kinetic struggle with the environment around it. Most guys skip the leveling compound. They think the underlayment will hide the dip. It won’t. I spent three days grinding concrete on a job last month just so the floor wouldn’t click like a castanet. When you see a gap in your laminate, you are looking at a failure of physics, not just an ugly crack. Most people think they need to rip the whole room up, but that is the talk of someone who does not understand how these locking mechanisms actually function. You can fix this without the teardown if you understand the friction coefficients and the chemical bonds involved in the process.
The ghost in the expansion gap
Laminate floor gaps occur when planks separate due to temperature fluctuations, subfloor unevenness, or high humidity affecting the HDF core. To fix this without removal, use a floor gap fixer tool or a wood block with double sided tape to tap the planks back into their locking mechanism positions. This separation usually starts at the ends of the room where the expansion gap was either too small or the furniture is too heavy. Laminate is a floating system. It moves as a single unit. When one part of that unit gets pinned down, the tension has to go somewhere. It usually results in a gap that looks like a missing tooth in your beautiful floor. I have seen gaps wide enough to swallow a nickel simply because the installer did not leave the mandatory space at the perimeter. The floor tried to grow, hit the wall, and buckled or pulled apart at the weakest joint. If you have carpet install transitions nearby, the tension from the carpet stretchers can sometimes pull the laminate planks away from their neighbors if they were not seated correctly in the first place.
“A floor is only as good as the subfloor beneath it; deflection is the enemy of every joint.” – Master Flooring Axiom
Why your subfloor is lying to you
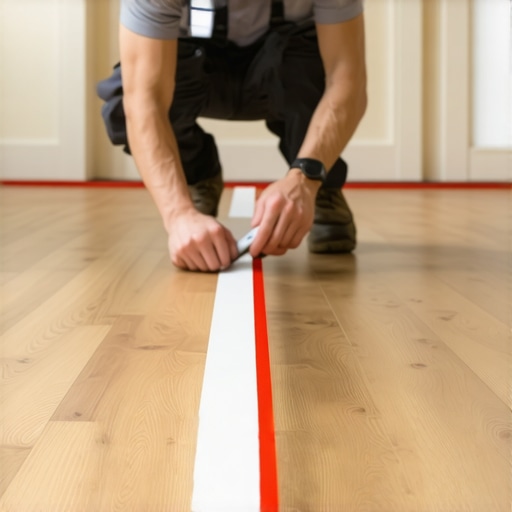
A subfloor that looks flat to the naked eye is often a series of peaks and valleys that cause laminate joints to fail. Use a ten foot straightedge to check for deviations exceeding 3/16 of an inch over a ten foot radius to prevent planks from unzipping under weight. If your subfloor has a dip, every time you step on that spot, the laminate flexes. This is called deflection. Over months of walking, that constant vertical movement acts like a crowbar on the tongue and groove system. Eventually, the locking profile snaps or simply slides out of its groove. This is why floor leveling is not an optional step. I use self leveling underlayment that has a high polymer content to ensure it bonds to the substrate without cracking. If you are dealing with a concrete slab, you also have to worry about the calcium chloride test results. High moisture emission will swell the bottom of the HDF core, causing the plank to cup and the joints to pull apart. You can’t fix a gap permanently if the floor is dancing on a wavy subfloor.
The physics of the floating floor
Floating floors rely on a mechanical lock and friction to stay together while the entire assembly expands and contracts. Gaps appear when the friction between the underlayment and the plank exceeds the strength of the locking mechanism or when the perimeter is locked in place by heavy objects. The friction coefficient of your underlayment matters. Some cheap foam underlayments are too grippy, which prevents the floor from sliding as it should. On the other hand, an underlayment that is too thick and soft allows for too much vertical movement. This is a common mistake I see. Homeowners think a thicker pad means a softer walk. In reality, a thick pad is a death sentence for laminate click joints. It creates a trampoline effect that pulls the joints apart. You want a high density underlayment with a low thickness, usually around 2mm to 3mm, to provide support without allowing excess flex.
| Factor | Technical Specification | Impact on Gapping |
|---|---|---|
| HDF Density | 800-900 kg/m3 | Higher density resists joint failure |
| Subfloor Flatness | 3/16 inch per 10 feet | Reduces vertical deflection stress |
| Expansion Gap | 1/4 to 1/2 inch | Prevents floor from hitting walls and buckling |
| Underlayment Compression | >20 psi | Prevents locking mechanism snap |
The hammer and the block technique
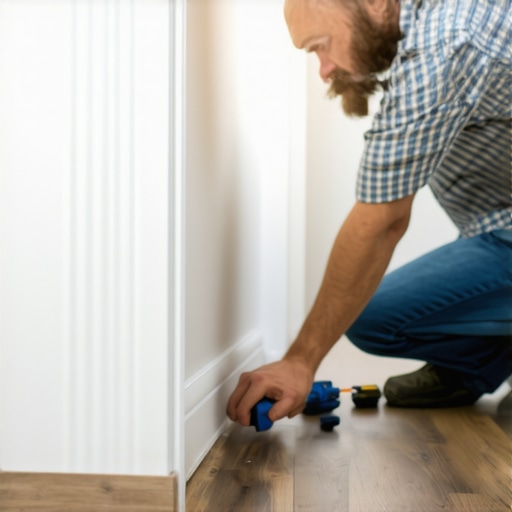
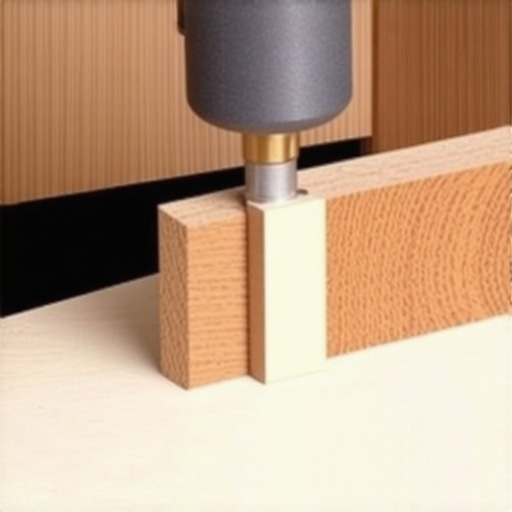
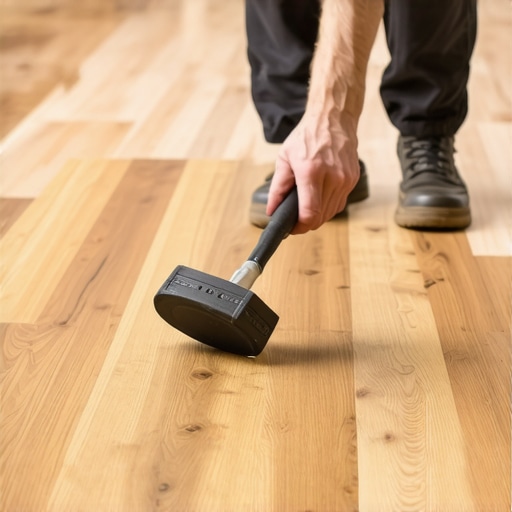
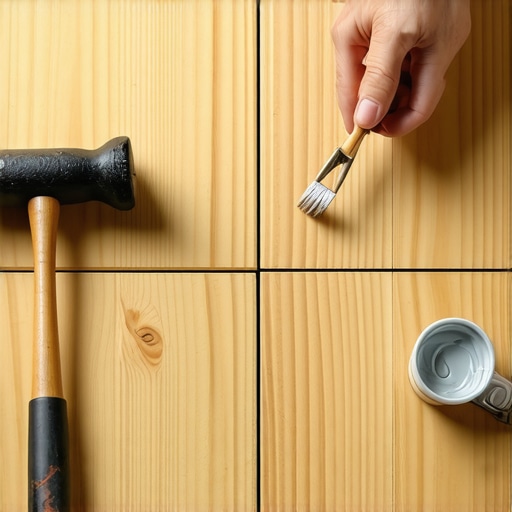
Fixing a laminate gap requires a floor gap fixer tool or a homemade traction block to slide the plank back into place without damaging the tongue. Apply a high quality wood glue or PVA adhesive to the groove before closing the gap to ensure the repair lasts for years. You start by cleaning the gap. I use a vacuum with a narrow crevice tool to get every bit of dust out. If there is grit in the joint, it will never close. Once clean, you take a scrap piece of 2×4 and apply a heavy duty double sided carpet tape to one side. Stick that block onto the plank you want to move. Then, you use a mallet to hit the end of the block in the direction of the gap. The kinetic energy transfers through the tape to the plank, sliding it home. I always put a bead of adhesive in the groove first. Not just any glue, but a technical PVA glue that remains slightly flexible. This creates a chemical bridge that helps the mechanical lock do its job. Do not use a metal hammer directly on the floor. You will mushroom the edges and ruin the wear layer.
- Vacuum the gap thoroughly to remove all debris and grit.
- Apply a thin bead of PVA wood glue into the open groove.
- Attach a traction block or gap fixer tool to the plank.
- Tap the block firmly with a rubber mallet until the gap closes.
- Clean any glue squeeze-out immediately with a damp cloth.
- Secure the perimeter expansion gap to ensure the floor can move freely.
The chemistry of the bond
The internal bond strength of the laminate core determines how well it holds a repair after the gap is closed. Using a cyanoacrylate adhesive with an activator can provide an instant bond in high traffic areas, though a flexible PVA is preferred for long term movement. Laminate is essentially sawdust and resin pressed together under extreme pressure. When you apply glue to that exposed core in a gap, you are trying to re-establish a structural link. The moisture in the glue will cause the HDF to swell slightly, which can actually help tighten the joint if done correctly. However, if you use too much water based glue, you risk peaking the joint. This is why I prefer a professional grade flooring adhesive designed for repairs. It has a lower water content and a higher solids count. If you are fixing a gap near a bathroom or where showers are located, you must be even more diligent about the seal. While laminate is not ideal for wet areas, a tight, glued joint is your only defense against topical moisture seeping into the core and causing permanent damage.
“Locking systems are designed for horizontal tension; they cannot withstand the vertical shear caused by an uneven substrate.” – TCNA Technical Bulletin
The 1/8 inch that ruins everything
Precision is the difference between a floor that lasts thirty years and one that fails in three. A gap of just 1/8 inch is enough to allow moisture to penetrate the core and start the delamination process. Most people ignore small gaps, but as a pro, I know that a small gap is just the beginning of a total floor failure. That gap allows the plank to move independently of the rest of the floor. That independent movement grinds down the locking profile until there is nothing left to hold it. This is especially true in areas with high traffic or where heavy furniture sits. If you have a kitchen island sitting on top of your laminate, you have essentially bolted the floor to the subfloor. When the house settles or the seasons change, the floor will pull apart at the island. I always tell people to install the floor around the island, not under it, to allow for the natural rhythm of expansion and contraction.
Regional humidity and its impact
The climate where you live dictates how your floor behaves. If you are in the swampy humidity of Houston, your floor is going to want to grow. If you don’t have enough expansion space at the walls, it will buckle. In the dry heat of Phoenix, the HDF core will shrink, leading to the gaps we are discussing. This is why acclimation is the most ignored and most vital part of the install. I never lay a floor that hasn’t sat in the room for at least 72 hours. I want the moisture content of the planks to reach equilibrium with the environment. If you fix a gap in the winter when the air is dry, you might find that the joint peaks in the summer when the wood expands. This is why the glue needs to be flexible. It has to act like a shock absorber for the floor. A floor is a living thing, and if you treat it like a static object, it will remind you of its nature by opening up those gaps again and again.