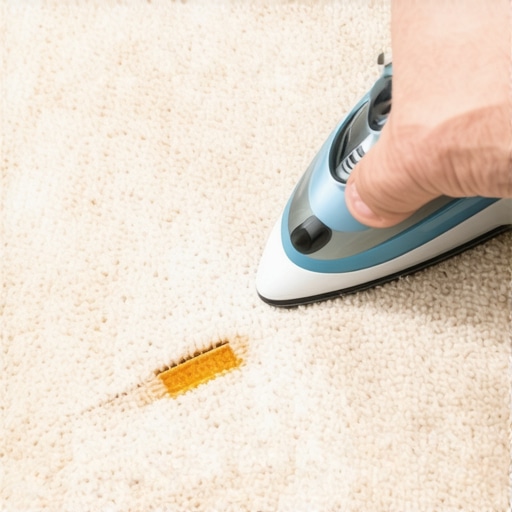
How to Repair a Small Burn in Your New Carpet Without a Patch Kit
How to Repair a Small Burn in Your New Carpet Without a Patch Kit
I spent three days grinding concrete on a job last month just so the floor wouldn’t click like a castanet. That experience reminds me that most homeowners look at the surface of their carpet and see a soft rug, but I see a structural grid of synthetic polymers held together by a latex secondary backing. When a cigarette or a stray coal from the fireplace hits that surface, it does not just change the color. It melts the fibers into a singular plasticized mass. Most guys skip the leveling compound and they think they can hide a burn with a rug. They are wrong. I have seen fifteen thousand dollar wide-plank installations ruined by poor subfloor prep, and I have seen luxury nylon carpets ruined by someone with a pair of dull kitchen scissors trying to ‘trim’ a burn. You do not need a store-bought patch kit that usually contains the wrong color of adhesive and a generic fiber blend. You need a surgical understanding of how your carpet was tufted.
The science of the singed fiber
Repairing a carpet burn involves removing the charred polyamide or polyester filaments without compromising the structural integrity of the primary backing. By using a surgical approach to isolate damaged tufts and replacing them with donor fibers harvested from closets or baseboard perimeters, you restore the floor surface. The physics of a carpet burn are simple but devastating. Most modern residential carpets are made of nylon or polyester. These are thermoplastics. When heat is applied, the fibers reach their glass transition temperature and then their melting point. The result is a hard, crusty scab that reflects light differently than the surrounding soft pile. This refractive index change is why you can see the burn from across the room. To fix this without a patch kit, you must understand the denier of the yarn. You are not just ‘fixing a spot.’ You are performing a microscopic transplant of synthetic tufts into a stable latex grid.
Why your subfloor dictates the repair
Subfloor conditions including moisture levels and flatness determine how well a carpet repair holds over time. If the subfloor has high alkalinity or moisture vapor emission, the adhesives used for the repair will emulsify and fail. Proper floor leveling ensures the carpet sits flush during the process. I once walked into a house where a homeowner tried to glue a carpet patch over a dip in the subfloor. Because the subfloor wasn’t level, every time someone stepped on the patch, the carpet flexed. That deflection acted like a hinge, eventually snapping the adhesive bond. This is why I obsess over the concrete or plywood beneath the rug. If your floor leveling is off, your carpet repair will never be invisible. It will click, it will pop, and it will eventually peel. You must ensure the subfloor is dry. I use a moisture meter even for small repairs. If that slab is pushing out water, your glue is useless.
“A floor is only as good as the subfloor beneath it; deflection is the enemy of every joint.” – Master Flooring Axiom
The surgical extraction of charred material
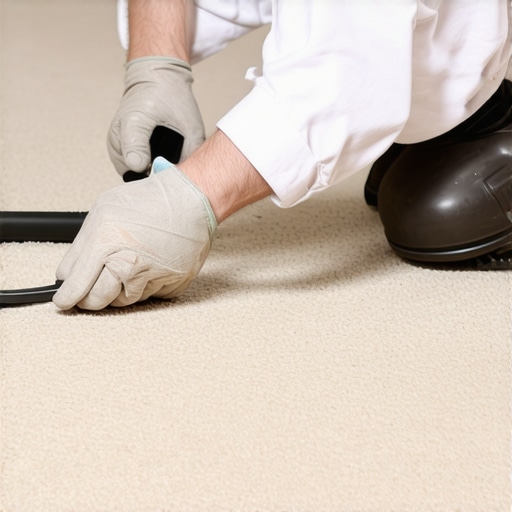
Removing the burn requires a precision blade to excise only the melted polymer while leaving the primary backing intact. Using a magnifying glass and a fresh number eleven scalpel allows for the removal of the hardened tuft without creating a hole in the carpet’s structural foundation. You cannot rush this. I have seen installers use box cutters. That is a mistake. A box cutter is too thick. It crushes the healthy fibers around the burn. You need a thin, surgical edge. You want to work under a high-lumen work light. Identify the exact boundary where the melted plastic meets the soft fiber. You are not cutting the carpet out of the floor. You are ‘shaving’ the tufts down to the backing. This leaves the secondary backing and the pad underneath undisturbed. If you cut through to the pad, you have created a structural failure that will eventually lead to a divot. My hands smell like floor wax and sawdust because I treat every square inch of a floor like a precision machine.
Harvesting donor fibers from the hidden perimeter
Donor fibers must be sourced from inconspicuous areas like the back of a closet or underneath the baseboards where the carpet is tucked into the gully. This ensures an exact match in dye lot, wear pattern, and fiber thickness for the most invisible repair possible. Don’t go buy a ‘multi-color’ kit from the big-box retailer. Those kits are for amateurs. Your carpet has a specific dye lot. Even the same brand and color from a different production run will look like a sore thumb in your living room. Go to the closet. Find where the carpet meets the tack strip. Use your scalpel to harvest individual tufts of yarn. I call this ‘mining’ the floor. You need about twenty percent more fiber than you think you do because some will be lost during the grooming process. This is the only way to ensure the light hits the repair the same way it hits the rest of the room.
| Fiber Type | Melting Point (F) | Repair Difficulty | Adhesive Recommendation |
|---|---|---|---|
| Nylon 6,6 | 490 Degrees | Moderate | Cyanoacrylate or Specialist Latex |
| Polyester (PET) | 482 Degrees | High | High-Solid Solvent Base |
| Olefin (Polypropylene) | 320 Degrees | Extreme | Low-Heat Hot Melt |
| Wool | Does Not Melt (Chars) | Low | Natural Latex |
The chemical reality of the adhesive bond
Choosing the right adhesive for a carpet repair requires matching the chemical composition of the glue to the carpet backing. A clear-drying waterproof adhesive with high shear strength prevents the new fibers from pulling out during vacuuming while maintaining enough flexibility to move with foot traffic. Most people reach for super glue. Stop. Super glue dries brittle. A carpet is a moving, breathing surface. When you walk on it, the fibers flex. If you use a brittle glue, the first time someone steps on the repair, it will crack and the fibers will fall out. You need a specialized carpet seam sealer or a high-quality clear waterproof adhesive. I prefer a solvent-based adhesive that ‘bites’ into the backing but remains pliable. You are creating a microscopic weld. If the glue is too thick, it will wick up the fiber and create a hard spot. If it is too thin, it won’t hold the weight of the tuft. It is a balance of chemistry and patience.
The invisible scar and the grooming process
Grooming the repaired area involves blending the new donor fibers with the existing pile using a fine-tooth comb or a soft-bristled brush. This process aligns the nap of the carpet and hides the transition point between the original floor and the newly inserted tufts. Once the glue is set, the repair will look like a small tuft of hair sticking out. You need to trim it. But do not trim it flush immediately. Leave it slightly long. Use a carpet comb to blend the fibers. This is where the ‘Master Architect’ skill comes in. You are mimicking the wear pattern of the room. If the carpet is five years old, the fibers are slightly abraded. New donor fibers from the closet will be too pristine. I sometimes lightly rub the new fibers with a piece of clean denim to simulate the foot traffic wear. This kills the ‘new’ shine and makes the repair disappear.
“Consistency in texture is the hallmark of a professional repair; the eye detects changes in height before it detects changes in color.” – Master Flooring Axiom
The 1/8 inch that ruins everything
Precision in fiber height is the most critical factor in a successful carpet repair. A difference of even one eighth of an inch in tuft height will create a shadow that makes the repair visible under various lighting conditions throughout the day. I tell my apprentices that the sun is the most honest inspector. A repair might look great at night under a lamp, but when the morning sun hits it at an angle, any height discrepancy will cast a shadow. This is why you must trim the donor fibers with extreme care. Use curved embroidery scissors if you can find them. They allow you to get close to the surface without gouging the surrounding pile. If you leave it too high, it catches the light. If you cut it too low, it creates a dark spot. It must be perfect. Most homeowners think ‘waterproof LVP’ is the answer to everything, but a well-maintained and properly repaired carpet has a thermal mass and sound-dampening quality that plastic floors can’t touch.
Tools for the surgical fiber extraction
- Fresh scalpel blades (Number 11 or 15) for precision cutting
- High-lumen LED work light to see fiber orientation
- Magnifying glass or jeweler’s loupe
- Fine-point tweezers for fiber placement
- Clear-drying flexible adhesive (Seam sealer)
- Curved embroidery scissors for final grooming
- Fine-tooth comb for blending the nap
The final verification of the repair
Testing the durability of the repair ensures it will withstand years of maintenance and cleaning. After the adhesive has cured for twenty-four hours, a gentle tug test and a pass with a vacuum cleaner verify the structural bond of the new tufts. Do not touch the repair for at least a day. I see people poke it and prod it. Every time you touch it while it is drying, you are shifting the fibers and weakening the bond. Leave it alone. Once it is cured, take a vacuum with the beater bar turned off and run it over the area. If the fibers stay put, you have succeeded. If they pull out, your adhesive wasn’t strong enough or you didn’t clean the char out well enough. A professional floor is an investment. Whether it is a shower pan installation or a simple carpet burn, the attention to detail is what separates a craftsman from a handyman. You don’t need a kit. You need the right tools and the patience to do it once and do it right.