The Secret to Leveling a Floor with a Massive 2-Inch Dip
The Secret to Leveling a Floor with a Massive 2-Inch Dip
I spent three days grinding concrete on a job last month just so the floor wouldn’t click like a castanet. My knees were screaming and the air was thick with the scent of 10W-30 and oak dust, but that is the reality of professional floor prep. I once walked into a house where a $15,000 wide-plank walnut floor was cupping so bad it looked like a potato chip because the installer didn’t check the crawlspace humidity, and I refuse to let that happen on my watch. A two inch dip is not a cosmetic flaw, it is a structural engineering crisis that requires more than a bucket of cheap patch. You are dealing with the physics of gravity and the chemistry of modern polymers. If you think a thick carpet pad or a bit of extra laminate underlayment will bridge a two inch canyon, you are building a failure that will haunt you every time you walk across the room.
The mechanics of a structural subfloor depression
Correcting a massive two inch dip requires a deep understanding of subfloor deflection, joist integrity, and load-bearing capacity. You cannot simply pour five bags of self-leveling underlayment into a hole and hope for the best. The first step involves identifying if the dip is caused by foundation settlement, wood rot, or compression of the sill plate. When a floor drops by two inches, the L/360 deflection standard has been completely ignored. The physics of the situation dictate that any material you add to the floor increases the dead load, which could further strain the already failing floor joists. You must inspect the crawlspace or the basement to ensure that the support columns are not sinking into the soil before you start the leveling process. If the lumber itself has bowed over time due to moisture saturation and subsequent drying, you might need to sister the joists with LVL beams to create a truly flat and stable plane.
“A floor is only as good as the subfloor beneath it; deflection is the enemy of every joint.” – Master Flooring Axiom
The chemistry of the modern bonding agent
The success of a deep-fill leveling project depends entirely on the chemical bond between the substrate and the leveling compound. You must use a high-solids acrylic primer to seal the porosity of the subfloor and prevent the dehydration of the leveler. When you pour a calcium aluminate cement at a two inch thickness, the hydration reaction generates significant heat. If the substrate is not properly primed, it will suck the water out of the leveler before the polymer chains can fully cross-link. This results in delamination, where the new floor literally peels away from the old one. I prefer a sand-broadcasted epoxy primer for depths over one inch. This creates a mechanical key that the leveler can grab onto. You are essentially creating a monolithic slab that must move as one unit. If you ignore the rheology of the material, the surface tension of the curing cement will pull itself apart, creating spiderweb cracks that will telegraph through your laminate or luxury vinyl plank.
The high shear mixing process for deep pours
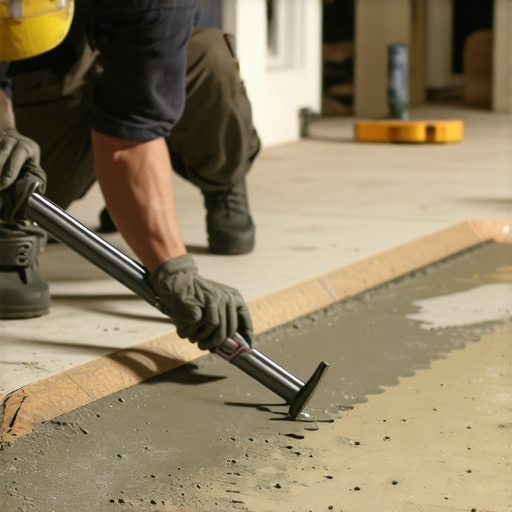
Properly mixing self-leveling underlayment for a two inch dip requires a high-torque mixer and a heavy-duty mixing paddle designed to prevent air entrainment. You must measure your water to the exact ounce according to the manufacturer specifications. Too much water and you get segregation, where the heavy aggregates sink to the bottom and the weak laitance rises to the top. Too little water and the material won’t flow, leaving you with trowel marks and an uneven topography. For a two inch depth, you should consider using an aggregate-filled leveler or adding pea gravel to the mix to provide structural bulk and reduce shrinkage. The vortex created by the mixer must be consistent to ensure all dry polymers are fully wetted out. Once poured, use a gauge rake set to the desired height and follow up with a spiked roller. The spiked roller is not just for show; it breaks the surface tension and releases trapped air bubbles that would otherwise create pinholes in your finished surface.
| Material Type | Maximum Depth | Compressive Strength | Typical Cure Time |
|---|---|---|---|
| Standard Leveler | 1 inch | 3500 PSI | 24 hours | Deep Pour Compound | 5 inches | 5000 PSI | 4 hours | Fiber Reinforced | 2 inches | 4500 PSI | 12 hours | Sand and Cement | 6 inches | 2500 PSI | 28 days |
The myth of the thick underlayment solution
Many homeowners believe that a thick underlayment or a double layer of carpet pad can hide a subfloor dip, but this is a dangerous misconception. While most people want the thickest underlayment, too much cushion actually causes the locking mechanisms on laminate or LVP to snap under pressure. When you walk across a floor with a void beneath it, the planks flex. This vertical deflection puts immense shear stress on the tongue and groove system. Eventually, the HDF core will fatigue and the joints will separate or crack. For carpet installations, a deep dip creates a trip hazard and causes the backing of the carpet to stretch unevenly, leading to wrinkles and premature wear. A flat substrate is mandatory for any floating floor. The NWFA standards require the floor to be flat within 1/8 inch over a 10-foot radius. Anything less is a compromise that will lead to a service call within the first year.
“Maximum allowable deflection for ceramic tile and stone installations is L/360 under all live and dead loads.” – TCNA Handbook Reference
Preparation steps for a successful level
- Check the moisture content of the wood subfloor using a pin-type meter.
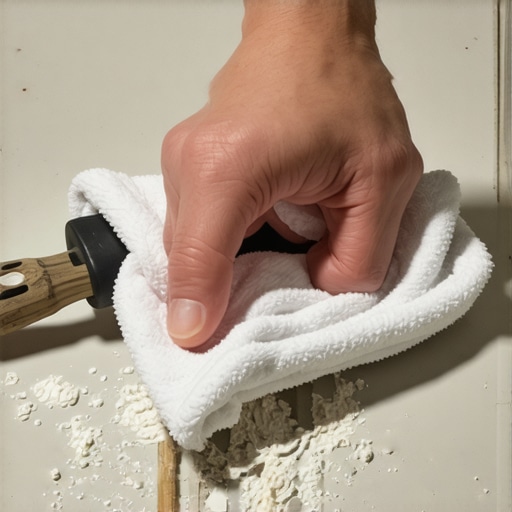
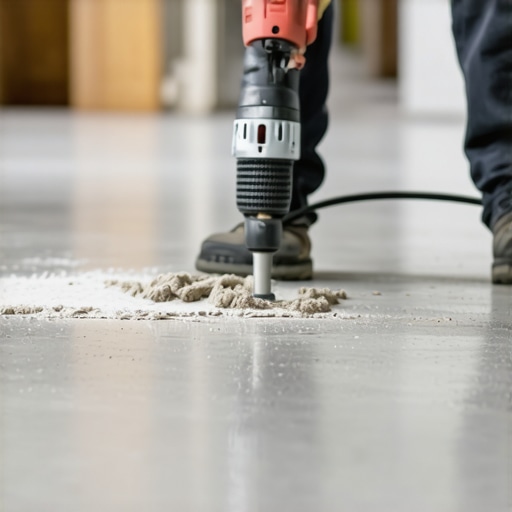
- Mechanically abrade the surface to remove paint, oil, or adhesive residue.
- Install perimeter foam strips to account for expansion and contraction.
- Seal all holes and seams in the subfloor with caulk to prevent leveler leakage.
- Use a self-leveling laser to mark the finished floor height on the walls.
- Apply the primer using a soft-bristle brush for maximum penetration.
The final prep for laminate and showers
Once your leveling compound has reached its final set, you must prepare the surface for the specific flooring material you have chosen. For showers, the leveling must be integrated with a pre-sloped pan and a waterproofing membrane like Schluter-Kerdi. You cannot simply level a shower floor flat; it must have a 1/4 inch per foot slope toward the drain. For laminate, ensure the surface is dust-free by using a HEPA vacuum. Even a tiny pebble of dried leveler can cause a telegraphing bump that will be visible under critical lighting. If you are installing over concrete, a 6-mil poly vapor barrier is essential to protect the laminate core from hydrostatic pressure. The acclimation of your flooring is the final step. Let the material sit in the controlled environment for at least 48 hours. This allows the wood fibers to stabilize at the equilibrium moisture content of the room, ensuring that your perfectly level floor stays that way for decades.
Final field notes
The structural integrity of your home starts at the joists and ends at the wear layer. A two inch dip is a sign that the building envelope has shifted or the original craftsmen cut corners. By using high-performance materials and respecting the laws of physics, you can turn a failing subfloor into a high-performance surface. Do not rush the drying times and never skip the primer. The difference between a master installer and a handyman is the willingness to spend the time on the invisible details. When you lay that last plank of laminate or stretch that final yard of carpet, you should know that the foundation beneath it is as solid as bedrock. This is the secret to a floor that doesn’t just look good, but performs under the weight of life.