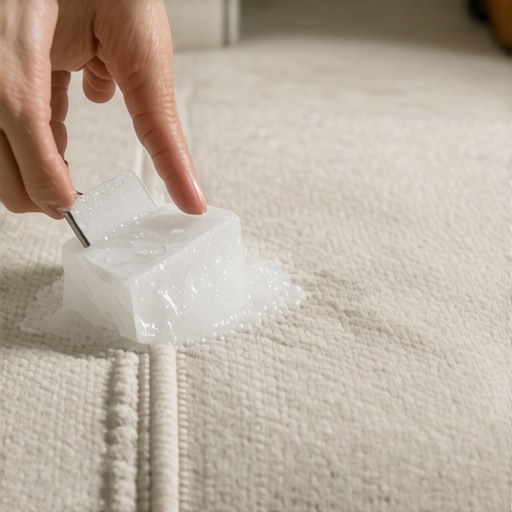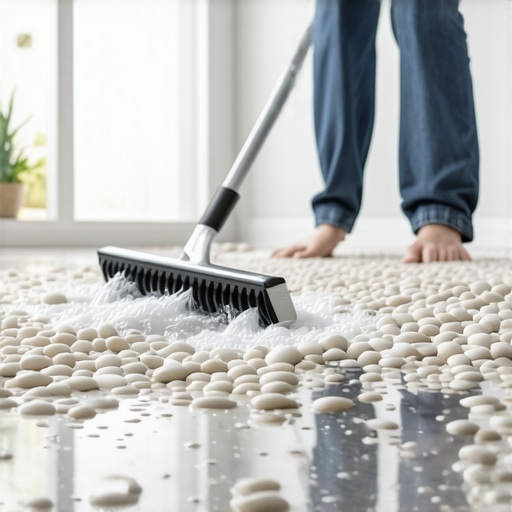
How to Squeegee a Pebbled Shower Floor Without Catching the Grout
The smell of damp concrete and the high-pitched whine of a diamond grinder are the sounds of a job done right. Most homeowners look at a pebble shower floor and see a spa-like retreat. I see a complex hydraulic system that fails the moment you ignore the physics of the substrate. I spent three days grinding concrete on a job last month just so the floor wouldn’t click like a castanet. Most guys skip the leveling compound and they think the underlayment will hide the dip. It won’t. If your subfloor is off by an eighth of an inch, your pebble floor becomes a series of stagnant ponds where bacteria thrives and grout disintegrates. Squeegeeing these floors is not about aesthetics. It is about moisture management and protecting the structural integrity of your home.
The physics of the pebble surface
A pebbled shower floor requires a specialized squeegee technique that accounts for the irregular heights of natural stones. Unlike flat tile, the undulating surface of river rock creates valleys where water pools and minerals deposit. You must use a soft-foam squeegee blade rather than a rigid rubber one to navigate these gaps.
When you look at a river rock floor, you are looking at thousands of tiny geological obstacles. Each stone has its own density and porosity. If you used a standard rigid squeegee like you see at a gas station, the blade would only hit the high points of the stones. The water in the grout joints stays put. This is where the chemistry of failure begins. Water sitting in those grout valleys starts to break down the bond between the stone and the cement. Over time, the grout becomes soft. If you are catching the grout with your squeegee, it means your grout is either too high or it has already begun the process of delamination due to poor installation or improper chemical maintenance. Unlike a laminate floor that you can just wipe dry, a pebble floor is a living system. It breathes and it holds onto moisture with a stubborn grip. A carpet install is simple because you are just stretching fabric over a pad. A pebble floor is an engineering challenge that requires you to understand the specific gravity of the materials involved.
“A floor is only as good as the subfloor beneath it; deflection is the enemy of every joint.” – Master Flooring Axiom
The 1/8 inch that ruins everything
Floor leveling is the most overlooked step in pebble shower construction. If the mud bed or the concrete slab is not perfectly sloped toward the drain with a consistent pitch, the pebbles will sit in standing water. This water eventually saturates the grout and makes it susceptible to catching on cleaning tools.
I have seen $20,000 bathrooms ruined because the installer thought they could eye-ball the slope. In a shower, the standard is a quarter-inch of fall per linear foot. When you add the height of the pebbles, which vary in thickness, that slope becomes even more critical. If you have a dip in the floor, you cannot just fill it with more grout. That is a rookie mistake. Extra grout in a low spot will never cure properly in a wet environment. It stays