How to Stop Floor Leveler from Leaking Through Your Subfloor Gaps
Stop Floor Leveler from Vanishing Into Your Crawlspace
Most guys skip the leveling compound. They think the underlayment will hide the dip. It won’t. I spent three days grinding concrete on a job last month just so the floor wouldn’t click like a castanet. That job taught me that if you do not respect the viscosity of your self-leveling underlayment, gravity will remind you who is boss. I have seen thousands of dollars of high-performance compound disappear into a floor joist cavity because the installer forgot a ten-cent gap. It is the most sinking feeling in the world. You pour the bucket, the liquid flows, and then you hear that steady dripping sound in the basement. It is the sound of your profit margin hitting the concrete floor below.
The physics of the subfloor leak
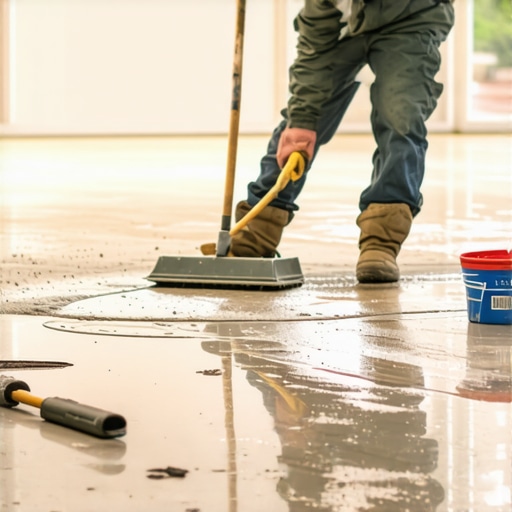
Stopping floor leveler from leaking through subfloor gaps requires a watertight seal using silicone caulk, expanding spray foam, or high-tack flashing tape. Because self-leveling underlayment has the consistency of thin pancake batter, it will exploit any capillary opening or structural void larger than a pinhole. Sealing these gaps creates a contained basin that ensures the material stays where it is poured to create a dead-flat surface for carpet install or laminate. You cannot treat this like a suggestion. You have to treat it like you are building a swimming pool inside your living room.
When you are looking at a subfloor, whether it is plywood or OSB, you are looking at a living breathing organism. These sheets expand and contract. Builders leave gaps between the sheets for a reason. If you pour a liquid over those gaps without a barrier, the liquid follows the path of least resistance. The surface tension of most modern levelers is surprisingly low. They are engineered to flow. This flow is great for getting a flat floor but a nightmare for any hole in your substrate. Even a tiny knot-hole in a piece of CDX plywood can swallow several gallons of material before it clogs itself. You must inspect every square inch with a flashlight before you even think about opening a bag of mix.
Why your subfloor is lying to you
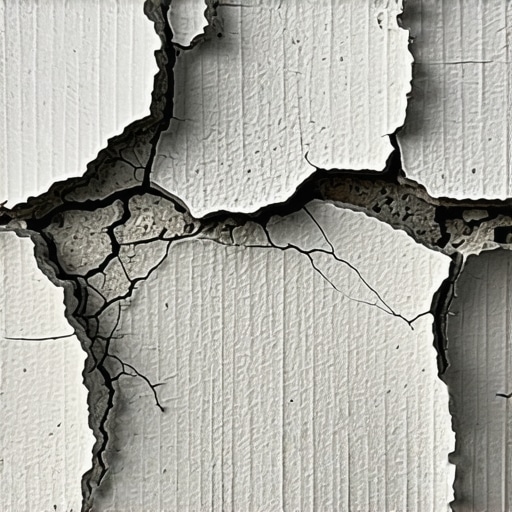
Subfloor integrity is often overestimated by DIYers and hack contractors who think underlayment fixes structural sins. If the plywood sheets are not glued and screwed properly, the vertical deflection will crack your leveler regardless of how well you sealed the gaps. Using a feeler gauge to check gap widths is standard practice for high-end laminate or hardwood preparation. If you see a gap wider than 1/8 inch, you are looking at a leak waiting to happen. The subfloor might look solid, but under the pressure of a 50-pound pour, those gaps become drains. I have seen guys try to use duct tape. Don’t be that guy. Duct tape is for ducts. The moisture in the leveler will kill the adhesive on the tape in minutes, the tape will float to the top, and your leveler will drain out like a bathtub.
“A floor is only as good as the subfloor beneath it; deflection is the enemy of every joint.” – Master Flooring Axiom
The chemistry of the leveler matters here. Most high-performance levelers are polymer-modified. This means they have a high water-retention rate, but they also have a specific gravity that is heavier than water. When that weight hits a weak seal, it pushes. It doesn’t just sit there. It activeley tries to find a way out. If you are prepping for showers or wet areas, the stakes are even higher. A leak there doesn’t just waste material. It ruins the waterproofing membrane transition that you worked so hard to establish. You have to be surgical with your sealant. I prefer a high-quality 100 percent silicone or a dedicated floor-patching compound to pre-fill the largest gaps.
The gap sealing hierarchy
Sealing subfloor gaps requires a tiered approach based on the gap width and the substrate material. For hairline cracks, a simple acrylic primer might suffice, but for expansion joints, you need expandable foam or backer rod combined with fast-setting patch. Using the wrong sealant can lead to chemical incompatibility where the leveler fails to bond to the patch, creating hollow spots that will eventually cause laminate planks to separate or tile grout to crack. You want products that are designed to be over-poured. Cheap latex caulks can sometimes shrink too much, leaving a new gap that you didn’t see coming.
| Gap Size | Recommended Material | Cure Time | Risk Level |
|---|---|---|---|
| Under 1/16 inch | Acrylic Primer / Paintable Caulk | 1 Hour | Low |
| 1/16 to 1/4 inch | 100% Silicone or Flash Patch | 2-4 Hours | Medium |
| Over 1/4 inch | Expanding Foam + Backer Rod | 24 Hours | High |
You also have to consider the perimeter. The walls are just one big gap. If you don’t use a sill seal or a foam logic around the edge of the room, the leveler will just run under the drywall and into the wall cavity. That is a recipe for mold and structural rot. I use a 1/4 inch foam strip stapled to the plate. It acts as an expansion joint and a dam. It is a simple step that saves you from a massive headache later. The goal is a bathtub. If you couldn’t hold an inch of water in that room, you can’t hold an inch of leveler.
The checklist for a leak-proof pour
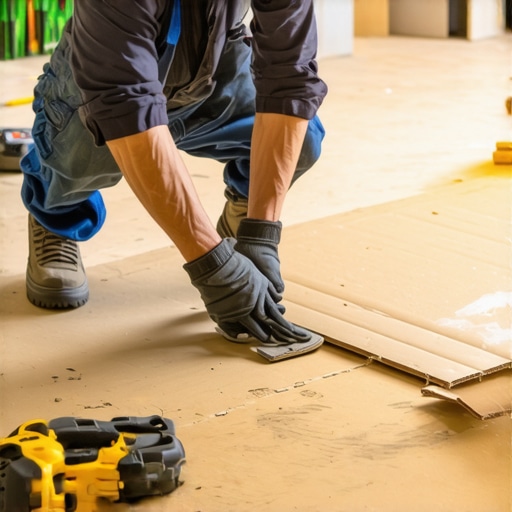
- Vacuum every gap to remove sawdust that prevents sealant adhesion.
- Check the crawlspace or room below for any existing light leaks through the floor.
- Apply a high-solids primer to the entire subfloor to seal the wood pores.
- Use foam weatherstripping for the perimeter dams at doorways and stairs.
- Double-check plumbing penetrations and heat vents for any openings.
- Flash-patch any knots or deep gouges in the plywood.
The primer is the most underrated part of the process. People think it is just for bonding. It is actually a sealant too. It reduces the porosity of the wood so the wood doesn’t suck the water out of the leveler too fast. If the wood pulls the water out, the leveler doesn’t flow. It gets sticky and lumpy. A well-primed floor looks like it has a skin on it. That skin is your first line of defense against the micro-leaks that can slowly drain a pour over the course of twenty minutes. By the time you notice the level is dropping, it is too late to fix it.
The ghost in the expansion gap
Expansion gaps are the most common failure point. You need them for the house to move, but you hate them when you are pouring leveler. The secret is using a non-rigid filler that can still accommodate some movement but is dense enough to hold the weight of the wet compound. I have seen people use spray foam, but you have to be careful. If you don’t trim the foam flush, you get a hump in your level floor. It defeats the whole purpose. You want a flush, clean surface before the liquid hits the floor. I usually go over the spray foam with a quick skim of feather-finish patch just to be safe. It creates a hard cap that the leveler can’t penetrate.
“Ensure all joints in the subfloor are tight and any gaps are filled to prevent the loss of underlayment material.” – NWFA Installation Guidelines
I also want to talk about the carpet install guys. They love to come in after a leveler job and just start nailing tack strips. If your leveler was poured too thin or wasn’t bonded properly because you used a cheap sealer in the gaps, those nails will shatter the leveler. It is like glass. You need at least 1/8 inch of thickness for structural integrity. If you are just skimming, you are wasting time. You need a solid, monolithic slab. That starts with the prep. If the prep is garbage, the floor is garbage. It doesn’t matter how expensive the carpet is.
The 1/8 inch that ruins everything
Precision is everything in this game. If you have a 1/8 inch dip and you try to fill it without sealing the edges, the leveler will just seek the lowest point and leave your dip half-empty. It is basic fluid dynamics. You also have to consider the mil-thickness of your wear layers if you are going over this with laminate. A level floor isn’t just about aesthetics. It is about the locking mechanisms. If the floor has a 1/8 inch variation over 10 feet, the joints on your laminate will eventually snap. I have seen it happen on a hundred jobs. The homeowner blames the product. I look at the subfloor and see the ridges where the leveler leaked out during the pour. The floor was never flat to begin with.
While most people want the thickest underlayment, too much cushion actually causes the locking mechanisms on LVP to snap under pressure. You want a flat, hard subfloor. That is why the leveler is so important. It provides the rigid base that modern floating floors require. If you skip the sealing step, you end up with a floor that feels spongy in some spots and hard in others. It is the hallmark of a hack job. Take the time to seal the gaps. Buy the good caulk. Crawl around on your hands and knees with a shop vac. It is the only way to ensure the leveler stays on top of the floor instead of becoming a permanent part of your floor joists. Your back will hurt, but your floor will be perfect.
{“@context”:”https://schema.org”,”@type”:”HowTo”,”name”:”How to Stop Floor Leveler from Leaking Through Your Subfloor Gaps”,”step”:[{“@type”:”HowToStep”,”text”:”Vacuum all debris and sawdust from the subfloor gaps to ensure proper sealant adhesion.”},{“@type”:”HowToStep”,”text”:”Apply 100% silicone caulk or a fast-setting flash patch to any gaps wider than 1/16 inch.”},{“@type”:”HowToStep”,”text”:”Install foam sill seal or weatherstripping around the perimeter of the room to create a liquid-tight dam.”},{“@type”:”HowToStep”,”text”:”Coat the entire subfloor with an approved acrylic primer to seal wood pores and prevent bubbles.”},{“@type”:”HowToStep”,”text”:”Perform a final light-check to ensure no visible openings remain before mixing the leveler.”}]}