How to Fix a Carpet Ripple Without Renting a Power Stretcher
You are staring at a bump in your living room floor that looks like a mole has been burrowing under the furniture. It is not just an eyesore, it is a structural failure of the textile tension system. I have spent 25 years on my knees with a moisture meter and a level. I smell like WD-40 and oak dust, and I have seen every shortcut in the book. Most people think they need to go to the big-box store and rent a massive, heavy power stretcher to fix a simple ripple. You do not always need that heavy metal pole, but you do need to understand the physics of why that ripple exists. Carpet is a performance surface. It is not a blanket you just throw on the floor. It is a highly engineered system of primary and secondary backings held together by latex and stretched to a specific tension over a pad.
Most guys skip the leveling compound. They think the underlayment will hide the dip. It won’t. I spent three days grinding concrete on a job last month just so the floor wouldn’t click like a castanet. That same logic applies to your carpet. If your subfloor has a dip, the carpet will eventually settle into it, losing its tension and creating that hump you see now. I once walked onto a job where the homeowner tried to fix a ripple by just putting a heavy sofa over it. All that did was delaminate the backing. When we pulled it up, the latex was pulverized into a white powder. The floor was ruined. You have to fix the tension, not hide the bulge.
The mechanics of the loose textile
Carpet ripples occur when the tension between tack strips fails due to humidity, poor initial installation, or pad degradation. To fix this without a power stretcher, you must manually manipulate the latex backing and synthetic fibers to move the excess material toward the tack strips at the perimeter of the room. This process requires a knee kicker, stair tool, and carpet shears to ensure the secondary backing remains intact during the carpet install adjustment. Understanding the elasticity of the polypropylene weave is the first step toward a flat surface.
“A floor is only as good as the subfloor beneath it; deflection is the enemy of every joint.” – Master Flooring Axiom
The carpet in your home is likely a tufted product. This means the yarn is poked through a primary backing and then glued to a secondary backing. This glue is usually a styrene-butadiene rubber latex. It is tough, but it has a memory. If a ripple sits there for two years, the latex takes that shape. To fix it, you need to break that memory without breaking the bond. This is where the chemistry of the floor meets the brute force of the installer. You are working against the resistance of the pad and the friction of the subfloor. If you have laminate in the next room, you know that it expands and contracts. Carpet does the same thing, but it does it with moisture. If you live near high-humidity areas like showers, the air is thick. That moisture enters the secondary backing, the latex softens, and the carpet grows. Suddenly, the tension is gone. That is your ripple.
Why your subfloor is lying to you
Subfloor flatness is the foundation of all flooring tension and must be within one eighth of an inch over ten feet. If your subfloor has a low spot, the carpet pad will compress unevenly, leading to lateral movement of the carpet pile. Before attempting a carpet repair, you must verify the structural integrity of the plywood or concrete slab using a straightedge to ensure the floor leveling was performed correctly during the original construction phase. A dip in the wood is a trap for ripples that no stretcher can permanently solve without addressing the void beneath the textile.
| Method | Required Tool | Tension Rating | Risk Level |
|---|---|---|---|
| Knee Kicker | Kicker tool | Moderate | High for joints |
| Manual Pull | Pry bar and blocks | Low | Medium |
| Power Stretch | Rental Pole | Maximum | Low |
| Tack Strip Reset | Hammer and masonry nails | N/A | Low |
When I talk about the 1/8 inch that ruins everything, I am talking about the dip in the plywood. If you are doing a carpet install over a subfloor that looks like a mountain range, your carpet will never stay tight. I have seen guys try to use laminate underlayment to fill holes. That is a crime. You use a high-quality floor leveling compound. You mix it until it is the consistency of pancake batter and you let the physics of gravity do the work. Once that floor is flat, the carpet has a consistent friction surface. Without that, you are just fighting a losing battle against gravity and foot traffic.
The physical limit of the knee kicker
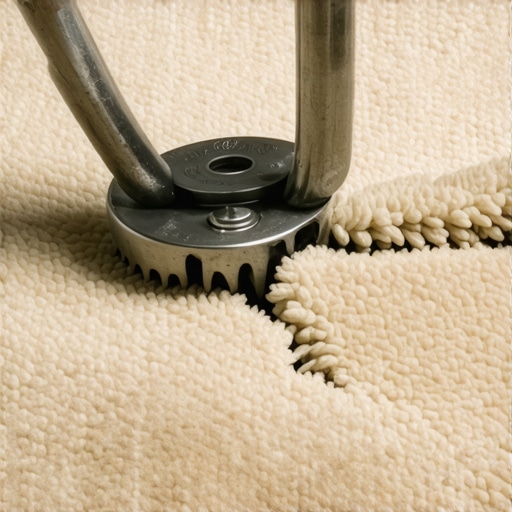
A knee kicker is a localized tensioning tool designed for positioning and detail work rather than full-room stretching. To use it effectively without a power stretcher, you must work in three inch increments, driving the teeth of the kicker into the primary backing while avoiding the face yarn. This tool provides mechanical advantage through impact force, allowing the installer to hook the carpet onto the pins of the tack strip. However, over-reliance on a kicker can lead to knee injuries and uneven tension across the long axis of the room.
- Clear the room of all heavy furniture to allow the carpet to slide freely.
- Pull the carpet off the tack strip in the corner closest to the ripple.
- Inspect the tack strip pins for rust or blunted points.
- Use a vacuum to remove dust from the gully between the strip and the wall.
- Position the kicker two inches from the wall at a slight angle.
- Apply a controlled strike with your patella while pushing the tool forward.
- Lock the carpet onto the pins immediately after the strike.
The contrarian truth here is that most people want the thickest, softest pad they can find. That is a mistake. Too much cushion actually causes the locking mechanisms on laminate to snap and it causes carpet to ripple. A thick pad allows for too much vertical movement. Every time you step, you are pulling the carpet away from the walls. You want a high-density 8-pound pad that is no more than 7/16 of an inch thick. This gives you the support you need without the trampoline effect that ruins your tension.
Tools you already have in the garage
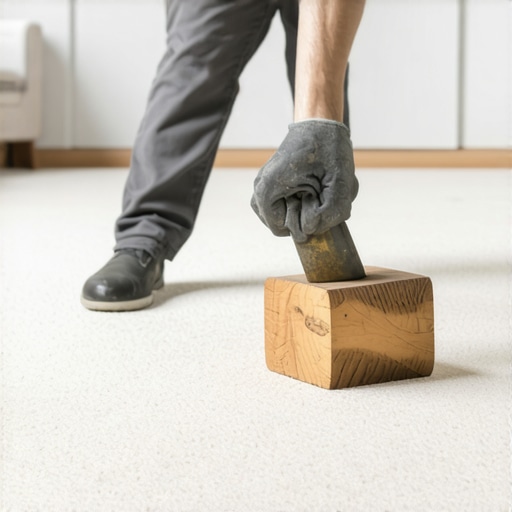
Manual carpet tensioning can be achieved using a heavy pry bar, a scrap piece of two by four, and a hammer. This DIY method involves creating a temporary anchor to pull the carpet backing toward the perimeter. By leveraging the pry bar against a wall stud, you can mimic the linear force of a power stretcher. This approach is effective for small rooms or closets where a full-sized pole would be unwieldy and a carpet install professional is not available for a minor repair.
“Secondary backing delamination occurs when the adhesive bond between the primary and secondary backings is compromised, often by excessive moisture or mechanical stress.” – Carpet Installation Standard 101
I remember a job in a tight hallway near a bathroom with two showers. The humidity was 80 percent. The carpet was like a wet noodle. We couldn’t get a power stretcher in there because the walls were too close together. We had to use a 2×4 block wrapped in a scrap piece of carpet. We screwed that block into the subfloor, used a pry bar to pull the carpet tight, and then hooked it onto the strip. It is about understanding the load paths. You are trying to move a specific amount of square inches of fabric toward a wall. If you pull too hard in one spot, you get a