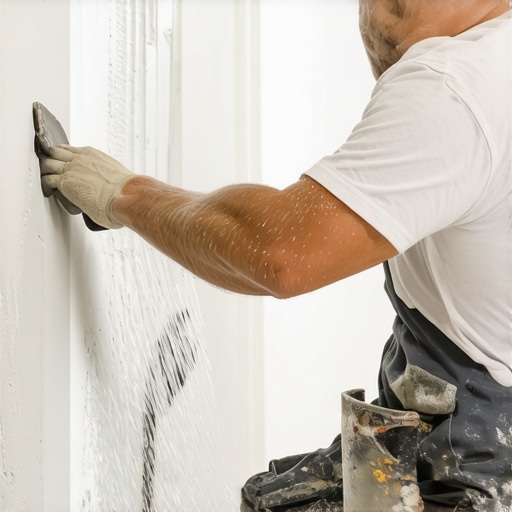
The Drywall Knife Trick for Smoothing Out Wet Leveling Compound
I spent three days grinding concrete on a job last month just so the floor wouldn’t click like a castanet. Most guys skip the leveling compound. They think the underlayment will hide the dip. It won’t. I was working on a high-end condo where the slab looked like the surface of the moon. If I had just poured the bag and walked away, that $12,000 laminate floor would have failed in six months. Instead, I used the drywall knife trick to feather the edges into the high spots. It is the difference between a floor that lasts forty years and one that ends up in a dumpster. I smell like WD-40 and oak dust most days, and that is because I know that a floor is a structural engineering challenge, not a decorative rug. You have to respect the chemistry of the slurry and the physics of the flat plane.
The lie of self-leveling liquids
Self-leveling compound does not find level on its own because surface tension and substrate friction fight the flow. To achieve a truly flat floor for laminate or tile, you must mechanically assist the material using a gauge rake or a drywall knife to break the surface tension and move the slurry. The term self-leveling is marketing jargon that ruins more floors than it saves. When you mix a bag of high-flow cementitious underlayment, you are dealing with a suspension of polymers and fine aggregates. These particles want to stay together. If you just pour it, you get a hump with a radius rather than a flat surface. You need to break that surface tension. A drywall knife, specifically a twelve-inch or fourteen-inch stainless steel blade, is the secret weapon for this task. It allows for a level of finesse that a heavy floor trowel simply cannot match. The flexibility of the blade lets you feel the high spots of the concrete substrate beneath the wet mud.
“A floor is only as good as the subfloor beneath it; deflection is the enemy of every joint.” – Master Flooring Axiom
Why your subfloor is lying to you
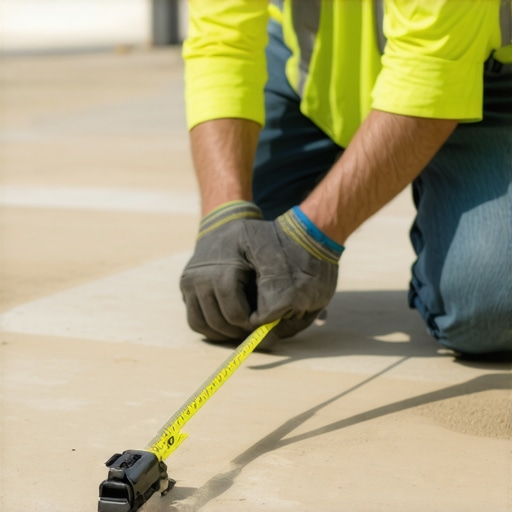
Your subfloor is lying because visual inspection is insufficient to detect the 1/8 inch deviations that cause laminate locking mechanisms to fail or tile grout to crack. Using a straightedge and a moisture meter is the only way to verify the structural integrity and flatness of the substrate before installation. Most installers walk into a room and think it looks fine. They do not see the birdbaths or the slight crown in the joists. If you are doing a carpet install, you can get away with some sloppiness. The pad hides a multitude of sins. But if you are prepping for a shower or a click-lock laminate, that dip is a death sentence. The movement of the floor under foot traffic creates a pumping action. That air movement carries moisture and grinds the locking tabs into dust. Eventually, the floor separates. You have to find the low spots first. I use a ten-foot box beam level. I mark the dips with a pencil. Then I prime. You never pour leveler on a thirsty slab. The concrete will suck the water out of the mix faster than you can spread it, causing the leveler to freeze in place.
| Substrate Type | Required Prep | Max Moisture Content |
|---|---|---|
| Concrete Slab | Mechanical Grind and Prime | 3 lbs per 1000 sq ft |
| Plywood Subfloor | Screw Down and Seal Joints | 12 percent MC |
| Radiant Heat | Thermal Expansion Perimeter | Manufacturer Spec |
The mechanics of fluid tension and the knife
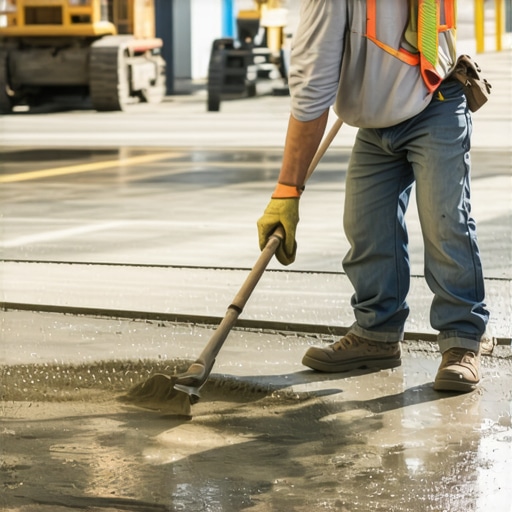
The mechanics of fluid tension dictate that a cementitious slurry will naturally pull away from edges and create a rounded perimeter. The drywall knife trick involves using the thin blade to pull the material into a feather-edge transition that eliminates the lip between the new leveler and the existing floor. When you pour the material, it forms a puddle. The edges of that puddle are thick. If you leave them alone, you will have a hard ridge that you will have to grind down later. Grinding is the worst part of the job. It creates a cloud of silica dust that gets into everything. To avoid the grind, I take my fourteen-inch drywall knife and I work the edges while the material is still in its initial set phase. I pull the blade toward the high ground. The thin steel allows me to apply pressure so that the leveler tapers down to a microscopic thickness. This is how you get a zero-threshold transition. It is particularly vital in showers where the slope to the drain must be precise. A heavy trowel is too rigid for this. It digs in. The drywall knife floats.
The 1/8 inch that ruins everything
The industry standard for floor flatness is 1/8 inch over a ten-foot radius for most hard surface installations. Any deviation greater than this causes the planks to bounce, which leads to noise complaints and eventual structural failure of the floor system. People ask why I am so obsessed with such a small measurement. It is because of the physics of the lever. Every time you step on a hollow spot, the plank bends. That bend puts thousands of pounds of pressure on a piece of plastic or wood that is only a few millimeters thick. In the dry heat of Phoenix, those planks are already under stress from shrinkage. In a humid place like Houston, they are expanding. If you add vertical deflection to that lateral stress, the floor will break. I have seen million-dollar homes with floors that sounded like a bag of potato chips because the builder was too cheap to spend two hundred dollars on leveling compound and an hour of labor with a knife.
- Vacuum the floor until you could eat off it.
- Apply the acrylic primer with a 3/8 inch nap roller.
- Allow the primer to become tacky but not dry.
- Mix the compound with a high-torque drill at low RPM to avoid air bubbles.
- Use the drywall knife to feather every perimeter edge.
The ghost in the expansion gap
The expansion gap is the most overlooked component of a professional floor installation because homeowners think the gap looks ugly. However, without a 1/4 inch to 1/2 inch gap around the perimeter, the floor will buckle when humidity levels rise. I once walked into a house where a $15,000 wide-plank walnut floor was cupping so bad it looked like a potato chip because the installer didn’t check the crawlspace humidity and didn’t leave a gap. They pushed the wood tight against the baseboards. When the summer humidity hit, the wood had nowhere to go but up. I always pull the baseboards. I never use shoe molding as a primary cover if I can avoid it. I want that floor to be able to breathe. This is especially true for laminate. Even though it is a plastic-faced product, the core is often HDF which reacts to moisture like a sponge. If you lock that floor under a kitchen island, you are asking for trouble. It has to be a floating system. It has to move.
“Substrate preparation is seventy percent of the labor but one hundred percent of the success.” – TCNA Handbook for Tile Installation
The chemistry of the bond breaker
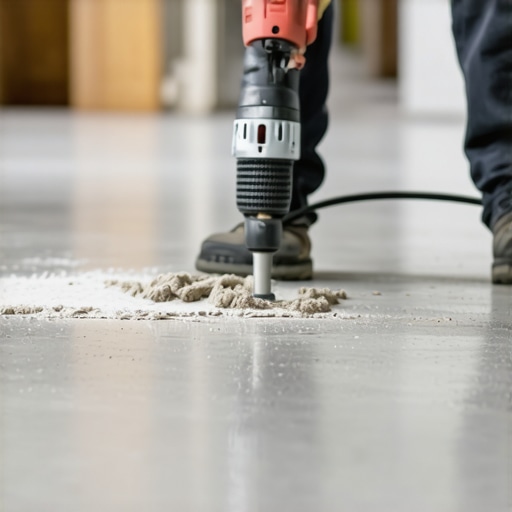
Bond breakers are contaminants like oil, wax, or drywall dust that prevent the leveling compound from adhering to the substrate. If the leveler does not bond, it will delaminate and crack under the weight of the finished floor. This is why the drywall knife trick is the final step, not the first. You have to start with mechanical cleaning. I use a diamond cup wheel on a grinder for any spots with paint or drywall mud. If you pour leveler over a piece of dropped joint compound, that leveler will eventually pop off. The chemical bond of a modified thin-set or a high-strength underlayment requires a clean, porous surface. Think of it like velcro. The primer goes into the pores of the concrete and the leveler grabs the primer. If there is dust in the way, the chain is broken. This is why I am always on my knees with a vacuum before the water ever hits the bucket.
The final walkthrough of the wet work
When the pour is finished and the knife has done its work, you have to stay off it. I see guys walking on leveler while it is still thumb-print soft. You are creating micro-fractures. Let it hydrate. The chemical reaction that hardens the cement creates heat. If you force-dry it with a fan, it will curl at the edges. Patience is a tool just like the saw or the level. Once it is cured, run your hand over it. It should feel like a single sheet of glass. That is when you know the laminate will lay flat and the shower will drain perfectly. No clicking. No hollow sounds. Just a solid surface that does its job without complaining. That is the mark of a master. It is not about the wood on top. It is about the gray muck underneath and the skill to make it flat.{“@context”:”https://schema.org”,”@type”:”Article”,”headline”:”The Drywall Knife Trick for Smoothing Out Wet Leveling Compound”,”author”:{“@type”:”Person”,”name”:”Master Flooring Architect”},”datePublished”:”2023-10-27″,”description”:”Expert guide on using a drywall knife to achieve perfectly flat floors for laminate, tile, and carpet installations.”,”articleSection”:”Flooring Installation and Subfloor Preparation”}