The ‘Cookie Cutter’ Method for Patching a Burnt Spot in Carpet
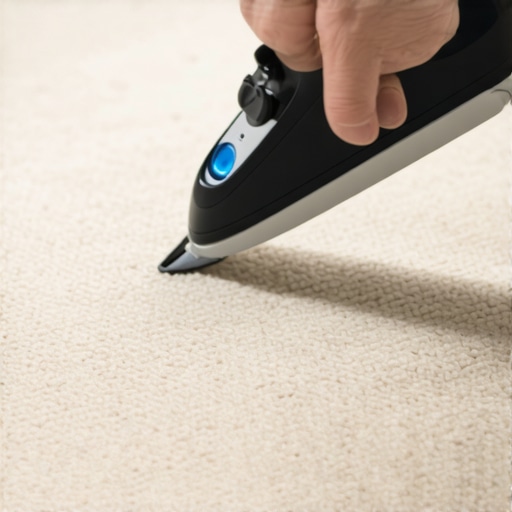
I once walked into a high-end penthouse where a single dropped iron had scorched a hole in a custom-woven wool carpet. The homeowner was ready to rip out three thousand square feet of flooring. They thought the damage was permanent. I told them to put the checkbook away and let me get my pivot-point tool. Flooring is not just about aesthetics. It is a structural puzzle. If you understand the geometry of the fiber and the chemistry of the adhesive, you can perform surgery on a floor that no one will ever see. Most guys would have tried to hack a square out with a utility knife. That is a recipe for disaster. A square has four corners that are prime targets for fraying. A circle distributes the tension of the primary backing evenly across the entire perimeter of the patch. I spent forty minutes matching the nap direction under a magnifying glass because if you are off by even five degrees, the light will hit that spot and scream at every person who walks into the room. This is the reality of professional carpet repair. It is about precision, patience, and knowing exactly how the secondary backing interacts with the subfloor.
The mechanics of an invisible carpet repair
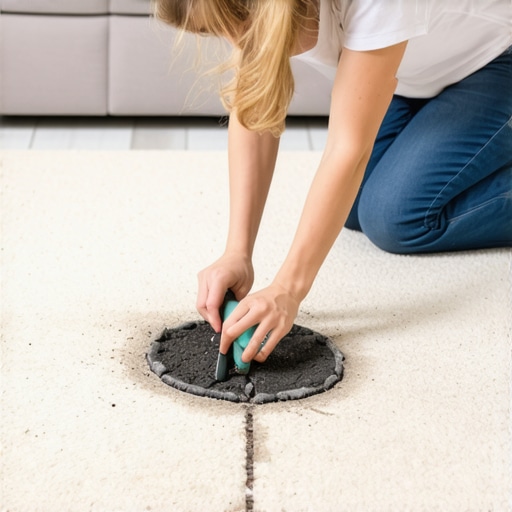
Carpet patching with the cookie cutter method utilizes a circular pivot tool to remove burnt fibers and replace them with a donor piece. This flooring repair technique relies on nap alignment, pile height matching, and industrial seam adhesive to integrate the replacement carpet into the existing floor installation without visible seams or ridges.
The science of the cookie cutter tool is rooted in circular geometry. When you use a standard utility knife to cut a square patch, you create four distinct points of weakness. These corners are the first places where the latex backing will begin to delaminate from the primary substrate. A circular cut eliminates these focal points of stress. The cookie cutter tool itself typically features a central pilot pin and a rotating arm equipped with a surgical steel blade. This allows the technician to exert downward pressure that compresses the pile while the blade slices through the primary and secondary backings. The precision of the radius ensures that the donor piece from a closet or a remnant will fit into the void with a tolerance of less than one-sixteenth of an inch. This tight fit is what allows the fibers to blossom together, hiding the physical cut line from the human eye.
“Proper pile direction and nap alignment are the primary factors in the visual success of any inset carpet repair.” – Master Flooring Axiom
The physics of the carpet pile and nap
Carpet pile direction, often referred to as the nap, is the natural orientation of the carpet fibers as they emerge from the latex backing. To achieve a hidden carpet patch, the technician must identify the light reflection patterns and ensure the donor carpet follows the exact vector of the surrounding pile to prevent shadowing or color mismatching.
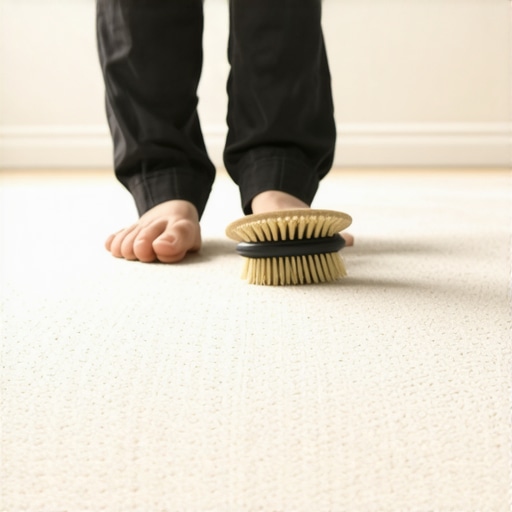
If you brush your hand across a carpet, you will notice the color appears to change. This is not a chemical change in the dye. It is a change in how the light reflects off the side of the fiber versus the tip of the fiber. When performing a cookie cutter patch, you must mark the north-south orientation of the damaged area before you ever make a cut. I usually use a piece of blue painter tape placed several inches away from the burn. Then, I go to the donor site, usually in a dark corner of a walk-in closet, and find the matching orientation. If you rotate the donor piece even slightly, it will look like a different color once it is glued down. This is the most common mistake made by amateurs. They think the color matches, but they do not account for the physics of light reflection. You also have to consider the tuft bind. In a high-quality carpet, the tufts are locked into the backing with a specific density. If the donor piece has been walked on less than the main floor, the fibers might be more upright, requiring a bit of mechanical grooming to match the crushed state of the surrounding area.
Why your subfloor determines the patch success
Subfloor preparation is just as vital for carpet repair as it is for laminate or floor leveling projects. A level subfloor ensures that the carpet patch sits flush with the surrounding grade, preventing tripping hazards and ensuring the seam adhesive creates a structural bond with the concrete slab or plywood underlayment.
If there is a dip in the subfloor directly under the patch, the donor piece will eventually sink. This creates a shadow line that makes the repair obvious. Before I set the patch, I always inspect the subfloor through the hole I just cut. If I see a divot, I use a small amount of fast-setting floor leveling compound to bring it up to grade. If the subfloor is damp, the adhesive will fail. Moisture is the enemy of every flooring type, from showers to living rooms. In a basement carpet install, the concrete might be wicking moisture through capillary action. If you use a standard water-based adhesive in that environment, the patch will peel up within six months. I always use a moisture meter to check the slab. If the readings are high, I switch to a synthetic resin adhesive that can withstand higher vapor emissions. This is the difference between a repair that lasts a decade and one that fails when the first vacuum cleaner passes over it.
| Repair Method | Typical Durability | Visual Invisibility | Complexity Level |
|---|---|---|---|
| Cookie Cutter Inset | High | 95-100% | Professional Only |
| Square Hand Cut | Medium | 70-85% | Intermediate |
| Fiber Re-insertion | Low | 60-75% | Basic |
| Full Room Stretch | Very High | 100% | Advanced |
Adhesive chemistry in residential carpet repair
Carpet seam adhesive is a thermoplastic or solvent-based polymer designed to create a permanent bond between the carpet backing and the floor substrate. Using the correct adhesive prevents fiber loss at the cut edges and ensures the patch remains stable during heavy foot traffic or deep cleaning cycles.
The chemistry of the bond is where many people fail. You cannot just use white school glue or a hot glue gun from a craft store. You need a dedicated carpet seam sealer that prevents the edges from unraveling. When the cookie cutter removes the damaged circle, it leaves hundreds of cut fiber ends. If these are not sealed, they will eventually fall out, leaving a bald ring around your patch. I use a high-solids SBR latex sealer for most residential jobs. It provides enough open time to position the patch perfectly but dries into a hard, water-resistant bridge. For commercial jobs where heavy rolling loads are expected, I might use a two-part epoxy or a moisture-cured polyurethane. You have to apply the sealer to the edge of the backing, not just the floor. This creates a lateral bond between the patch and the existing carpet. It is like welding two pieces of steel together. If the weld is only on the bottom, the joint will snap. You need that side-to-side integration to make the floor structurally sound again.
“A floor is only as good as the subfloor beneath it; deflection is the enemy of every joint.” – Master Flooring Axiom
The invisible transition and the grain direction
The invisible transition of a carpet patch is achieved through mechanical manipulation of the pile fibers across the cut line. By using a carpet tractor or a row spreader, the technician can weave the yarns together, hiding the physical seam and ensuring the floor surface appears homogeneous and undisturbed.
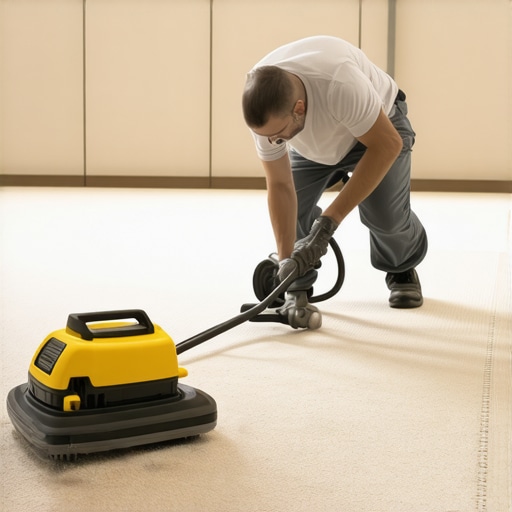
Once the patch is glued in, the work is only half done. You have to groom the site. I use a star-wheeled carpet tractor to press the fibers from the surrounding area into the patch area. This mechanical action forces the loops or cut piles to interlock. If you are working with a frieze or a shag, this is easy. If you are working with a tight Berber or a low-pile commercial loop, it is incredibly difficult. For Berbers, you actually have to follow the rows of the weave. If you cut across a row, you will never hide the seam. I have spent hours with a pair of duckbill shears, trimming individual tufts that were standing a millimeter too high. It is about the obsession with the 1/8 inch. That tiny measurement is what separates a professional from a handyman. You also have to consider the light source. I always check my patches with a high-intensity work light held at a low angle. This reveals any shadows that would show up when the sun hits the floor in the afternoon. If I see a shadow, I know the patch is sitting too high or the nap is slightly off.
Essential checklist for the flooring technician
- Identify the carpet fiber type such as nylon, polyester, or wool before choosing an adhesive.
- Locate a donor piece from an inconspicuous area like a closet or under a permanent cabinet.
- Verify the nap direction by brushing the carpet and observing the light reflection.
- Ensure the subfloor is clean, dry, and level to within 1/8 inch over the repair area.
- Apply seam sealer to the edges of the primary backing to prevent fraying and delamination.
- Use a carpet tractor to blend the fibers of the patch with the surrounding floor.
- Keep all foot traffic off the repaired area for at least twenty four hours to allow the bond to cure.
Troubleshooting the common carpet patch failures
Carpet patch failure usually stems from insufficient adhesive, poor nap matching, or subfloor moisture. If a patch lifts, it indicates a bonding error, while a visible seam suggests that the pile direction was not correctly aligned or the cut radius was imperfect.
One major issue I see is people using too much glue. They think more is better. It is not. If the glue oozes up into the carpet fibers, you have just ruined the patch. The fibers will become hard, crunchy, and dark. You need just enough to coat the backing and the subfloor. Another issue is the ghost in the expansion gap. When you are installing flooring near walls or transitions, you always leave an expansion gap. Carpet is no different in its own way. It expands and contracts with humidity. If you glue a patch down too tightly without allowing the rest of the carpet to relax, the tension of the rest of the room will eventually pull that patch apart. I always recommend a slight stretch toward the patch if the room is loose. This ensures the seam is under compression rather than tension. Compression holds seams together. Tension pulls them apart. It is a simple law of physics that applies whether you are doing carpet, laminate, or showers. If the substrate moves, the surface fails. You have to be the master of that movement. Floor leveling is not just for hard surfaces. It is the foundation of every successful repair in this business.