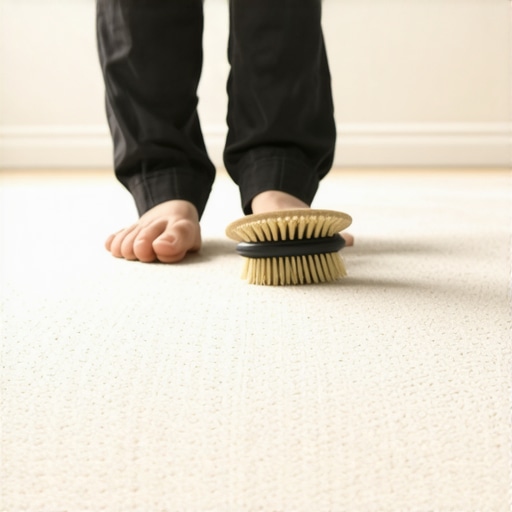
The Pencil Line Method for Tracking Carpet Stretch Progress
I spent three days grinding concrete on a job last month just so the floor would not click like a castanet. Most guys skip the leveling compound because they think the underlayment will hide the dip. It will not. I have spent twenty five years on my knees with a moisture meter and a level. I have seen every shortcut in the book. The smell of WD 40 and oak dust is practically part of my DNA now. When you walk onto a job site, you can tell within thirty seconds if the guy before you was a craftsman or a hack. A craftsman looks at the subfloor. A hack looks at the paycheck. The floor is a performance surface, a structural engineering challenge that requires precision down to the molecular level. If the subfloor is off by even an eighth of an inch, the entire installation is compromised. I remember a specific high end residential project where the owner insisted on a thick, plush carpet over a slab that was as wavy as the Atlantic. They thought the padding would mask the imperfections. It did not. Within six months, the carpet had developed ripples that looked like waves. I had to rip the whole thing out, grind the high spots, and fill the low spots with a high compression strength leveling compound. It was a mess that could have been avoided with a simple pencil and a bit of professional pride.
The physics of tension and textile memory
Carpet stretching requires a deep understanding of synthetic fibers and latex backing systems to ensure dimensional stability. The pencil line method serves as a physical witness mark to verify that the power stretcher has achieved the 1 to 1.5 percent stretch mandated by the CRI 104 standard. Without this mechanical tension, the carpet will eventually succumb to delamination and buckling. The process begins with the structural integrity of the tack strip. If the wood or concrete beneath the strip is crumbling, the pins will pull out under the force of the stretcher. I have seen guys try to use a knee kicker for a whole room. That is not an install, that is a recipe for a callback. A knee kicker is for positioning, but the power stretcher is the tool that actually moves the carpet. When you apply that pressure, you are stretching the secondary backing of the carpet. This backing is often a woven polypropylene that has a memory. If you do not stretch it enough, it will try to return to its original shape, creating those ugly humps in the middle of your living room. The pencil line method is the only way to prove to yourself and the client that the tension is uniform across the entire span of the room.
The 1/8 inch that ruins everything
Floor leveling is the foundation of every successful carpet install or laminate project. A subfloor must be flat within 3/16 of an inch over a 10 foot radius or 1/8 of an inch over a 6 foot radius to prevent joint failure and audible clicking. If you ignore the high spots, you are asking for trouble. Most people think carpet is forgiving. It is not. While it might hide a small crack, it will telegraph a dip over time. The structural physics of the room dictate how the material will behave. When you are dealing with laminate, the problem is even worse. Those click lock mechanisms are tiny pieces of engineered wood. If the floor under them isn’t flat, every step causes the joint to flex. Eventually, that tongue or groove will snap. I have seen showers where the transition to the bedroom was so poorly handled that the moisture from the bathroom started to wick into the subfloor of the sleeping area. It caused the plywood to swell, which pushed the carpet up and away from the transition strip. You have to be an architect of the floor, not just a guy laying down a rug.
“A floor is only as good as the subfloor beneath it; deflection is the enemy of every joint.” – Master Flooring Axiom
Why your subfloor is lying to you
Moisture vapor emission rates or MVER can fluctuate wildly based on seasonal humidity and hydrostatic pressure. A concrete slab may look dry on the surface, but it could be holding alkaline salts and moisture that will destroy adhesives and carpet backings. I always use a calcium chloride test or an in situ probe before I even think about bringing the material inside. If the slab is pushing out too much moisture, you need a vapor barrier. I have seen $20,000 installations ruined because the installer did not check the relative humidity of the crawlspace. The pencil line method actually helps here too. If you mark the floor and the carpet, and you see the carpet moving back toward the mark over the next few days, you know you have a tension loss issue, which is often tied to environmental factors. The wood or the carpet is absorbing moisture and expanding, which counteracts your stretch. In regions like Houston or New Orleans, the high humidity is a constant battle. You cannot just slap it down and leave. You have to acclimate the material to the HVAC controlled environment for at least 48 to 72 hours. If you skip acclimation, you are a hack.
| Material Type | Acclimation Time | Stretch Requirement | Wear Layer Mil |
|---|---|---|---|
| Solid Hardwood | 7-14 Days | N/A | N/A |
| Engineered Wood | 3-5 Days | N/A | N/A |
| Commercial Carpet | 48 Hours | 1.5% | N/A |
| Residential LVP | 48 Hours | N/A | 20 Mil |
The ghost in the expansion gap
Expansion gaps are the most misunderstood element of hard surface and carpet transitions. Every floor moves, but if you lock it under a heavy kitchen island or pull the carpet too tight against a cold wall, you create static stress points. In a carpet install, the pencil line method ensures that the tension is distributed. You mark the subfloor exactly one inch from the wall. Then, you stretch the carpet until the edge has moved past that mark by the calculated percentage. It is a mathematical certainty. For laminate or engineered floors, that gap at the wall is your insurance policy. I hate T molding. It is bulky and ugly. But if you have a run longer than 30 feet, you often have no choice. The floor needs to breathe. I have walked into homes where the baseboards were pinned so tight against the vinyl planks that the floor couldn’t move. In the summer heat, the whole floor rose up like a tent in the middle of the room. It is physics. You cannot argue with it. You have to respect the gap.
- Ensure subfloor is clear of all drywall mud and debris.
- Install tack strips with a gap from the baseboard equal to the carpet thickness.
- Mark a two inch pencil line on the subfloor at the midpoint of each wall.
- Align the carpet and use the power stretcher to pull the textile.
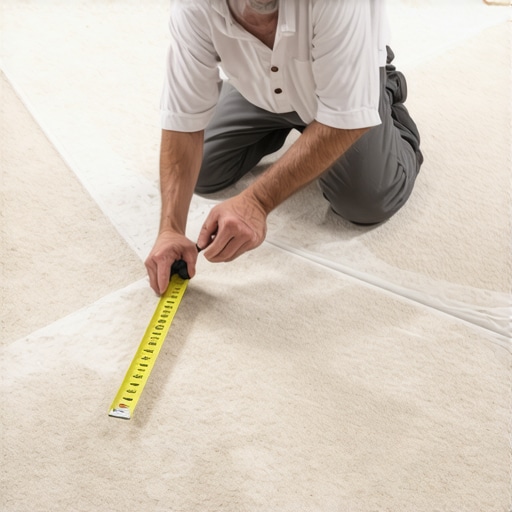
- Measure the distance from the pencil mark to the new carpet edge.
- Verify that the movement equals 1% of the total room length.
Adhesive chemistry and the bond of trust
Modified thin set and pressure sensitive adhesives rely on chemical cross linking to create a permanent bond with the substrate. When you are working near showers, the alkalinity of the concrete can interfere with this bond. I have seen luxury vinyl tile peel up because the installer used a cheap multipurpose adhesive on a high pH slab. You have to match the glue to the backing and the subfloor. It is not one size fits all. The Janka Hardness Scale is another tool I use to explain to clients why their beautiful pine floors are full of dents from their 100 pound Labrador. If you want a floor that lasts, you have to understand the density of the cellulose fibers. Carpet is different, but the density of the face weight and the twist level of the yarn dictate how it will wear. A pencil line might show you how much you stretched it, but the quality of the fiber determines if that stretch will hold over ten years of foot traffic. If you use a cheap rebond pad, the carpet will bottom out, and the mechanical backing will fail anyway. I always recommend a high density frothed foam or synthetic fiber pad for maximum longevity.
“Consistency in tensioning prevents the localized fatigue of primary backing materials.” – Technical Manual 105
The precise movement of the power head
The power stretcher head must be set at the correct depth to engage the primary backing without tearing the face yarns. This is a delicate balance. If you set the pins too deep, you damage the pad. If you set them too shallow, they slip and create burrs in the carpet. As you extend the tubing across the room, the tail block must be braced against a solid plate or a wall stud. Bracing against a baseboard is a amateur move. You will crack the wood. I always use a spreading board to distribute the pressure. Once the head is engaged, you pump the handle and watch your pencil mark. When the carpet reaches the target line, you tuck it onto the tack strip. This is the only way to ensure uniformity. If you just wing it, you will have more tension on one side of the room than the other. This causes the grain of the carpet to look crooked. For a minimalist curator who wants zero threshold transitions, this kind of precision is the only way to satisfy their eye for detail. They want clean lines. I give them structural perfection. No T molding, no bulky transitions, just a perfectly flat, perfectly tight floor that stays that way for twenty years. That is the Master Flooring Architect way. I do not just lay floors. I build foundations for lives. Every pencil line is a promise that I did it right the first time. It will not buckle. It will not fail. It is a engineered surface that respects the laws of physics and the chemistry of the materials. When I leave a job, I know that floor is as solid as the day the house was built. I don’t care if it’s carpet, laminate, or tile. The rules are the same. Preparation is everything. Tension is the key. The subfloor is the truth. The rest is just decoration.