How to Repair a Hole in Your Carpet Without a Professional Patch Kit
I once spent three days in a penthouse overlooking the city because a homeowner thought he could fix a bleach stain with a piece of carpet he found in the back of his closet and a tube of superglue. It was a disaster. The glue had hardened into a crystalline mass that crunched underfoot like broken glass, and the grain of the patch was facing the wrong way, making it look like a dark rectangle in a field of light. My knees were aching by the time I cut that mess out and did it right. I have spent twenty-five years on my knees with a moisture meter and a razor. I have smelled enough floor wax and oak dust to fill a cathedral. Most people think carpet is just a fuzzy blanket for their floor. They are wrong. It is a complex structural system involving a primary backing, a secondary backing, and a latex bond that can fail the moment you introduce the wrong chemistry or too much moisture from nearby showers. If you want to fix a hole without a store-bought kit, you have to think like an architect and act like a surgeon.
The microscopic architecture of the carpet pile
Carpet fibers are engineered with a specific orientation known as the pile direction or nap, which dictates how light reflects off the surface. When you repair a hole, you are not just replacing material, you are managing the physics of light. Every carpet has a grain. If you rub your hand across it, one way feels smooth and the other feels rough. If you install a patch with the nap running north while the rest of the room runs south, the patch will always be visible regardless of how well you cut it. The primary backing is typically a woven polypropylene where the face yarns are tufted. Below that is the secondary backing, usually a coarser material like ActionBac, held together by a layer of styrene-butadiene rubber (SBR) latex. Understanding this layering is the first step to a repair that survives the next decade of foot traffic.
The hidden donor in the shadows
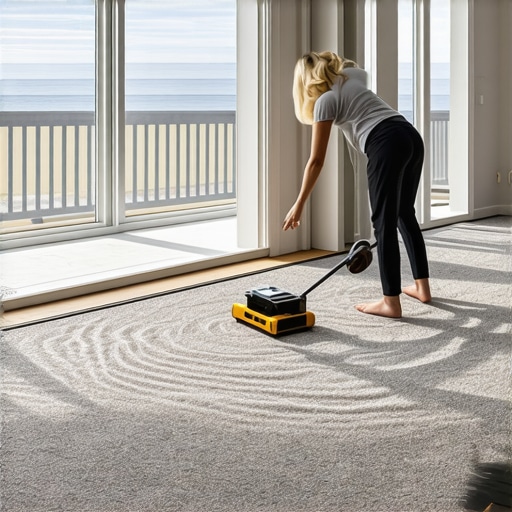
The most successful carpet repairs rely on sourcing identical material from hidden areas like the back of a walk-in closet or under a heavy piece of furniture. You cannot buy a matching scrap at the store. Dye lots change. Even if you find the same brand and color, the atmospheric exposure and foot traffic of your existing floor have altered its profile. Go into the deepest corner of your master closet. Use a sharp utility knife to remove a square of carpet, but do not just hack at it. You need to ensure the subfloor beneath it is clean. If you are dealing with a concrete slab, check for moisture. High moisture levels in the slab will prevent any adhesive from bonding, even if you are using high-end pressure-sensitive tape. I have seen patches peel up in a week because the installer ignored the vapor emission from the concrete. This is a common failure point near bathrooms where high humidity from showers migrates through the walls and settles into the floor structure.
“A floor is only as good as the subfloor beneath it; deflection is the enemy of every joint.” – Master Flooring Axiom
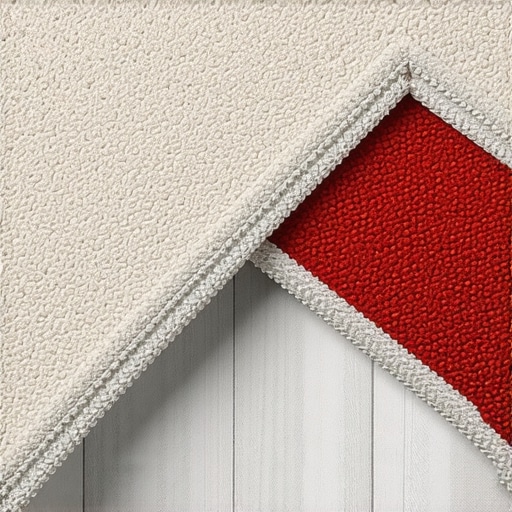
The physics of the invisible cut
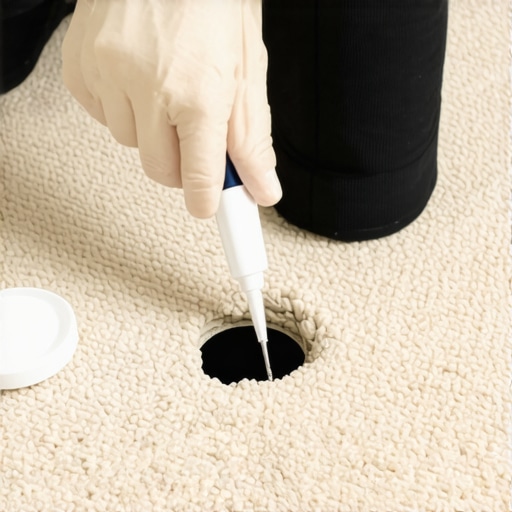
Creating an invisible seam requires a surgical approach where you cut through the backing but avoid severing the face fibers. Use a fresh blade for every single cut. A dull blade drags. It tears the latex bond and creates a fuzzy edge that will never disappear. When you find your donor piece, place it over the hole. Use a sewing needle or a thin awl to part the fibers, creating a clear path for your knife. You want to cut the backing, not the fluff. This is the secret to a seamless look. If you cut the fibers, you create a permanent scar. You are aiming for a precision fit that relies on the friction of the backings against each other, supported by a strong adhesive base. This is where most DIY enthusiasts fail. They treat it like a paper craft project when it is actually a structural engineering challenge involving tensile strength and sheer resistance.
The chemistry of the unseen bond
Without a professional heat-iron and seaming tape, you must rely on high-quality carpet adhesive or a specialized hot-melt glue gun designed for flooring. Do not use school glue. Do not use wood glue. You need something that remains flexible. Carpet expands and contracts with changes in temperature and humidity. If your adhesive dries into a rigid brittle state, the patch will eventually break free or create a hard spot that you will feel every time you walk by. Apply the adhesive to the subfloor and the edges of the existing carpet backing. Be careful not to get any on the face fibers. If you get glue on the yarn, you are finished. The patch is ruined. You must also ensure the floor leveling is perfect. If there is a dip in the subfloor where the patch goes, the edges will catch and fray. I have seen beautiful wool carpets ruined because the installer didn’t take the time to scrape the old pad residue off the concrete before applying the new patch.
| Carpet Type | Janka Equivalent Hardness | Recommended Adhesive | Acclimation Time |
|---|---|---|---|
| Nylon Cut Pile | Medium-Low | SBR Latex | 48 Hours |
| Wool Berber | Low | Natural Resin | 72 Hours |
| Polyester Shag | Very Low | Pressure Sensitive | 24 Hours |
| Commercial Loop | Medium | Acrylic Base | 24 Hours |
The 1/8 inch that ruins everything
Precision in measurement is the difference between a patch that stays and a patch that pops out like a cork. If your patch is 1/8 of an inch too small, you will have a gap that collects dirt and eventually creates a black line around the repair. If it is 1/8 of an inch too large, it will peak. Peaking is when the edges of the carpet are forced upward by the pressure of the surrounding floor. It creates a small ridge that will wear down faster than the rest of the carpet. You want a snug fit, not a tight one. This is why I always tell people to skip the cheap plastic kits. They don’t give you the control you need to match the specific tension of a stretched carpet install. If your carpet was installed using a power stretcher, it is under constant tension. Your patch needs to respect that tension or it will cause the surrounding area to ripple over time.
The final integration and grooming
Once the patch is set, you must groom the fibers together to blend the old and new yarn. Use a carpet tractor or even a clean wide-toothed comb. Work the fibers of the patch into the fibers of the surrounding carpet. If the donor piece came from a closet, it might be taller than the worn carpet in the middle of the room. You can carefully shear the top of the fibers with a pair of sharp hair-cutting shears to match the height. Be conservative. You can always take more off, but you can’t put it back. This is the same logic I use when transitioning between carpet and laminate. You have to account for the height difference to prevent a trip hazard. A successful repair is one that nobody, not even the guy who put it in, can see after a week of walking on it.
- Identify the nap direction by sliding a hand across the surface.
- Cut a donor piece from a closet using a brand-new utility blade.
- Clean and level the subfloor to remove any old adhesive or debris.
- Apply a flexible adhesive to the subfloor and the backing edges.
- Press the patch firmly and weight it down for 24 hours.
- Groom the fibers with a comb to hide the seam lines.
The integrity of your home’s flooring is a reflection of the care put into the sub-layers. Whether you are dealing with moisture from showers or the rigid requirements of a laminate transition, the floor demands respect. A patch isn’t just a fix. It is a restoration of the performance surface you walk on every day. Treat the fibers with the same precision an architect treats a blueprint, and your floor will serve you for decades without a single click or pop. Stop looking at it as a chore and start looking at it as a craft. That is how we do it in the trade, and that is how you should do it in your home.