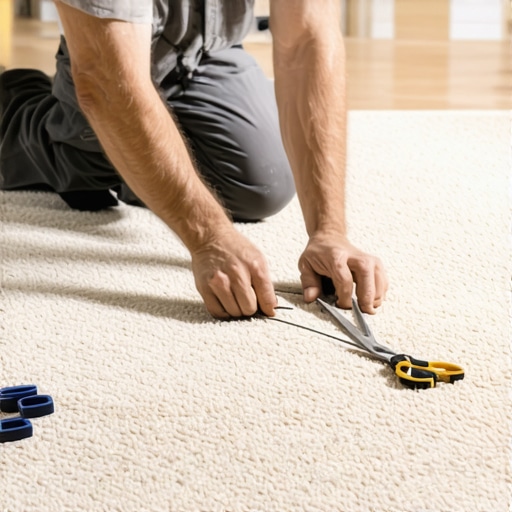
How to Fix a Loose Carpet Seam That’s Starting to Fray
I spent three days grinding concrete on a job last month just so the floor wouldn’t click like a castanet. That job was supposed to be a simple carpet install, but the previous guys ignored the subfloor. Now, I am looking at a loose carpet seam that is starting to fray, and it reminds me why I hate shortcuts. A floor is a performance surface, not a rug you just toss down. When a seam fails, it is usually because the installer didn’t seal the edges or the subfloor had a dip that caused the carpet to flex every time someone walked over it. Fixing a fraying seam requires more than just a little bit of glue; it requires an understanding of the textile physics and the chemical bond of the thermoplastic tape used in modern installations.
The anatomy of a failed carpet seam
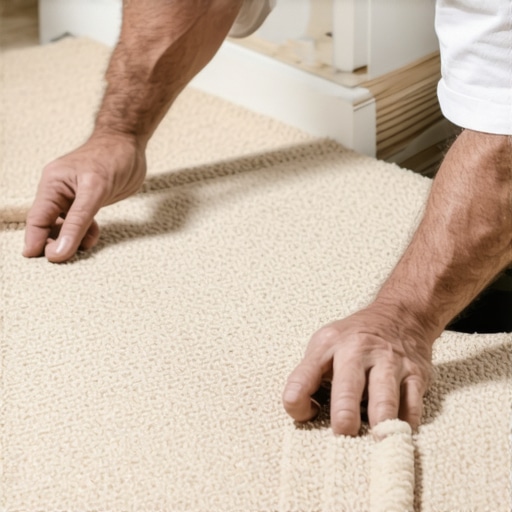
To fix a loose carpet seam that is starting to fray, you must trim back the damaged fibers, apply a high quality seam sealer to the primary and secondary backing, and re-bond the carpet to a fresh strip of professional grade thermoplastic seaming tape using a controlled heat iron. This process ensures that the structural integrity of the carpet is restored. A seam fails when the lateral tension from foot traffic pulls the two pieces of carpet apart because the adhesive bond has degraded. If you ignore a fray, the tuft bind will weaken, and you will start losing whole rows of yarn. This is especially common in loop pile carpets where one snag can cause a zipper effect across the entire room. You have to stop the unraveling at the molecular level by sealing the backing before you even think about the iron. Most homeowners try to use hot glue guns or duct tape, but those are temporary fixes that will eventually fail and make the final professional repair much harder because of the residue left behind.
“A floor is only as good as the subfloor beneath it; deflection is the enemy of every joint.” – Master Flooring Axiom
Why most DIY carpet repairs fail quickly
Most DIY carpet repairs fail because the user ignores the importance of row cutting and edge sealing which are mandatory for a long term bond. Without sealing the edges, the yarn continues to rub against the adjacent piece of carpet, causing mechanical friction that breaks down the latex backing. I have seen countless repairs where people just put more glue on top of the old glue. That does not work. You need a clean surface for the thermoplastic to bite into. If the carpet was never properly stretched with a power stretcher, the loose tension will continue to pull at the seam, making any repair short lived. This is why floor leveling is vital. If there is a hollow spot under the carpet, the seam will sink and rise every time it is stepped on, creating a hinge effect that snaps the adhesive bond. You are not just fixing a cosmetic gap; you are repairing a structural joint in a high tension system.
The kit that keeps seams together
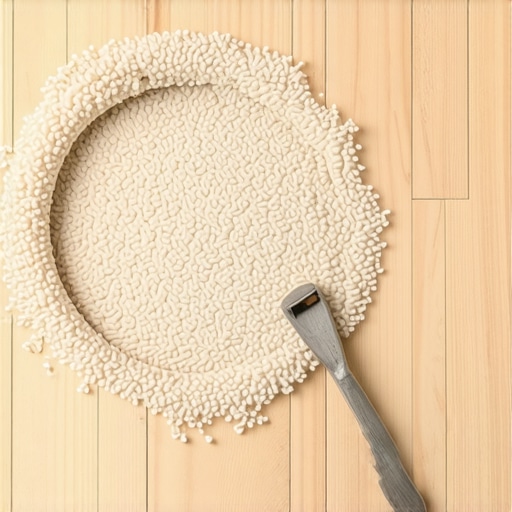
The essential tools for a professional carpet seam repair include a pro grade seaming iron with a heat shield, a row finder, a star wheel roller, and a premium latex based seam sealer. You cannot do this job with a household iron. Carpet irons are designed to reach specific temperatures that melt the resin on the tape without scorching the backing of the carpet. You also need a sharp slotted blade to trim the frayed edges without cutting into the pile. If you cut the pile, you create a visible gap that no amount of rolling will hide. The star wheel roller is vital because it presses the carpet backing into the molten glue while simultaneously blending the fibers to hide the transition. Do not forget the row finder. It allows you to move the yarn aside so you are cutting only the backing, which is the secret to an invisible seam.
| Fiber Type | Melting Point | Repair Difficulty | Janka Equivalent Stress |
|---|---|---|---|
| Nylon 6.6 | 500 F | Moderate | High Tension |
| Polypropylene | 320 F | High | Low Heat Resistance |
| Polyester | 480 F | Moderate | Medium Elasticity |
| Wool | Char Only | Expert | Natural Protein Fiber |
Step by step instructions for sealing the fray
First you must identify the cause of the fray by inspecting the backing and then trim the damaged yarns to create a clean edge for the new adhesive bond. Use your row finder to separate the pile. This is where the zooming into the physics comes in. You need to see the primary backing. If the backing is delaminating, which means the secondary layer is peeling away from the first, you have a bigger problem often caused by moisture from nearby showers or improper cleaning. Assuming the backing is solid, apply a thin bead of seam sealer along both edges. This is the step everyone skips. The sealer acts like a weld, preventing the yarns from falling out. Once the sealer is tacky, slide the new seaming tape under the joint. Set your iron to the manufacturer recommended setting, usually around three on a professional iron. Move the iron slowly, about one inch per second, allowing the heat to penetrate the backing and melt the tape. Follow immediately with the star wheel roller, pressing firmly to marry the backing to the tape. Do not walk on the seam for at least four hours while the thermoplastic cools and crystallizes.
- Inspect the subfloor for any moisture or unevenness that caused the initial failure.
- Vacuum the area thoroughly to remove any loose grit that will interfere with the adhesive.
- Use a row cutter to ensure you are not cutting the face fibers of the carpet.
- Apply seam sealer to the edges to lock the tufts into the primary backing.
- Heat the seaming tape until the beads are fully molten before pressing the carpet down.
- Use a seam weight or a heavy toolbox to hold the seam flat while it cools.
The role of floor leveling in carpet longevity
Floor leveling is just as important for carpet as it is for laminate or hardwood because an uneven subfloor creates concentrated stress points on the seams. If the subfloor has a dip, the carpet will bridge over it. Every time someone walks on that bridge, the carpet stretches and pulls at the nearest seam. Over time, this mechanical stress causes the fraying you are seeing now. Before I ever lay a piece of carpet, I check the floor for flatness. If it is out by more than an eighth of an inch over ten feet, I am pulling out the leveling compound. People think carpet hides flaws. It doesn’t. It just masks them until they break the floor. If you are repairing a seam over a dip, you might need to pull the carpet back and level that spot with a Portland cement based patch before finishing the repair. This ensures the floor remains a flat, stable surface for the tensioned carpet to rest upon.
“Improper row cutting is the primary cause of premature seam fraying in loop pile installations.” – Master Flooring Axiom
Environmental impacts on carpet tension
Humidity and temperature play a significant role in how carpet reacts to its environment and how well a seam repair will hold up over time. If you live in a high humidity area like Houston, the carpet fibers will absorb moisture and expand. This can cause the carpet to go slack, leading to ripples and seam failure. Conversely, in a dry climate like Phoenix, the backing can become brittle. When you are performing a repair, you must ensure the carpet has acclimated to the room temperature for at least 48 hours. If you fix a seam in a cold room and then turn the heat up, the carpet will expand and the seam might peak or buckle. Always consider the proximity to moisture sources. A seam near a bathroom or shower is under constant attack from humidity. In those areas, I always use a 100 percent waterproof seam sealer to ensure the moisture doesn’t break down the latex bond. This is the difference between a repair that lasts a year and one that lasts a decade.
The anatomy of a failed edge
The edge of a carpet is the most vulnerable point of the installation and requires specific mechanical fasteners and adhesives to remain stable. When a carpet meets another surface like laminate or tile, the transition must be handled with care. A loose seam often starts at these transitions because the carpet wasn’t tucked properly into the tack strip or the transition molding was too loose. If the carpet can move even a fraction of an inch, it will rub against the hard surface and begin to fray. I always use a Z-bar transition when moving from carpet to laminate to ensure the edge is clamped down and protected. This prevents the fraying from starting in the first place. You have to think about the floor as a single integrated system where every transition and every seam is a potential point of failure if the physics of movement are not accounted for correctly. The 1/8 inch that ruins everything is usually the gap between the tack strip and the wall or the transition plate. If that gap is too wide, the carpet loses its grip and the seam will eventually pull apart.