The Bucket Weight Trick for Leveling a Bouncy Plywood Subfloor
The smell of WD-40 and fresh oak dust is my natural environment. I have spent twenty-five years on my knees, crawling across every conceivable surface from high-end Manhattan penthouses to damp basement apartments in Jersey. I view a floor as a performance surface, not a decoration. Most guys skip the leveling compound. They think the underlayment will hide the dip. It won’t. I spent three days grinding concrete on a job last month just so the floor wouldn’t click like a castanet. That is the reality of a professional install. If you think your flooring is just a cosmetic skin, you have already failed the project. A floor is a structural engineering challenge that begins six inches below where your feet actually touch. If you do not respect the physics of the subfloor, the physics will eventually destroy your investment. This is especially true when dealing with the flex and bounce of old plywood. I have seen fifteen thousand dollar wide-plank walnut floors cup like potato chips because someone ignored the humidity in the crawlspace. I have seen luxury vinyl plank snap at the joints because the installer thought a quarter-inch dip was close enough for government work. It is never close enough. Professionals demand precision because the material has no mercy.
The physics of subfloor deflection and why it matters
A bouncy plywood subfloor occurs when the joist spacing is too wide or the plywood thickness is insufficient to support the static and dynamic loads of the room. Identifying these deflection points is the first step in floor leveling to ensure that carpet install or laminate applications do not fail prematurely. Most homeowners ignore the structural bounce until the furniture starts rattling. By then, the damage is often systemic. Plywood is an organic composite. It is made of layers of wood veneer glued together with the grains running in opposite directions. This cross-lamination gives it strength, but it does not make it immortal. When moisture enters the equation, the phenolic resins can fail, leading to delamination. A delaminated sheet of plywood is essentially a spring. It will move every time you step on it. If you put a rigid floor like laminate over that movement, the tongue-and-groove locking mechanism will act as a fulcrum. Eventually, that plastic or HDF joint will fatigue and snap. You will hear a click. Then you will feel a soft spot. Then the floor is ruined. You cannot fix a broken locking joint from the top. You have to pull the whole floor up. This is why the bucket weight trick is the secret weapon of the grumpy old pro who refuses to do a job twice. It forces the subfloor to reveal its secrets before the expensive finish material is ever unboxed.
“A floor is only as good as the subfloor beneath it; deflection is the enemy of every joint.” – Master Flooring Axiom
The bucket weight trick for identifying low spots
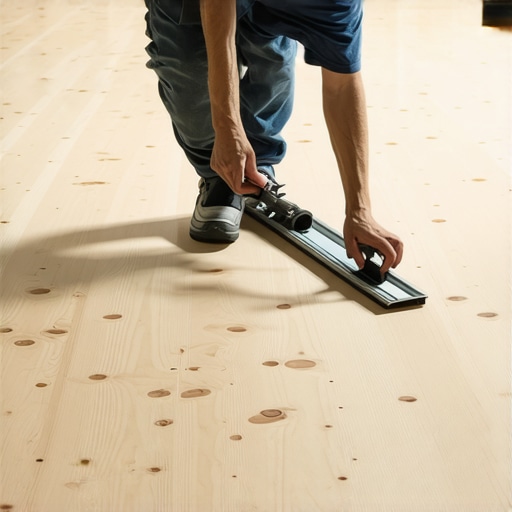
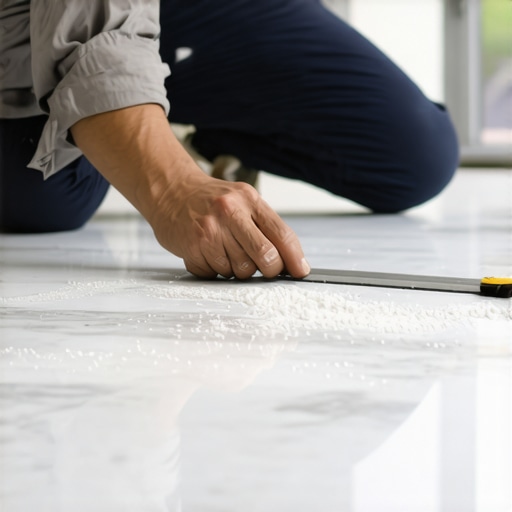
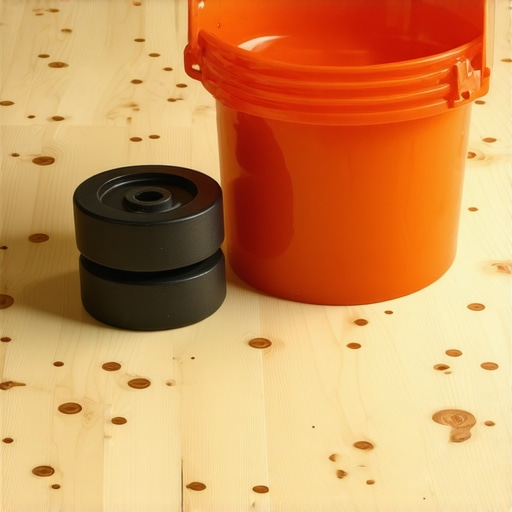
The bucket weight trick involves placing five-gallon buckets filled with water across the subfloor surface to simulate live loads and identify hidden voids or structural dips. This method allows the installer to see exactly where floor leveling compound is needed to create a flat plane for laminate or hardwood. Water is heavy. A five-gallon bucket of water weighs roughly forty-two pounds. When you line up ten of these in a grid, you are putting four hundred pounds of focused pressure on the plywood. This is the weight of a heavy dresser or a refrigerator. If the plywood is not properly fastened to the joists, it will compress under this weight. This is where you find the ghosts in your floor. I call them ghosts because they disappear when you take the weight off, only to haunt you once the furniture is moved in. You take your long straightedge, at least eight feet of extruded aluminum, and you slide it between the buckets. If you can see light under that straightedge while the buckets are depressing the plywood, you have a structural dip. This is not just a cosmetic issue. It is a vacancy that will swallow your flooring. In a carpet install, this might just feel like a soft spot. In showers, this kind of deflection will crack your grout lines and breach your waterproofing membrane. You cannot afford that. You need to map these dips with a pencil. Mark the perimeter of the depression. This is your roadmap for the self-leveling underlayment or the strategic placement of subfloor screws.
The 1/8 inch that ruins everything
Subfloor flatness tolerances are usually measured as one-eighth of an inch over ten feet or three-sixteenths over ten feet depending on the flooring manufacturer specifications. Ignoring these micro-measurements leads to hollow sounds and structural failure in click-lock laminate or engineered hardwood. People think an eighth of an inch is nothing. They are wrong. In the world of high-performance flooring, an eighth of an inch is a canyon. Imagine the locking joint of a laminate plank. It is often less than two millimeters thick. If that plank is suspended over a three-millimeter dip, every step you take forces that joint to bend. Do that ten thousand times, and the material will fail. It is basic mechanical fatigue. The bucket trick identifies these canyons before they are covered. Once you have marked the dips, you have to decide on a course of action. If the dip is caused by a joist that was crowned or installed poorly, you might need to sister a new joist alongside it. If the plywood is just thin, you might need to add a second layer of underlayment grade plywood. Always offset the seams. Never let four corners meet in one spot. Use a construction adhesive like PL Premium between the layers. This creates a monolithic slab of wood that resists deflection far better than two independent layers ever could. We are talking about the chemistry of the bond. The glue turns two sheets of wood into a single structural unit. This is how you build a floor that lasts for fifty years instead of five.
| Subfloor Material | Typical Thickness | Janka Hardness Potential | Best Use Case |
|---|---|---|---|
| OSB (Oriented Strand Board) | 23/32 inch | Low | Builder grade carpet installs |
| CDX Plywood | 3/4 inch | Medium | Standard residential flooring |
| AdvanTech | 23/32 inch | High | High-end hardwood and tile |
| Cement Board | 1/2 inch | N/A | Wet areas and showers only |
Chemical bonds and plywood chemistry
The chemical composition of subfloor adhesives and leveling primers is critical for ensuring a tenacious bond between the plywood substrate and the top-leveling compound. Using the correct primer prevents the wood from sucking the moisture out of the self-leveling underlayment too quickly. If the wood pulls the water out of the leveling compound before it has a chance to hydrate and cure, the compound will become brittle. It will turn into a chalky mess that will eventually pulverize under foot traffic. You need a latex-based primer that seals the pores of the wood. This creates a bridge. On one side, the primer grips the wood fibers. On the other side, it provides a surface that the cementitious leveler can cling to. When I mix leveler, I use a high-speed drill and a paddle mixer. I follow the water-to-powder ratio to the gram. If you add too much water, you weaken the crystalline structure of the cement. If you add too little, it will not flow. It is called self-leveling, but that is a lie. It is actually self-smoothing. You still have to help it with a spiked roller or a gauge rake. You are fighting against gravity and surface tension. The bucket trick showed you where the dip was. Now the chemistry of the leveler is filling that void. You are creating a flat, stable plane. This is the foundation of excellence. When you walk on a floor that has been properly leveled, it feels like solid stone. There is no bounce. There is no sound. There is only the silence of a job done right.
Regional moisture logic for subfloor stability
Environmental humidity affects plywood expansion and subfloor stability differently in arid climates versus humid coastal regions. In areas like Houston, the high ambient moisture can cause subfloor swelling, while the dry heat of Phoenix may lead to plywood shrinkage and fastener withdrawal. If you are in the Southeast, you need to be obsessed with your moisture meter. Plywood should be within two to four percent of the moisture content of the finish flooring before you even think about installation. If the subfloor is wet, and you trap that moisture under a vapor-impermeable layer like laminate or LVP, you are inviting mold and rot. The bucket trick can actually help here too. If you leave those weighted buckets on the floor overnight and you see moisture rings under them the next morning, you have a serious vapor transmission problem coming up from the crawlspace. You need a six-mil poly barrier on the ground down there. You need to dry out the house. I have seen guys try to rush a job in a new build where the HVAC hasn’t been running. The floor looks great for a month. Then the heat kicks on in the winter, the humidity drops, the subfloor shrinks, and every single seam in the house opens up. You can fit a credit card in the gaps. That is the cost of impatience. A professional waits for the house to reach equilibrium. We are not just installers. We are climate controllers.
“Minimum subfloor thickness for ceramic tile installation on joists spaced 16 inches on center is 19/32 inch exterior grade plywood.” – TCNA Handbook Standards
Why shower installations demand different subfloor rules
A shower subfloor requires zero deflection to prevent waterproofing failure and cracked tiles. Unlike a laminate floor, which can tolerate minor movement, a tiled shower floor is a rigid system that will fail if the plywood subfloor beneath the cement board or mortar bed flexes. This is where the bucket trick becomes vital. If you place a bucket in the center of a shower pan area and you see any movement at all, you are not ready for tile. You need to beef up the framing. I often recommend blocking between the joists. You cut pieces of 2×8 or 2×10 and nail them perpendicular to the joists. This prevents the joists from twisting and stops the plywood from sagging between the spans. For showers, I prefer a double layer of plywood or a high-performance substrate like AdvanTech. Then you apply your waterproofing. Whether you use a sheet membrane or a liquid-applied roll-on, the substrate must be rock solid. If the floor moves, the membrane stretches. If it stretches too far, it tears. A tear means a leak. A leak means you are ripping out a five thousand dollar shower in two years because the subfloor was bouncy. Don’t be that guy. Spend the extra fifty dollars on plywood and screws now so you don’t spend five thousand later. It is simple math. It is the math of a pro.
Subfloor leveling checklist
- Inspect the joists: Ensure joists are structurally sound and spaced no more than 16 inches on center for most applications.
- Fasten the plywood: Use 2.5 inch deck screws or subfloor screws every 6 inches on the edges and 12 inches in the field.
- Perform the bucket trick: Place 5-gallon water buckets in a 3×3 grid to identify deflection zones under load.
- Map the low spots: Use a long straightedge to find gaps under the weighted plywood and mark them with a pencil.
- Sand high spots: Use a floor sander or grinder to remove any peaks in the plywood seams.
- Apply primer: Use a latex-based subfloor primer to ensure the leveling compound bonds to the wood.
- Pour self-leveling underlayment: Fill the mapped depressions until the floor is flat within 1/8 inch over 10 feet.
- Verify moisture content: Ensure the subfloor and finish material are within the manufacturer’s recommended moisture range.
The ghost in the expansion gap
The expansion gap at the perimeter of the room is not optional. Every floating floor, whether it is laminate or engineered wood, needs space to expand and contract with seasonal humidity changes. I see it all the time. An installer runs the floor tight against the baseboard or the drywall. They think it looks cleaner. Then summer hits. The humidity rises. The wood expands. Because it has nowhere to go, it starts to peak at the seams. It creates a tent in the middle of the room. It is a disaster. You need a minimum of a quarter inch, often a half inch, around the entire perimeter. This gap is covered by your baseboard or shoe molding. It is the lungs of the floor. It lets the floor breathe. If you have a large room, you might even need transition strips in the doorways. I know, everyone hates T-molding. The Minimalist Curator persona hates them. But physics doesn’t care about your aesthetics. If the run is too long, the cumulative expansion will be more than the perimeter gap can handle. The floor will buckle. The bucket trick can help you identify if the floor is already under tension. If you put weight on a buckling floor and it doesn’t flatten out, you have an expansion problem, not a leveling problem. You have to go to the edges and cut back the material. Give it room to live. A floor is a living thing. It moves. It reacts. Your job is to give it the structure it needs to move safely. That is the difference between a handyman and a master. We don’t just put things down. We engineer them to stay down.