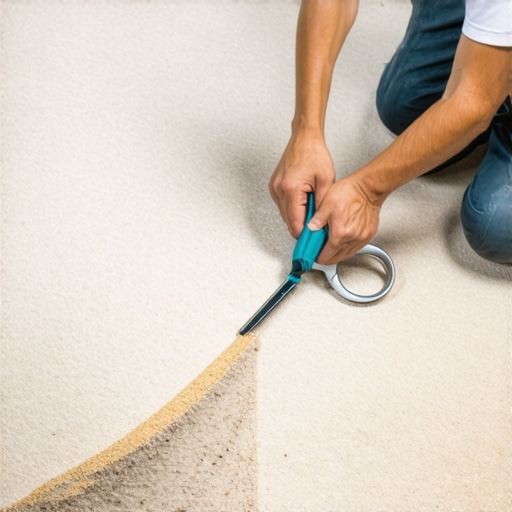
How to cut carpet around a round pipe without a gap
Most guys skip the leveling compound. They think the underlayment will hide the dip. It won’t. I spent three days grinding concrete on a job last month just so the floor wouldn’t click like a castanet. That job taught me that if the foundation is off by even an eighth of an inch, the finish work is doomed before you even unroll the padding. My knees have the scars to prove it. When you are staring down a copper pipe sticking out of a slab, you aren’t just a carpet installer. You are a geometer. If you miss your mark by a fraction, the homeowner sees a gaping hole every time they walk into the room. It looks amateur. It looks cheap. My goal is always a finish that looks like the pipe grew out of the carpet itself. No gaps. No fraying. Just a tight, professional lock that stays put for twenty years.
The geometry of a perfect relief cut
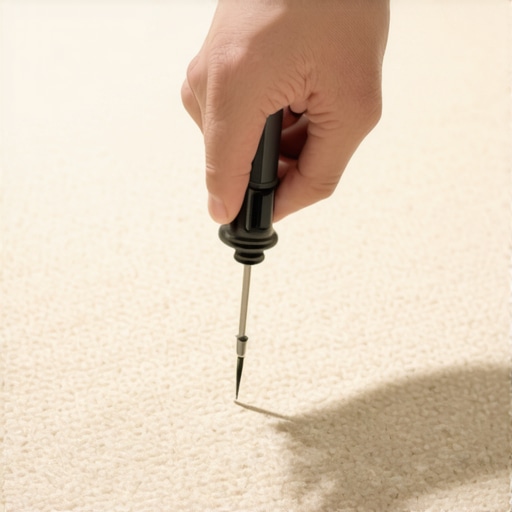
Cutting carpet around a round pipe requires a precise relief cut made from the nearest wall or seam. By measuring the diameter and using a y-cut technique, you ensure the fibers wrap tightly around the obstacle without creating a void or a bunch in the material. You start with the backing. You do not cut from the top down into the pile because you will chop off the very fibers you need to hide the seam. I always fold the carpet back and mark the center point of the pipe on the primary backing. This is where the physics of tension comes into play. If the carpet is too tight, it will pull away from the pipe as it acclimates. If it is too loose, you get a bulge. You make a single straight slice from the edge of the carpet to the center of the pipe location. Once you hit that center point, you create a small circular opening that is slightly smaller than the pipe diameter. The latex in the backing provides enough stretch to let the material slip over the pipe, while the elastic memory of the synthetic fibers pulls the edges back together to create a tight seal.
Why your subfloor is lying to you
A subfloor that looks flat often hides microscopic dips that cause carpet to bridge over pipes. Using a 10 foot straight edge and floor leveling compound ensures the carpet sits flush against the base of the pipe, preventing the tenting effect that ruins professional installs. If your floor leveling is garbage, your carpet install will be garbage. I have seen guys try to pad out a dip with extra foam. It is a hack move. The chemistry of a high quality floor leveling compound involves a complex blend of Portland cement and polymers that create a surface harder than the original slab. You want the carpet to sit on a plane. When the carpet is perfectly flat, the relief cut around a pipe stays closed. If there is a dip near the pipe, the tension of the carpet stretching over that void will force the cut to open up. It creates a V-shaped gap that no amount of tucking will fix. You have to get that floor level before the glue or the tack strips ever touch the room.
“A floor is only as good as the subfloor beneath it; deflection is the enemy of every joint.” – Master Flooring Axiom
The chemical bond of seam sealing
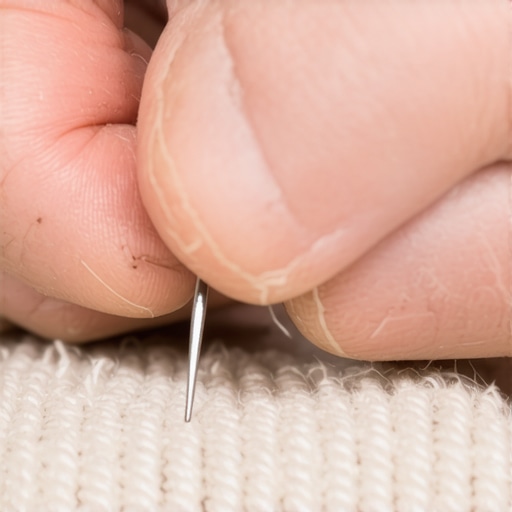
Sealing the raw edges of a carpet cut around a pipe prevents the primary and secondary backings from delaminating over time. Using a thermoplastic or latex-based sealer locks the yarn into the backing, ensuring that foot traffic and vacuuming do not cause the edges to fray or pull away. People think carpet is just one big piece of fabric. It is not. It is a layered system. You have the face fibers, the primary backing, a layer of latex adhesive, and the secondary backing. When you slice through those layers to fit a pipe, you are exposing the guts of the product. If you do not seal that edge, the latex will eventually crumble. The fibers will start to shed. Within six months, that tight fit around the pipe will look like a moth-eaten mess. I use a hot melt glue or a specialized liquid sealer on every cut. It is tedious. It takes time. But it is the difference between a floor that lasts and a floor that fails. You apply the sealer to the backing, not the fibers. You want to create a mechanical bond that holds the structure together without matting the pile.
| Tool Type | Primary Function | Professional Benefit |
|---|---|---|
| Utility Knife | Primary structural cuts | Replaceable blades ensure clean backing slices |
| Row Cutter | Fiber separation | Prevents cutting of face yarns during relief cuts |
| Stair Tool | Tucking and tensioning | Forces carpet into the base of the pipe for tight fit |
| Latex Sealer | Edge protection | Prevents delamination of the primary backing |
The 1/8 inch that ruins everything
Precision measurement is the only way to avoid gaps. Marking the carpet from the underside and using the center-to-wall distance ensures the relief cut aligns perfectly with the pipe. I see guys try to eye-ball it. They guess. They cut. They fail. You have to measure the distance from the nearest wall to the center of the pipe. Then you measure from the perpendicular wall to the center. You transfer these coordinates to the back of the carpet. Remember that the carpet is likely under tension from the tack strips on the other side of the room. You have to account for that stretch. I usually subtract about an eighth of an inch from my measurements to compensate for the pull. When you drop the carpet over the pipe, it should feel a little snug. You then use a tucking tool to push the material down. The pile should stand up against the pipe. It should look like the pipe was there first and the carpet grew around it.
The physics of carpet tension
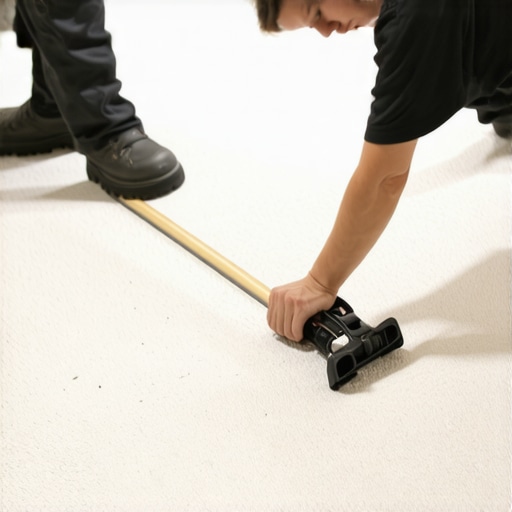
Stretch-in installations rely on the lateral tension provided by tack strips. When cutting around a pipe, this tension must be balanced so the relief cut does not widen under the pressure of the power stretcher. You cannot just hack a hole and hope for the best. The carpet is a giant spring. When you use a power stretcher to hook the carpet onto the pins, you are loading that spring with hundreds of pounds of force. If your relief cut around the pipe is too long or incorrectly angled, that tension will rip the cut open. I always install the tack strips about a half inch away from the pipe if possible. This allows for a small buffer. You want the tension to pull the seam together, not apart. This is why the direction of the cut matters. You always want your relief cut to run parallel to the primary direction of stretch if you can help it. It minimizes the stress on the bond.
- Always use a fresh blade for every pipe cut to avoid snagging fibers.
- Identify the pile direction to ensure the nap hides the relief seam.
- Apply seam sealer to the backing immediately after the cut is made.
- Use a heat gun cautiously to soften stiff backings for a tighter wrap.
- Check the moisture content of the subfloor to prevent adhesive failure.
The ghost in the expansion gap
While carpet does not expand like laminate or hardwood, the subfloor beneath it does. Maintaining a consistent perimeter while allowing for pipe movement prevents the carpet from bunching or tearing over time. Even in showers or utility rooms where the carpet meets wet areas, the structural integrity of the subfloor is the priority. If you are installing laminate in an adjacent room, you know about expansion gaps. Carpet needs a different kind of respect. The pipe itself might vibrate or expand if it is a hot water line. If the carpet is jammed too tightly without a proper relief, that vibration can wear through the backing. It is a slow process. It takes years. But eventually, you get a bald spot. You want the fit to be snug but not restrictive. The goal is a professional, anatomical fit that respects the materials involved.
“Deflection is the enemy of every flooring surface; if it moves, it fails.” – Master Flooring Axiom
The local climate factor
Humidity and temperature play a massive role in how carpet backings behave during an installation. In high humidity environments, the latex becomes more pliable, making precision cuts around pipes more difficult to maintain. If you are working in a swampy basement, the carpet is going to be heavy and limp. If you are in a dry, high-altitude climate, the backing will be stiff and brittle. You have to acclimate the material. I never cut a pipe hole until the carpet has been in the house for at least 48 hours. I want the fibers to reach equilibrium. If you cut it while it is cold and stiff, the hole will expand as it warms up. Suddenly, you have a gap. You have a callback. You have a frustrated customer. I do not do callbacks. I do it right the first time by respecting the chemistry of the material and the physics of the environment.
{“@context”:”https://schema.org”,”@type”:”HowTo”,”name”:”How to cut carpet around a round pipe without a gap”,”step”:[{“@type”:”HowToStep”,”text”:”Measure the distance from the two nearest walls to the center of the pipe.”},{“@type”:”HowToStep”,”text”:”Transfer these measurements to the back of the carpet, accounting for the 1/8 inch stretch factor.”},{“@type”:”HowToStep”,”text”:”Make a straight relief cut from the carpet edge to the marked center point using a sharp utility knife.”},{“@type”:”HowToStep”,”text”:”Cut a small circular hole at the end of the relief cut, slightly smaller than the pipe diameter.”},{“@type”:”HowToStep”,”text”:”Apply seam sealer to the raw edges of the backing to prevent fraying.”},{“@type”:”HowToStep”,”text”:”Slide the carpet over the pipe and use a stair tool to tuck the edges for a flush finish.”}]}