The ‘Nail Puller’ Tool You Need for Every Carpet Replacement Project
The ‘Nail Puller’ Tool You Need for Every Carpet Replacement Project
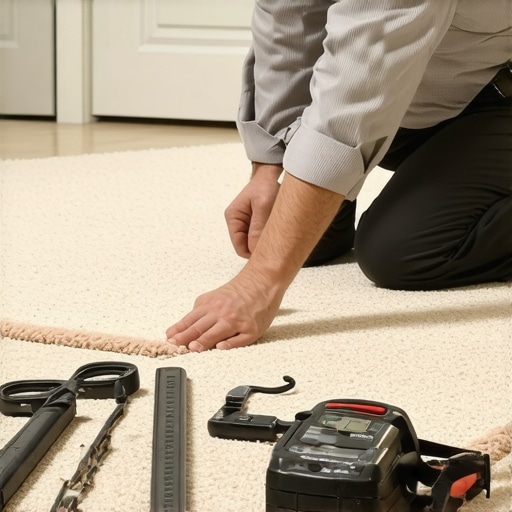
Most guys skip the leveling compound. They think the underlayment will hide the dip. It won’t. I spent three days grinding concrete on a job last month just so the floor wouldn’t click like a castanet. That experience reminds me why every tool in the bag, even the smallest pry bar, serves a structural purpose. When you rip up a carpet install, you are not just removing fabric. You are clearing a battlefield of staples and tack strip nails that want to ruin your next laminate or hardwood floor. I have spent 25 years on my knees with a moisture meter and a level. I have seen the damage a simple missed nail can do to a high-end installation. Flooring is a performance surface, not a decoration. If the subfloor is not perfect, the floor is not perfect. Success starts with the extraction process.
The physics of subfloor fastener extraction
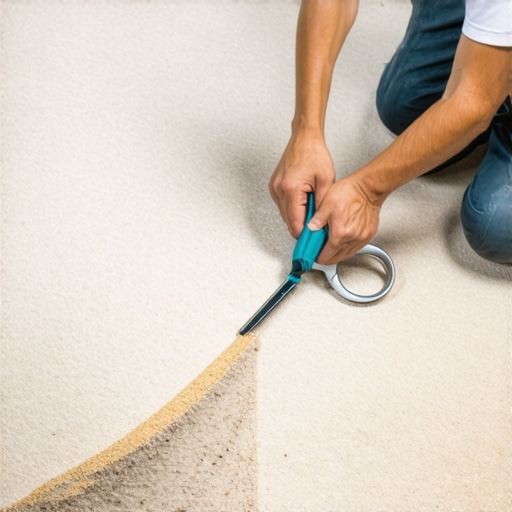
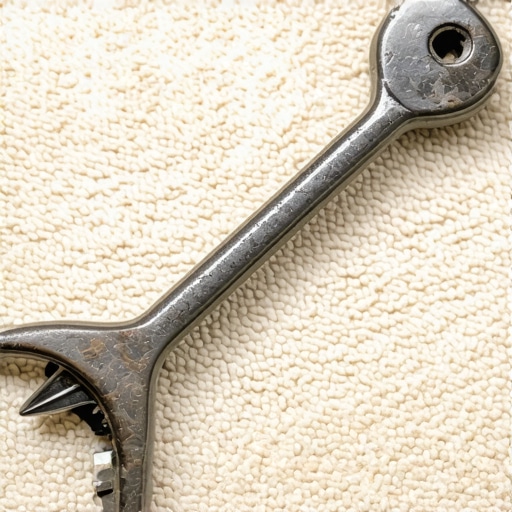
A specialized nail puller provides the mechanical advantage necessary to remove deeply embedded fasteners without compromising the structural integrity of the plywood or OSB subfloor. Using a standard hammer claw often results in crushed wood fibers and enlarged holes because the pivot point is too high. A dedicated cat’s paw or thin-profile pry bar allows for a lower angle of attack. This focus on leverage is the primary reason why professional installers avoid using general-purpose tools for carpet demolition. The goal is to lift the nail vertically along its axis. If you pull it at an angle, you risk shearing the head or splintering the subfloor material. This is especially true when dealing with ring-shank nails commonly used in older homes to secure the subfloor to the joists. The friction of the wood against the nail shaft is intense, and only a tool with the correct metallurgical hardness can bite into the metal to pull it clean.
“A floor is only as good as the subfloor beneath it; deflection is the enemy of every joint.” – Master Flooring Axiom
The 1/8 inch that ruins everything
Maintaining a subfloor flatness tolerance of 1/8 inch over a 10 foot radius is required by most flooring manufacturers to prevent joint failure and noise. If you leave a single staple head protruding 1/16 of an inch, it creates a point of stress. When someone walks over that spot on a new laminate plank, the underlayment compresses, and the plank flexes over the staple. Over time, this repeated stress causes the locking mechanism to snap. This is why floor leveling is not a suggestion but a requirement. I have walked into homes where a $15,000 floor was ruined by a few missed staples. You need a tool that can get under the head of a staple that has been driven flush into the wood. A high-carbon steel nail puller with a ground edge is the only way to achieve this without digging a crater in your subfloor. Every hole you create in the subfloor is a potential weak point for moisture or sound transmission.
The chemistry of subfloor preparation and moisture
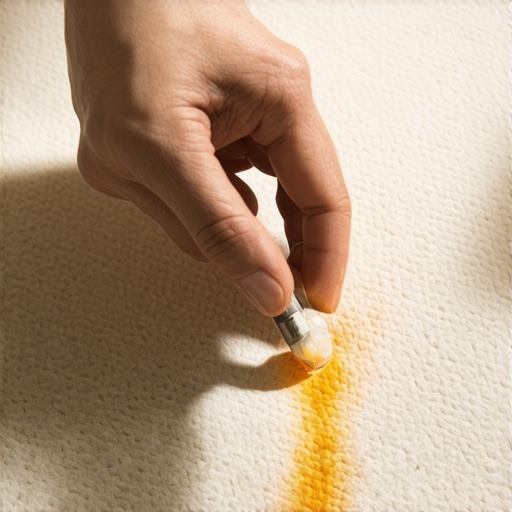
Moisture content in a concrete slab must be verified using calcium chloride or in-situ probe testing before any new flooring is installed to prevent adhesive failure. When you pull up old carpet, you often find white powdery residue. That is efflorescence. It means moisture has been moving through the slab. If you are prepping for showers or tile, this moisture is your enemy. The subfloor needs to be clean and dry. Any old carpet adhesive left behind can react chemically with new leveling compounds or thin-sets. I have seen new floor leveling products peel off like a scab because the installer did not scrape the old yellow adhesive off properly. The nail puller helps here too, acting as a secondary scraper for stubborn chunks of dried glue or padding that have fused to the wood. You are looking for a pristine surface where the mechanical bond of your new adhesive or underlayment can take hold.
| Tool Type | Primary Function | Material Compatibility | Leverage Rating |
|---|---|---|---|
| Cat’s Paw | Deep Nail Extraction | Plywood / OSB | High |
| Flat Pry Bar | Tack Strip Removal | Wood / Concrete | Medium |
| End Nippers | Staple Pulling | Any Surface | Precision |
| Bullnose Pincer | Finished Trim Removal | Softwoods | Low Impact |
Why your subfloor is lying to you
Subfloors often appear level to the naked eye but contain subtle undulations and dips that will cause floating floors to bounce or click. You cannot trust your eyes in this trade. You trust a 10-foot straightedge. If you find a dip, you use a self-leveling underlayment (SLU). But you cannot just pour SLU over a floor littered with staples. Those fasteners will create air pockets in the compound. The physics of the pour requires a smooth, fastener-free surface so the liquid can seek its own level. If you are working in a region with high humidity, like a coastal area, the wood subfloor will expand. If your fasteners are not pulled clean, they can actually work their way further out as the wood cycles through seasonal expansion and contraction. This is how you get squeaks in a floor that was quiet for the first six months. The nail puller ensures the foundation is silent.
- Inspect the entire perimeter for missed tack strip nails.
- Check the center of the room for staples used to hold down padding.
- Identify any protruding subfloor screws that need to be driven flush.
- Vacuum the subfloor to ensure no metal shards remain.
- Use a straightedge to find dips before applying leveling compound.
The ghost in the expansion gap
Leaving a 1/4 inch to 3/8 inch expansion gap around the perimeter of the room is essential for the natural movement of the flooring material. Many DIY installers think they should jam the floor tight against the wall. That is a recipe for a buckled floor. When the humidity hits, that wood or laminate is going to grow. If it has nowhere to go, it goes up. I have seen floors rise three inches off the subfloor because they were locked in. The nail puller is your best friend when removing the baseboards to create this gap. You need to pull the baseboards without breaking them so you can reinstall them over the new floor. A wide, thin-bladed pry bar distributes the pressure against the drywall so you do not punch a hole in the wall. It is about finesse as much as it is about force.
“Hardwood flooring acclimation is not a matter of time but a matter of moisture equilibrium between the wood and its environment.” – NWFA Technical Guidelines
Selecting the right tool for the job
A high-quality nail puller should be forged from high-carbon steel and feature a heat-treated claw for maximum durability during heavy demolition. Do not buy the cheap, painted tools from the discount bin. They will bend. They will lose their edge. You want a tool that feels heavy for its size. The metallurgy matters because the tips of the claw need to be thin enough to get under a staple but strong enough not to snap when you lean on it. I prefer a tool with a polished head because it slides easier under the fasteners. In my experience, a 10-inch or 12-inch bar is the sweet spot for carpet replacement. It provides enough leverage to pop a ring-shank nail but is small enough to fit into a tool belt. If you are doing a lot of work near showers or wet areas, look for a tool with a corrosion-resistant coating. Rust on your tools can transfer to the subfloor and eventually bleed through your new flooring.
Closing the gap on professional results
Working on a floor is hard work. It is physical, it is dirty, and it is unforgiving. But there is a logic to it. If you treat the subfloor like a structural engineering project, the results will last a lifetime. If you treat it like a quick weekend project, you will be ripping it out in two years. Get the right nail puller. Take the time to clear the deck. Level the low spots. Check your moisture. When you finally lay that first plank of laminate or that first sheet of underlayment, you will know that the foundation is solid. That is the difference between a contractor and a craftsman. You are not just installing a floor. You are building the surface where a family will live their lives. It deserves the respect of a clean, level, and fastener-free subfloor.