The ‘Coin Test’ for Checking Carpet Seam Integrity
The phantom failure of invisible seams
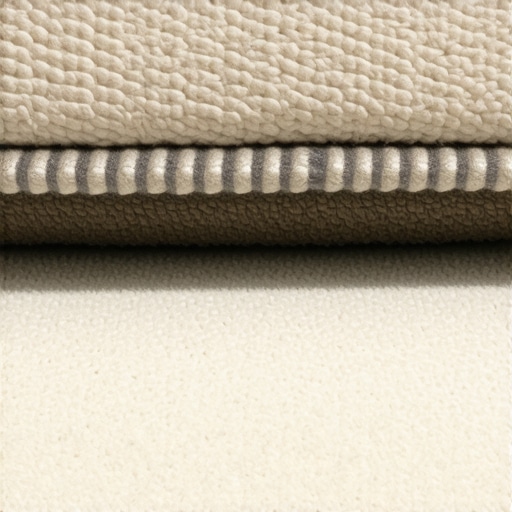
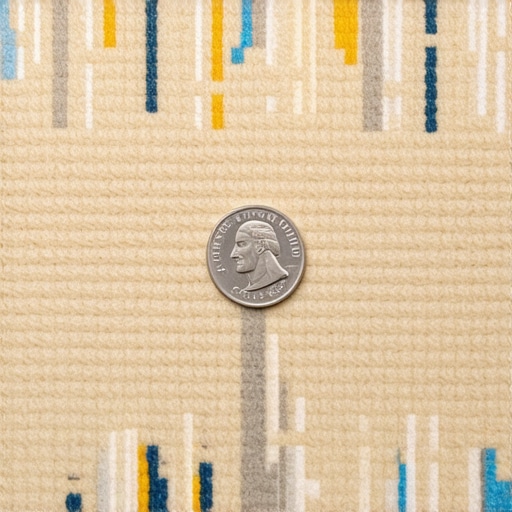
The coin test for carpet seam integrity determines if a seam is structurally sound by attempting to slide a nickel or quarter between the primary and secondary backings of the two joined pieces. A successful test means the coin cannot penetrate the adhesive bond, ensuring the carpet will not delaminate or fray over time. This is a non-negotiable step for any professional who values their reputation. I spent three days grinding concrete on a job last month just so the floor wouldn’t click like a castanet. Most guys skip the leveling compound. They think the underlayment will hide the dip. It won’t. I had to get that slab down to a tolerance of one eighth of an inch over ten feet. If I hadn’t, the carpet seams on top would have flexed every time someone walked over the low spot, eventually snapping the thermoplastic bond. You can’t hide bad prep. It always shows up later as a hump or a split. When I’m on my knees with a seaming iron, I’m not just melting tape. I’m engineering a bridge between two distinct textile structures. If that bridge isn’t solid, the whole room is a failure. I’ve seen fifteen thousand dollar jobs ruined because an installer moved his iron too fast. The adhesive didn’t reach the proper glass transition temperature. It looked fine on Monday. By Friday, the seam was a valley. You need to know the physics of what you’re doing. A carpet is a system of tension and compression. Every time you stretch it onto a tack strip, you’re putting stress on those seams. If the bond is weak, the stress wins.
The physics of the thermoplastic bond
Carpet seaming depends on the chemical reaction between a heat activated adhesive and the synthetic backing of the carpet. Most modern carpets use a polypropylene secondary backing that must be fused to the seam tape at temperatures between 350 and 400 degrees Fahrenheit to create a permanent structural union. When I talk about a permanent union, I mean a bond that is stronger than the carpet itself. If you try to pull it apart, the fibers should break before the glue lets go. This is where most installers fail. They don’t understand the thermal mass of the subfloor. If you’re working on a cold concrete slab, that concrete acts as a giant heat sink. It sucks the heat right out of the seaming tape before the glue has a chance to penetrate the carpet backing. You end up with a cold weld. It looks okay from the top, but the coin test will reveal the truth. You slide that nickel along the seam and it drops right into a pocket. That’s a fail. I always tell the young guys to slow down. Let the iron do the work. You need to see that glue squeeze up into the primary backing. It’s a delicate balance. Too much heat and you melt the face fibers. Too little heat and you’re just making a temporary sticker. It’s about the dwell time. You have to understand the specific heat capacity of the material you’re working with. A heavy plush carpet requires more energy to heat than a thin level loop. If you treat them the same, you’re asking for a call back. And I hate call backs. They cost more than the original job.
“A floor is only as good as the subfloor beneath it; deflection is the enemy of every joint.” – Master Flooring Axiom
Why your subfloor is lying to you
Subfloor leveling is the process of eliminating dips and crowns in a concrete or wood foundation to provide a flat surface for floor coverings. A subfloor that is out of level by more than 1/8 inch over 10 feet will cause structural failure in laminate locking mechanisms and carpet seams. People think carpet is forgiving. They think they can slap it down over a rough slab and the pad will hide everything. That is a lie. If you have a dip in your floor, the carpet is going to bridge that dip. Every time someone walks over it, the carpet flexes down into the hole. This creates a pumping action. It pulls at the seams and grinds the backing against the pad. Eventually, the glue in the seam tape starts to fatigue. It’s like bending a paperclip back and forth. It’s going to snap. I’ve spent more time with a floor grinder than I have with a power stretcher lately. You have to get the floor flat. Not level, necessarily, but flat. There is a difference. A floor can be slanted like a ramp and still be flat enough for a good install. But a floor that looks like a topographical map of the Ozarks is a nightmare. I use a ten foot straight edge. If I can slide a pencil under it, I’ve got work to do. I use high compressive strength self leveling compounds. You want something that hits at least 3,500 PSI. If you use cheap, soft patch, it will just crumble under the pressure of the furniture. It’s all about the foundation. If the foundation is junk, the floor is junk.
| Material Type | Typical Tolerance | Moisture Limit | Primary Failure Mode |
|---|---|---|---|
| Solid Hardwood | 1/8″ over 10′ | 4% MVER | Cupping / Crowning |
| Laminate Flooring | 3/16″ over 10′ | 5% MVER | Locking Tab Snap |
| Broadloom Carpet | 1/4″ over 10′ | 8% MVER | Seam Delamination |
| Luxury Vinyl Plank | 3/16″ over 10′ | 5% MVER | Joint Separation |
The chemical reality of carpet adhesives
Modern carpet seam tapes utilize a hot melt adhesive composed of synthetic resins and ethylene vinyl acetate (EVA). These adhesives must reach a specific viscosity to penetrate the woven grids of the carpet backing and create a mechanical lock upon cooling. If you don’t get that viscosity right, the glue just sits on the surface. It’s a surface bond, not an integrated bond. I’ve seen guys try to use old tape that’s been sitting in the back of a hot truck for three months. The resins start to break down. The glue gets brittle. You run the iron over it and it smells like burnt sugar. That’s a sign that the adhesive is compromised. You need fresh materials. I also see people using the wrong tape for the job. You can’t use a low melt tape on a heavy commercial carpet. The density of the backing will pull the heat away too fast. You need a high melt tape with a wider adhesive bed. It’s about the surface area of the bond. More surface area means more strength. The coin test is how you verify that the bond has reached the full width of the tape. If you can slide a coin in from the edge of the seam, the tape wasn’t wide enough or the iron didn’t melt the edges. You also have to watch out for latex migration. Some of these cheaper carpets use a lot of filler in their latex backing. When you heat it up, that filler can contaminate the seam glue. It’s like trying to glue two pieces of dusty wood together. It’s not going to hold. You have to know your product. I’ve been doing this twenty five years and I still check the manufacturer’s specs on every new roll.
The danger of showers and wet areas
Installing carpet adjacent to showers or high moisture areas requires a transition strip and a moisture barrier to prevent liquid from wicking into the carpet backing. Unprotected carpet seams near water sources will undergo hydrolytic degradation, leading to adhesive failure and mold growth. I’ve seen carpets in bathrooms that looked like a science project. People think ‘waterproof’ padding will save them. It won’t. Water gets into the seams and it stays there. The moisture breaks down the EVA glue in the seam tape. Once that glue gets wet and stays wet, it turns back into a gooey mess. Then the carpet starts to pull away from the transition. If you’re going to put carpet near a shower, you need a solid transition like a marble threshold or a metal Z-bar. You have to seal the edge of the carpet with a liquid seam sealer. This is a specialized latex or acrylic cement that you apply to the cut edges of the carpet before you join them. It prevents the yarns from fraying and creates a water resistant barrier. If you skip the sealer, you’re asking for the seam to blow apart in six months. I don’t care how good your iron work is. If the edges aren’t sealed, the moisture will find a way in. It’s the same with laminate. If you don’t seal the perimeter in a kitchen or near a bathroom, the core will swell like a sponge. Water is the enemy of every floor. You have to respect it. You have to plan for it. If you don’t, you’re just throwing your customer’s money away.
Mechanical row cutting for a invisible seam
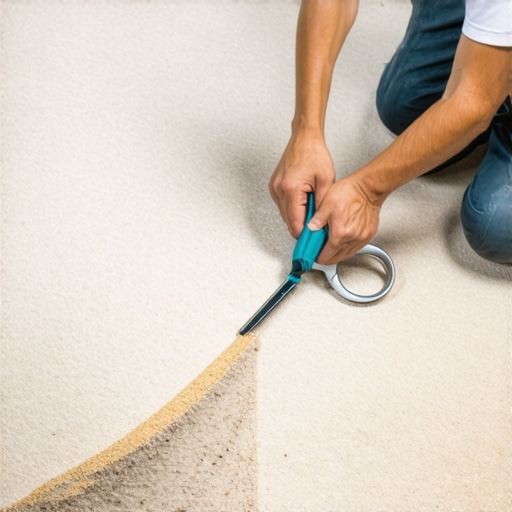
Row cutting is the process of separating the carpet fibers with a row spreader to ensure the cutting tool only severs the backing and not the face yarns. This technique is essential for creating a seam that is structurally invisible and protected from fiber loss. If you just take a knife and hack through the carpet, you’re cutting thousands of little fibers. When you join those two pieces together, you’ll have a visible line where the hair is shorter. It looks like a scar. More importantly, those cut fibers will start to shed. This weakens the edge of the carpet. I always find a row. I use a needle or a screwdriver to find the gap between the tufts. Then I follow that path with my cutter. It takes longer. It’s hard on the knees. But it’s the only way to do it right. Once the row is cut, you have to butter the edges. This means applying a thin bead of seam sealer to the primary backing. This locks the tufts in place. If you don’t butter the edges, the carpet will eventually start to ‘smile’ at the seam. That means the edges are curling away from each other. The coin test will catch this early. If the edges aren’t sealed, the coin will easily snag the fibers and pull them out of the backing. A good seam should feel like one continuous piece of fabric. You shouldn’t be able to find it with your eyes or your fingers. And you definitely shouldn’t be able to get a coin into it.
“Seam sealer is not an option; it is the structural insurance policy for every yard of carpet laid.” – Floor Covering Installation Board Standard
The checklist for a bulletproof carpet installation
- Verify subfloor flatness within 1/8 inch over a 10 foot radius using a mechanical straight edge.
- Acclimate all flooring materials to the job site temperature and humidity for at least 48 hours before installation.
- Use a row spreader to identify the natural gap between yarn tufts before making any longitudinal cuts.
- Apply a continuous bead of edge sealer to both sides of the cut carpet to prevent fraying and delamination.
- Monitor seaming iron temperature with a laser thermometer to ensure it remains between 350 and 400 degrees Fahrenheit.
- Perform the coin test at six inch intervals along the entire length of the seam once the adhesive has cooled to room temperature.
- Ensure the power stretcher is used to achieve the manufacturer’s recommended tension, usually 1 to 1.5 percent stretch.
- Inspect the perimeter for proper tucking and ensuring no gap exists between the carpet and the baseboard.
Comparing laminate and carpet seam dynamics
Laminate flooring relies on a mechanical click-lock system that requires a perfectly flat subfloor to prevent the tongue and groove joints from snapping under load. Carpet seams rely on a flexible adhesive bond that can tolerate minor floor movement but will fail if the subfloor has significant depressions. Laminate is much more temperamental when it comes to leveling. If you have a 1/4 inch dip, the laminate will bridge it, but as soon as someone heavy walks on it, that tongue is going to snap. Once it snaps, the floor starts to separate and there is no fixing it. You have to tear the whole thing up. Carpet is a bit more forgiving in the short term, but the long term failure is the same. The seam is the weakest point of any floor. In laminate, it’s a mechanical weakness. In carpet, it’s a chemical and structural weakness. I tell people that if they are going to spend money on a high end floor, they need to spend at least 20 percent of that budget on the stuff they can’t see. The leveling, the primer, the high quality underlayment. While most people want the thickest underlayment, too much cushion actually causes the locking mechanisms on laminate or LVP to snap under pressure. It’s the same with carpet pad. If you put a super thick, soft pad under a commercial carpet, you’re going to stretch the seams to the breaking point. You need the right density. A 7 pound or 8 pound rebond pad is usually the sweet spot for residential. It provides enough support for the seams while still feeling good underfoot. Don’t let a salesperson talk you into a ‘cloud’ pad. It’s a death sentence for your seams. You need stability. You need a floor that doesn’t move when you walk on it. That’s the hallmark of a professional job. Everything else is just decoration. I’ve seen enough floors fail to know that the invisible details are the ones that matter most. If you follow the physics and respect the chemistry, the floor will last thirty years. If you take shortcuts, I’ll be seeing you in eighteen months to tear it all out. And I’ll be bringing my grinder.