The ‘Marble Test’ for Finding Dips in Your New Floor Leveling
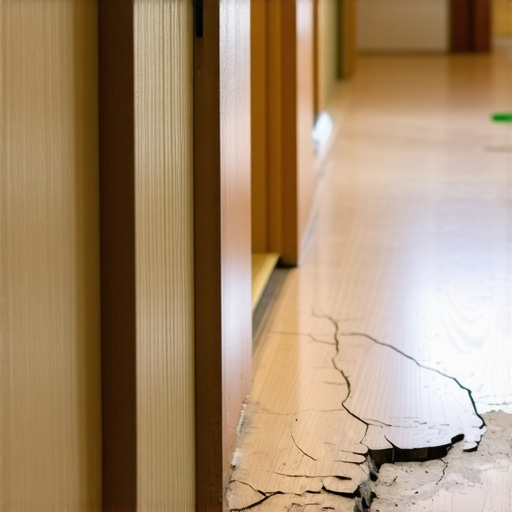
I spent three days grinding concrete on a job last month just so the floor would not click like a castanet. Most guys skip the leveling compound. They think the underlayment will hide the dip. It will not. The reality of a subfloor is written in the physics of its surface. If you ignore a low spot, the floor will fail. It is not a matter of if, but when. I remember walking onto a site where the homeowner had installed five thousand dollars worth of high-end laminate over a slab that looked like the rolling hills of Kentucky. Within two weeks, the tongues and grooves were snapping every time they walked to the kitchen. That is the cost of laziness. I had to rip it all out, scrape the adhesive, and start from the bare concrete. This is why I use the marble test.
The gravity of the situation in subfloor prep
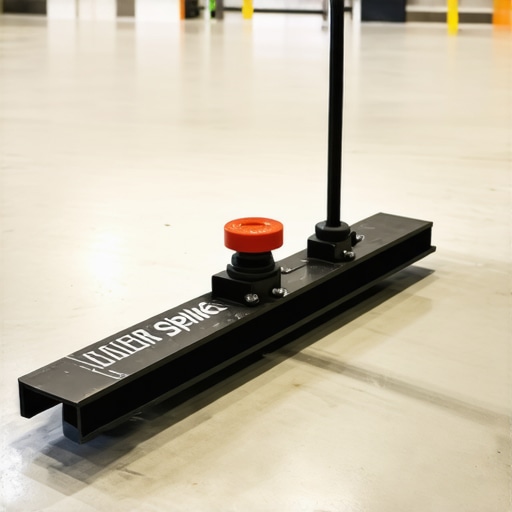
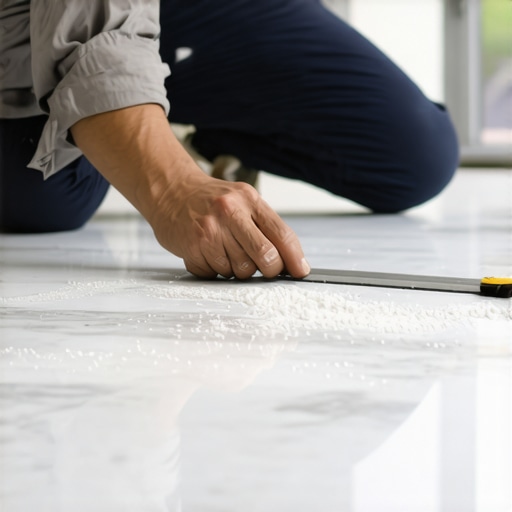
Subfloor flatness is the absolute foundation of every successful flooring installation and dictates the lifespan of your materials. Most professional standards require a surface to be flat within 3/16 of an inch over a 10 foot radius. The marble test uses basic physics to identify low spots. When you roll a heavy glass marble across a concrete or plywood subfloor, gravity pulls it toward the lowest point. It is a simple tool that does not lie. Unlike a laser level which can be finicky in bright light or a straightedge that might skip over a subtle bowl, the marble follows the path of least resistance. It tells you exactly where the self-leveling compound needs to go. I carry a bag of steel ball bearings and glass marbles in my truck for this exact reason. If that marble speeds up and settles in a specific zone, you have found a dip that will ruin your floor locking mechanisms.
“A floor is only as good as the subfloor beneath it; deflection is the enemy of every joint.” – Master Flooring Axiom
The 1/8 inch that ruins everything
Small deviations in the subfloor lead to mechanical failure in modern click-lock flooring systems like LVP and laminate. When a plank spans a dip, it creates a bridge. Every step on that bridge forces the joint to flex downward into the void. Over time, the plastic or fiberboard locking lip fatigues and breaks. This creates the clicking sound that drives homeowners crazy. It is not just about the noise. Once the joint is compromised, moisture can seep through the gaps. In showers or bathrooms, this is a death sentence for the subfloor. People think a thick underlayment pad will solve the problem. That is a lie. While most people want the thickest underlayment, too much cushion actually causes the locking mechanisms on LVP to snap under pressure. You want a firm, flat base, not a mattress. The compression of a thick pad allows for too much vertical movement. You need a substrate that is dead flat to the point of obsession.
| Material Type | Max Deviation (per 10ft) | Acclimation Time | Ideal Subfloor Type |
|---|---|---|---|
| Solid Hardwood | 3/16 inch | 7 to 14 Days | CDX Plywood |
| Engineered Wood | 1/8 inch | 3 to 5 Days | Concrete or Wood |
| LVP (Click-Lock) | 1/8 inch | 48 Hours | Self-Leveled Slab |
| Ceramic Tile | 1/8 inch | None | Cement Backer Board |
The chemical bond of modern self levelers
Self leveling underlayments are not just wet concrete but complex polymer-modified cements designed for high flow and rapid tension. These materials use calcium aluminate cement instead of standard Portland cement to ensure low shrinkage and high early strength. The chemistry allows the liquid to find its own level. You have to understand the molecular reality here. If you do not use a high-quality primer before pouring the leveler, the dry subfloor will suck the water out of the mix. This causes the leveler to crack and delaminate. I have seen entire floors peel up like an orange because someone skipped the primer. The primer creates a bridge between the old slab and the new leveler. It seals the pores of the concrete. This prevents air bubbles from rising through the leveler, which would otherwise create small craters or pinholes in your finished surface.
Why your subfloor is lying to you
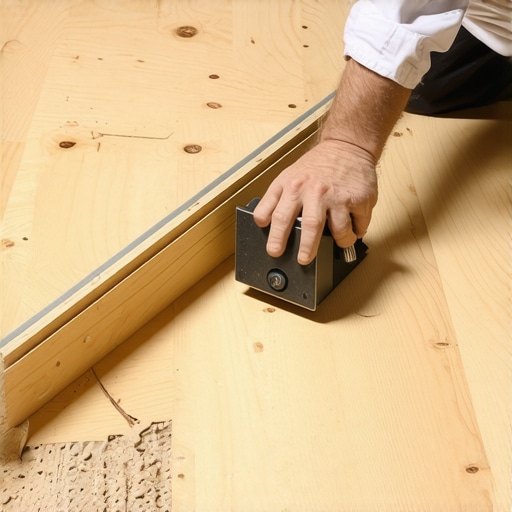
Optical illusions are common in large rooms where shadows and light play tricks on your perception of flatness. A slab might look perfectly smooth to the naked eye while actually containing a half inch bowl in the center. The marble test removes the human element of error. When I am prepping for a laminate or carpet install, I mark the floor with a wax pencil. Everywhere the marble stops, I draw a circle. These circles become my map for the pour. For carpet install, people think flatness does not matter because the padding is soft. They are wrong. A deep dip in a carpeted room will eventually show as a worn spot or a pool of shadow. The fibers will crush differently in the low spot. It looks like a permanent stain even when it is clean. For showers, the subfloor needs the opposite of leveling. It needs a precise pitch of 1/4 inch per foot toward the drain. The marble test here is used to ensure there are no birdbaths where water will stagnate under the tile.
- Clear the room of all debris and dust using a shop vac.
- Check the moisture content of the slab with a calcium chloride test.
- Roll the marble in a grid pattern every two feet.
- Mark the center of every dip with a high-visibility marker.
- Measure the depth of the dip using a digital caliper or a coin stack.
- Apply the recommended manufacturer primer and let it get tacky.
- Mix the leveling compound with a high-shear mixer to avoid lumps.
- Pour from the deepest part of the dip outward.
The ghost in the expansion gap
Expansion gaps are the lungs of a floor and without them the entire system will suffocate and buckle. Wood and laminate are hygroscopic materials which means they expand and contract with changes in atmospheric humidity. If you install tight against a wall, the floor has nowhere to go. In high humidity regions like the Gulf Coast, a floor can expand by nearly half an inch over a twenty foot span. If that floor hits a wall, it will lift off the subfloor. This is called crowning. I have seen floors rise three inches off the ground because there was no gap. The marble test helps here too. If the subfloor is not level near the walls, the baseboard will not sit flush. This creates ugly gaps that no amount of caulk can hide. You have to level the perimeter just as carefully as the center. A floor is a floating island. It needs to move freely. If you lock it down with heavy cabinetry or skip the leveling, you are fighting physics. You will lose every time.
“Deflection in the subfloor is the primary cause of grout failure in ceramic tile installations.” – TCNA Handbook Summary
The physics of sound and deflection
A hollow sound when walking on a floor is the auditory signature of a subfloor dip. When there is air between the flooring material and the substrate, every footstep creates a drum effect. This is especially prevalent in laminate and engineered wood installations. If you want a floor that feels like solid oak underfoot, the contact between the plank and the slab must be one hundred percent. The marble test ensures that you do not have those air pockets. By filling the low spots with a high-density polymer leveler, you increase the mass of the floor. This deadens the sound. It also prevents the trampoline effect. No one wants to feel their floor bounce. It feels cheap. It feels like a trailer. If you want a luxury feel, you spend the time on your knees with the leveler and the marble. There is no shortcut to a quality build. You grind the high spots and fill the low spots. That is the job.