Why Your New Floor Leveler is Dusting and Won’t Bond to Glue
Why Your New Floor Leveler is Dusting and Won’t Bond to Glue
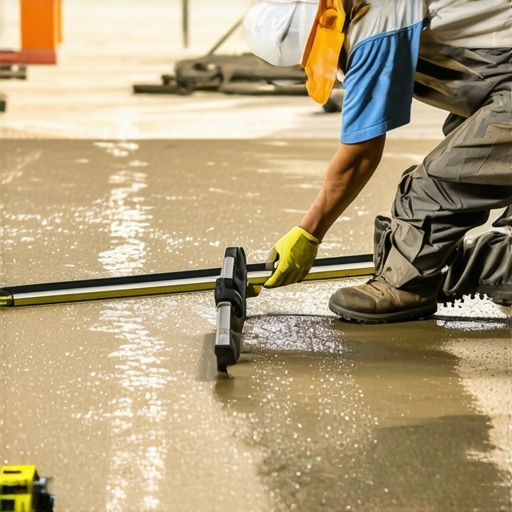
I smell like WD-40 and oak dust most days. My knees have the permanent calluses of a man who has spent three decades refusing to accept a subfloor that is not perfectly flat. Most guys skip the leveling compound. They think the underlayment will hide the dip. It won’t. I spent three days grinding concrete on a job last month just so the floor wouldn’t click like a castanet. That job was a rescue mission. The previous installer had poured a self-leveling underlayment that looked like the surface of the moon after a week. It was chalky. It was dusty. If you ran a finger across it, you got a white film that looked like baker’s flour. You cannot glue a high-end floor to flour. It is a recipe for a total system failure. When we talk about floor leveling, we are talking about the chemistry of hydration and the physics of mechanical bonds. If you ignore the science, the floor will ignore your expectations. We see this often in a carpet install or when prepping for laminate. People think the thick pad or the foam backing will mask the structural incompetence of the slab. It never does. A floor is only as good as the chemical marriage between the leveler and the substrate.
The chemical failure of the surface bond
Floor leveler dusting occurs when the hydration process of the cementitious mix is interrupted or compromised by excess water or high evaporation rates. This creates a weak, friable surface known as laitance. When this layer forms, adhesives cannot penetrate the solid matrix of the leveler, leading to total delamination of the finished floor covering. You are looking at a microscopic layer of unbonded particles that act like tiny ball bearings. When you apply glue for a luxury vinyl plank or a hardwood spread, the glue grabs the dust, not the floor. Then, as the wood expands and contracts, it simply pulls that dust right off the solid core. It is a catastrophic failure that usually requires a complete tear-out. You have to understand that self-leveling underlayment is not just wet mud. It is a precise balance of Portland cement or calcium aluminate, polymers, and graded aggregates. If that balance is shifted by even a few ounces of extra water, the heavier aggregates sink to the bottom while the fine particles and water rise to the top. That top layer is what we call the dust. It has no structural integrity. It has no compressive strength. It is essentially a layer of failure waiting to happen under your new feet.
“A floor is only as good as the subfloor beneath it; deflection is the enemy of every joint.” – Master Flooring Axiom
The danger of overwatering the mix
Overwatering a self-leveling compound destroys the polymer chains intended to provide internal cohesion and substrate adhesion. Manufacturers provide a specific water-to-powder ratio because the chemical reaction of hydration requires a exact amount of H2O to create the crystalline structure of the cured cement. If you add more, you create voids. Those voids are tiny pockets of air where the water once lived. Once the water evaporates, the structure is like Swiss cheese. It becomes brittle. This is especially dangerous in showers or wet areas where moisture is already a concern. If your leveler is porous because of overwatering, it will wick moisture from the air or the slab, further degrading the bond. I have seen guys use a garden hose to fill their mixing buckets. That is the first sign of a hack. You need a graduated measuring pitcher. You need to hit the exact milliliter mark every single time. If the bag says 5.5 quarts, you do not give it 6. If you give it 6, you are inviting the dust. The physics of the pour demand consistency. If one batch is thin and the next is thick, the drying rates will differ, causing internal tension that leads to curling at the edges. This curling pulls the leveler away from the slab, creating a hollow sound that will haunt the homeowner for years.
| Metric | Correct Mix | Overwatered Mix |
|---|---|---|
| Compressive Strength | 4000+ PSI | Under 2000 PSI |
| Surface Texture | Smooth and Dense | Chalky and Porous |
| Adhesive Bond | High Tenacity | Prone to Peeling |
| Shrinkage Risk | Minimal | High Cracking Risk |
Primer is not an optional suggestion
Applying a dedicated substrate primer is the only way to prevent the subfloor from sucking the moisture out of the leveler too quickly. If you pour wet leveler onto dry, porous concrete, the concrete acts like a sponge. it pulls the water out of the bottom of the leveler before the crystals can grow into the pores of the slab. This results in a flash-dry scenario. The leveler dries, but it never bonds. It just sits on top like a cracker. You can often pop it off with a putty knife in big chunks. This is why we prime. The primer seals the pores of the concrete. It ensures that the water stays in the leveler long enough for the chemical reaction to finish. In my shop, we use a two-coat system. The first coat is diluted to penetrate deep. The second coat is full strength to create a tacky surface for the leveler to grab onto. If you skip this, you are gambling with the entire budget of the project. I have seen $20,000 wide-plank oak floors ruined because the installer thought primer was a scam. It is the most vital ten dollars you will ever spend on a flooring project. Without it, the air bubbles in the concrete will also rise up through the wet leveler, creating pinholes. Those pinholes are weak points. They are entry points for moisture and exit points for structural integrity.
- Vacuum the slab twice to remove every grain of sand.
- Check the slab moisture with a calcium chloride test.
- Apply primer with a soft-bristle broom to work it into the pores.
- Allow the primer to become translucent and tacky before pouring.
- Always use a spiked roller to release trapped air from the mix.
The invisible film of concrete laitance
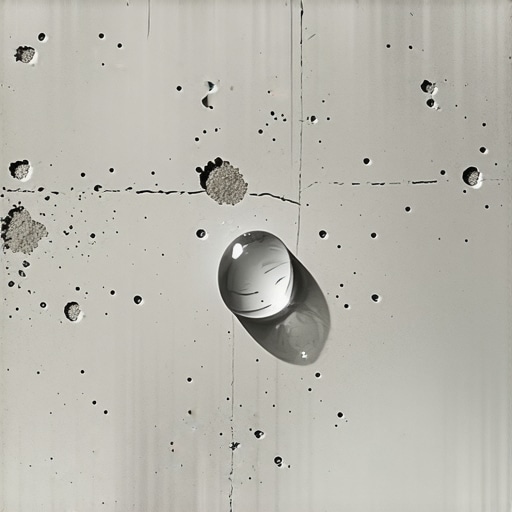
Laitance is a weak, milky layer of cement dust and sand that rises to the surface of a concrete slab during the pouring process. If your house is a new build, your slab likely has a layer of laitance that you cannot see with the naked eye. If you pour leveler on top of this, the leveler will bond to the laitance, but the laitance is not bonded to the slab. It is like putting high-quality tape on a dusty table. The tape is sticky, but it is sticking to the dust. To fix this, you have to mechanically abrade the surface. This means grinding or shot-blasting. You need to get down to the aggregate of the concrete. You want the slab to feel like 60-grit sandpaper. This provides the mechanical tooth necessary for the leveler to lock in. I have seen many people try to skip this by using a chemical etch. Acid etching is messy and often leaves a residue that is just as bad as the dust you were trying to remove. Use a diamond grinder with a vacuum attachment. It is the only way to ensure the surface is clean, sound, and open. If you are prepping for a laminate floor, the requirements are just as strict. Even though it is a floating floor, any dip in the leveler will cause the tongue and groove joints to flex. Over time, that flex leads to breakage. You will hear a click-clack sound every time you walk across the room.
“Surface preparation is the most ignored yet essential phase of any architectural flooring installation.” – TCNA Handbook Standards
Why glue rejects a weak foundation
Adhesives require a high surface energy and a clean substrate to create a long-lasting bond. When a leveler is dusting, the surface energy is neutralized by the loose particles. The glue dries to the dust and forms a skin. This skin has no attachment to the floor. When you walk on the floor, the micro-movements of the planks or tiles shear that skin right off. This is why you see floors that look perfect for three months and then suddenly start to buckle or shift. It is the slow death of a bad bond. If you are installing in a high-moisture area, the problem is even worse. Moisture will find its way into that dusty layer and turn it into a paste. Now you have a layer of mud between your subfloor and your expensive hardwood. The smell of mold will follow shortly after. If you suspect your leveler is dusting, do the tape test. Take a piece of high-quality duct tape, press it firmly onto the leveler, and rip it off. If there is white powder on the tape, you cannot install. You have to seal it or grind it off. There are surface hardeners and densifiers that can sometimes save a dusting floor, but they are not a miracle cure. They work by reacting with the free lime in the cement to create more calcium silicate hydrate. It turns the soft dust back into a hard crystal. But if the leveler is too far gone, even a densifier won’t save it. You have to know when to fold and start over.
The 1/8 inch that ruins everything
A deviation of more than 1/8 inch over a ten-foot span will cause most modern flooring locking systems to fail. This is the industry standard for a reason. Modern floors are engineered with very tight tolerances. They do not have the forgiveness of the old thick-set mortars. If your leveler creates a hump because it was mixed too thick and didn’t flow, you have a pivot point. Every time you step on that hump, the planks on either side lift up. This puts immense pressure on the plastic or wood locking tabs. They will eventually snap. Then you have gaps. Then you have dirt getting into the gaps. Then you have a ruined floor. This is why the fluidity of the mix is so essential. It has to be thin enough to find the low spots but thick enough to maintain its strength. It is a dance. You have to move fast. Most self-levelers have a working time of about ten to fifteen minutes. If you are still messing with it after twenty minutes, you are tearing the skin that has already started to form. That tearing creates a rough, weak surface. Get it down, use the spike roller, and walk away. The more you touch it, the more you ruin it. Flooring is a game of preparation and timing. If you miss either, the result is a failure that no amount of trim or baseboard can hide.