Why Your Kitchen Laminate Is Bubbling Near the Dishwasher
Why Your Kitchen Laminate Is Bubbling Near the Dishwasher
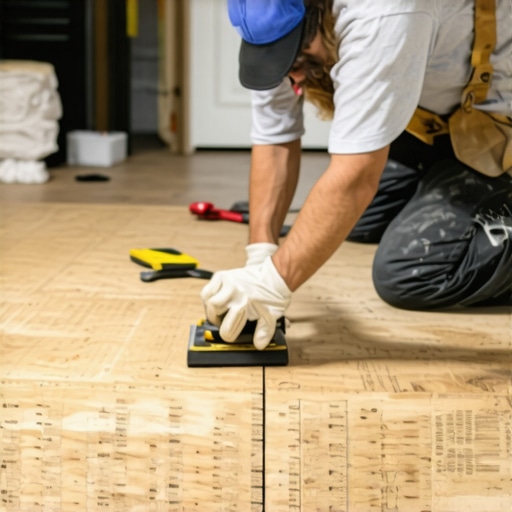
I smell oak dust and WD-40 every morning before I even have my coffee. It is the scent of a career spent on my knees, crawling across subfloors with a moisture meter in one hand and a level in the other. I have seen every way a floor can fail, but nothing irritates me more than the homeowner who thinks a waterproof sticker on a box of laminate makes it invincible. I remember a job last year where a couple had just dropped six grand on a high-end laminate. Six months later, the area in front of their dishwasher looked like a miniature mountain range. They blamed the product. I blamed the installation and the laws of physics. The dishwasher was leaking a tiny, microscopic amount of steam every time the dry cycle hit, and because the installer had locked the floor down under the kitchen island, that floor had nowhere to go but up. It is a story of expansion, moisture vapor, and a complete disregard for technical specifications. You cannot fight the chemistry of wood fibers. If you give them water and no room to move, they will destroy themselves every single time. This is not about aesthetics. This is about structural engineering at the 1/8 inch level.
The chemistry of core failure
Laminate floor bubbling near dishwashers happens when moisture vapor or standing water penetrates the High Density Fiberboard core. This hydroscopic expansion occurs because the cellulose fibers inside the HDF absorb water molecules and swell. Unlike stone plastic composite, laminate remains vulnerable to capillary action at the unsealed joints. When we talk about laminate, we are talking about wood products. People forget that. Even the best laminate is essentially wood flour and resin pressed together under immense pressure. When water hits those edges, the resin can only do so much. The water moves through the joints through a process called wicking. Once it reaches the core, the fibers expand. Because the top wear layer is a hard melamine resin and the bottom is a balancing layer, the middle has to go somewhere. It pushes outward, causing the edges to peak or the center of the plank to bubble. This is a molecular breakdown of the bond between the decorative paper and the structural core. Once that bond is severed by hydraulic pressure from the swelling wood, the floor is toast. You cannot just dry it out and expect it to shrink back to its original dimensions. The fibers have been permanently displaced. It is like trying to turn a pickle back into a cucumber. It is just not going to happen. The internal structure has been compromised by the volumetric expansion of the cellulose.
The steam trap behind the kickplate
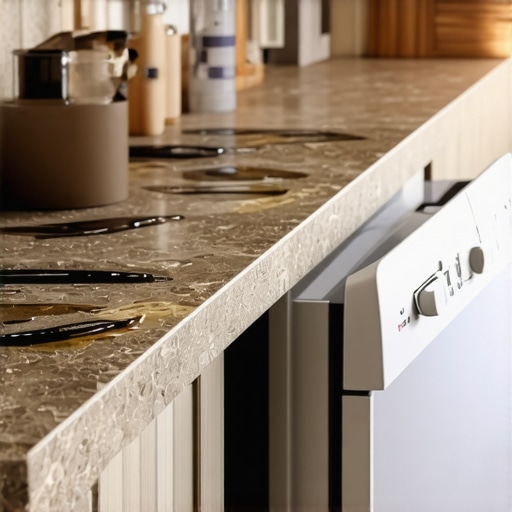
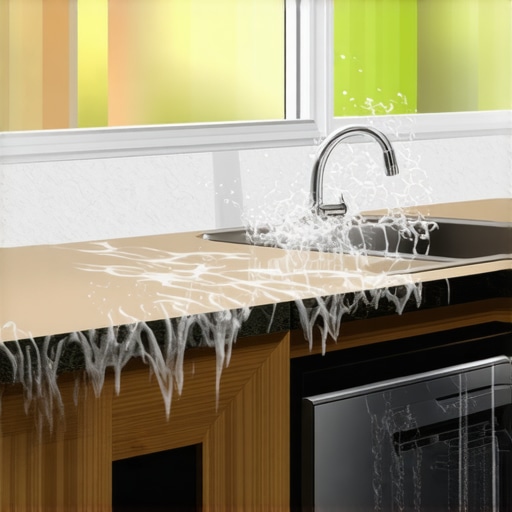
Dishwasher steam damage is the primary cause of laminate floor bubbling in modern kitchens because of high temperature drying cycles. These cycles release moisture vapor that settles under the kickplate and penetrates the exposed plank edges. Without a moisture barrier or silicone sealant, the floor absorbs this concentrated humidity. Most installers fail to realize that a dishwasher is a localized humidity factory. During the vent phase of a wash cycle, the air coming out can be upwards of 140 degrees Fahrenheit. This air is saturated with water. It hits the cool floor and condenses. If your laminate runs right up to the legs of the dishwasher without a proper seal, that water is going straight into the tongue and groove system. I have seen guys install these floors and leave the edges under the dishwasher completely raw. That is asking for trouble. You need to understand the vapor pressure. As the air heats up, it can hold more moisture. When it hits the gap between the floor and the subfloor, it cools and dumps that water. It is a constant cycle of wetting and drying that eventually fatigues the wood fibers. It is not just about a leak. It is about the environment you have created under that appliance. If you do not have a steam deflector installed on the underside of your countertop, and if you do not have the edges of your laminate sealed with a performance-grade 100 percent silicone, you are just waiting for a failure.
“A floor is only as good as the subfloor beneath it; deflection is the enemy of every joint.” – Master Flooring Axiom
Why your subfloor is lying to you
Floor leveling and subfloor moisture testing are mandatory steps to prevent laminate bubbling and joint failure. A subfloor that is not flat to 1/8 inch over 10 feet allows the locking mechanisms to flex, creating micro-gaps where water can enter. A calcium chloride test ensures the moisture vapor emission rate is safe for installation. I spent three days grinding concrete on a job last month just so the floor wouldn’t click like a castanet. If the subfloor has a dip near the dishwasher, every time you step on the floor, the joints open and close. It acts like a bellows, sucking in moisture from the air. You think the underlayment will hide the dip. It won’t. It just gives the floor more room to move until the plastic click-lock tongue snaps off. Then you have a real problem. You also have to consider the alkalinity of a concrete slab. High pH levels in concrete can actually break down the adhesives used in some laminate cores. If you have a slab-on-grade house, you must use a 6-mil poly film as a moisture barrier. No exceptions. I do not care if the underlayment says it has a built-in barrier. Use the poly. It is cheap insurance against the moisture that is constantly trying to rise out of the earth and into your kitchen. The subfloor might look dry, but it is a living, breathing part of the house that is always in a state of flux with the local water table.
The ghost in the expansion gap
The perimeter expansion gap is a structural requirement that allows laminate flooring to move during seasonal humidity changes. Without a 1/4 inch gap around the entire room, the floor will bind and buckle when the HDF core expands. This is especially true near heavy kitchen islands which can pin the floor down. I see this mistake on almost every DIY job. People run the laminate right up against the drywall or the cabinets. They think it looks cleaner. But wood moves. In the summer, when the humidity hits 60 percent, those planks are going to grow. If they hit the wall, they have nowhere to go but up. That is why you see bubbles in the middle of the room. It is not always water. Sometimes it is just pure mechanical pressure. The floor is literally fighting itself. You have to treat a laminate floor like a floating island. It needs to be able to shift as a single unit. When you put a 500-pound granite-topped island on top of a floating floor, you have essentially anchored it. If the floor near the dishwasher wants to expand but the island is holding it back, the stress will manifest at the weakest point. Usually, that is the joint right in front of the sink. You need to use T-moldings in large spans and leave that gap. Hide it with baseboards or shoe molding, but do not skip it. The 1/8 inch that ruins everything is the one you didn’t leave at the wall.
| Material Type | Core Density (kg/m3) | Expansion Rate (%) | Best Use Case |
|---|---|---|---|
| Standard Laminate | 800-900 | 0.15 | Living Areas |
| Water-Resistant Laminate | 950+ | 0.05 | Kitchens |
| SPC Vinyl Plank | 1900-2100 | 0.01 | Bathrooms |
| Engineered Hardwood | 700-800 | 0.10 | Upper Floors |
Technical solutions for kitchen installations
Applying a perimeter sealant like Performance Plus Silicone to the expansion gaps in wet areas creates a watertight barrier. This prevents top-down moisture from reaching the bottom of the planks where it cannot evaporate. Using PVA Type II glue in the tongue and groove joints provides an extra layer of hydrophobic protection. While most people want the thickest underlayment, too much cushion actually causes the locking mechanisms on LVP or laminate to snap under pressure. You want a high-density, low-compression underlayment. Think about the PSI. If you have a soft foam under your floor, and you put a heavy refrigerator on it, the floor dips. When you walk past it, the joint is under extreme shear stress. I prefer a felt-based or high-density rubber underlayment. They offer better sound dampening (IIC and STC ratings) and they do not allow the floor to bounce. A bouncing floor is a failing floor. You also need to look at the AC rating of the laminate. For a kitchen, you should never use anything less than AC4. This refers to the Abrasion Class. It tells you how much abuse that melamine wear layer can take before it wears through to the paper. Once you wear through the wear layer, moisture from a damp mop will soak right into the core. It is about building a system, not just laying planks. Each layer of the system has to work together to fight the inevitable presence of water.
“Deflection of the substrate should not exceed L/360 of the span under live load to ensure the integrity of the locking system.” – TCNA Technical Standard Adaptation
The checklist for a waterproof kitchen floor
Before you lay a single plank near a dishwasher, you must verify the following technical parameters to ensure your installation does not fail within the first year. Failure to follow these steps results in voided warranties and warped boards.
- Verify the subfloor is flat to within 3/16 of an inch over a 10 foot radius using a straight edge.
- Install a 6-mil polyethylene vapor barrier over all concrete substrates with a 6-inch overlap at seams.
- Apply a bead of 100 percent silicone sealant to the expansion gap around the entire perimeter of the kitchen.
- Install a steam deflector shield on the underside of the countertop directly above the dishwasher door.
- Ensure the dishwasher is leveled independently so it does not put downward pressure on the floating floor.
- Acclimate the flooring in the kitchen environment for at least 48 hours to reach equilibrium moisture content.
Following these steps is the difference between a floor that lasts twenty years and one that lasts twenty days. I have spent too many hours ripping out moldy laminate to believe in shortcuts. The physics of the home do not care about your budget or your timeline. Water always finds the path of least resistance. Your job as an installer is to make sure that path does not lead into the core of your floor.
The final verdict on kitchen surfaces
Laminate is a fantastic product when it is treated with respect. It is durable, it is cost-effective, and it looks great. But it is a mechanical system that requires precise conditions. If your kitchen floor is bubbling near the dishwasher, you have a moisture management problem or a structural movement problem. Check your seals. Check your expansion gaps. And for heaven’s sake, stop using a soaking wet mop to clean it. Use a damp microfiber cloth and a pH-neutral cleaner. If the damage is already done, you can sometimes replace individual planks using a circular saw and a steady hand, but it is a surgical procedure. It is better to build it right the first time. Keep your subfloors dry, your gaps wide, and your silicone thick. That is how you win the war against the bubbling laminate. It is not magic. It is just good old-fashioned grit and a respect for the materials you are working with. If you do it right, you won’t need to call me in six months to fix a mess that should have never happened.