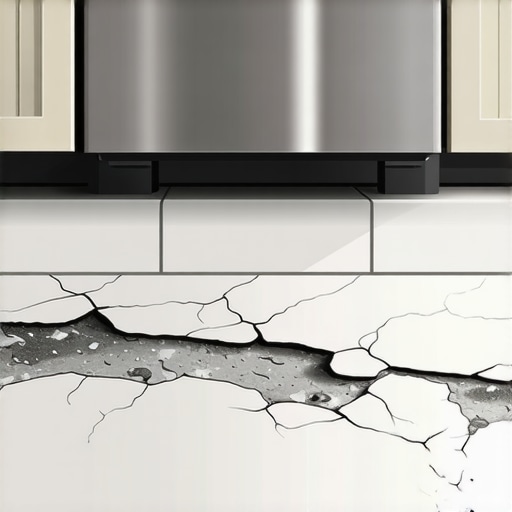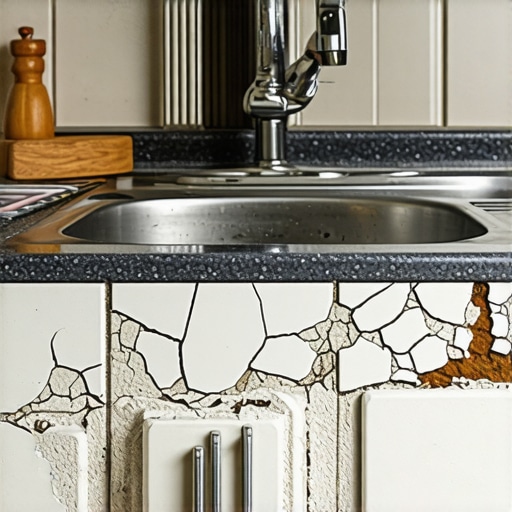
Why Your Kitchen Tiles are Cracking Right in Front of the Sink
The physics of why your kitchen tiles are cracking right in front of the sink
I spent three days grinding concrete on a job last month just so the floor wouldn’t click like a castanet. Most guys skip the leveling compound. They think the underlayment will hide the dip. It won’t. When I see a crack running right through a ceramic tile in front of a sink, I don’t see a bad tile. I see a subfloor that was never prepared for the reality of physics. I see a failure of the bond and a complete disregard for deflection limits. Most homeowners think tile is an indestructible slab of stone. It is not. It is a brittle finish that relies entirely on the rigid support of the structure beneath it. If that structure moves even a fraction of a millimeter, the tile has no choice but to snap. This is especially true at the sink, the high-traffic nexus of every kitchen where point loads and moisture converge to destroy mediocre work.
The phantom of the kitchen sink
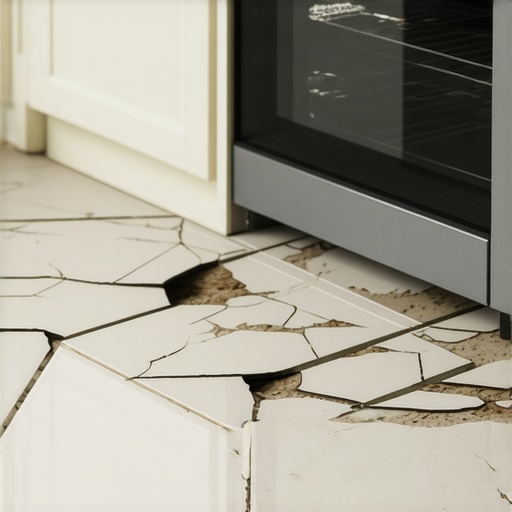
Cracked kitchen tiles in front of the sink usually result from concentrated point loads, high foot traffic, and subfloor deflection. The area in front of a sink is the most used square footage in a house. When you stand there, your body weight creates a constant downward force on a very specific set of tiles. If the floor leveling was ignored during the carpet install removal phase, you are likely standing on a void. Air gaps between the thin-set and the substrate act like a trampoline. Every time you step, the tile bends. Ceramic and porcelain do not bend. They shatter. This movement is often compounded by the weight of the dishwasher and the sink itself, which can put immense pressure on the joists below. If those joists were not sized correctly or if the subfloor is only a single layer of 5/8 inch plywood, you are essentially walking on a diving board.
The geometry of structural deflection
Structural deflection is the primary cause of hairline fractures in grout and tile because it exceeds the L/360 industry standard. When we talk about L/360, we are discussing the amount of bend a floor can handle. For a ten-foot span, the floor should not move more than one-third of an inch. Natural stone often requires L/720, which is even stiffer. Most modern builds are framed with the bare minimum to pass code. This is why floor leveling is not just a suggestion. It is a requirement for the longevity of the installation. If the joists are bouncy, no amount of expensive tile will save you. You can try to mask it with laminate or luxury vinyl, but if you want the permanence of tile, you have to address the bones. I have seen guys try to fix this by just slopping more thin-set into the cracks. It never works. You are treating the symptom of a broken skeleton.
“A floor is only as good as the subfloor beneath it; deflection is the enemy of every joint.” – Master Flooring Axiom
The chemistry of the bond failure
Thin-set mortar must achieve a minimum of 80 percent coverage in dry areas and 95 percent in wet areas to prevent cracking. In front of the sink, which I consider a high-moisture zone, you need that 95 percent coverage. When an installer uses the spot-bonding method, also known as five-spotting, they create hollow points. These hollow points are where the tiles will eventually fail. The adhesive chemistry is also a factor. Modified thin-sets contain polymers that allow for a tiny amount of flexibility, but they are not magic. If the subfloor is contaminated with old adhesive from a previous carpet install, the new mortar cannot bite into the wood or concrete. It just sits on top like a scab. Eventually, the mechanical bond breaks, the tile loses its grip, and the next time you drop a heavy pot or just stand there to wash dishes, the tile gives way.
Comparison of subfloor performance
| Substrate Type | Deflection Resistance | Moisture Sensitivity | Recommended Use |
|---|---|---|---|
| 3/4 Inch Plywood | High | Moderate | Standard Tile Base |
| 5/8 Inch OSB | Low | High | Requires Overlays |
| Cement Backer Board | None | Low | Bonding Surface Only |
| Unmodified Concrete | Extreme | Low | Direct Bond Possible |
The 1/8 inch that ruins everything
Expansion joints are required every 20 to 25 feet in interior installations to prevent tenting and cracking from thermal expansion. Many installers forget that houses breathe. They expand in the summer and shrink in the winter. If you butt your tile tight against the cabinets under the sink or against the baseboards, the tile has nowhere to go when the house moves. It will push against the wall, the pressure will travel back through the field, and the weakest point will buckle. Often, that weakest point is the tile in front of the sink because it is already under stress from your weight. Using a color-matched silicone caulk instead of hard grout at the perimeter is a professional move that saves floors. It provides a relief valve for the pressure. Without it, the floor is a ticking time bomb. This logic applies to showers and bathrooms too, where temperature swings are even more radical.
Why your subfloor is lying to you
Flatness is not the same as levelness, and a floor that looks flat can still have 1/4 inch dips that cause tile failure. I always tell my apprentices to trust the straightedge, not their eyes. If you lay a 10-foot level across the kitchen and see light under it, you have work to do. These dips are where the tile will crack. When the tile bridges a dip, it is essentially a bridge without a pier. You step on it, the bridge collapses. We use self-leveling underlayment to create a dead-flat plane. This is a technical process. You have to prime the wood, map the high spots, and pour the compound to a specific depth. It is messy and expensive, which is why the cheap guys skip it. They would rather give you a low bid today and change their phone number when your tiles start cracking in two years. I have seen beautiful laminate jobs ruined by the same laziness. The floor clicks and pops because the subfloor was never prepped.
The checklist for a permanent kitchen floor
- Verify the joist spacing and subfloor thickness to meet L/360 standards.
- Remove all old residues from previous carpet install or vinyl jobs.
- Apply a high-quality primer before using self-leveling compounds.
- Ensure 95 percent thin-set coverage for all tiles near the sink and showers.
- Install movement joints at the perimeter and in large spans.
- Acclimate all materials to the room temperature for 48 hours.
The ghost in the expansion gap
Moisture migration from under the sink can swell the subfloor and cause tiles to pop or crack from the bottom up. Even a small leak that you do not notice can wreak havoc. Water drips down the back of the cabinet, seeps under the kickplate, and gets absorbed by the plywood subfloor. Plywood is like a sponge. As it swells, it expands upward. Since the tile is rigid and the thin-set is brittle, the swelling wood literally tears the tile apart. This is why I always recommend a waterproof membrane, even in a kitchen. It acts as a cleavage membrane and a moisture barrier. It decouples the tile from the wood. If the wood moves or swells a tiny bit, the membrane absorbs the stress instead of passing it to the porcelain. Most people think membranes are only for showers, but the kitchen sink is just as dangerous for a wood subfloor. If you ignore the moisture, you are just waiting for a disaster.
“Tile is a finish, not a structure; it only reflects the quality of the work hidden beneath it.” – TCNA Handbook Insight
The molecular reality of thin-set
The polymer chains in modified thin-set create a mechanical and chemical lock that resists the vibration of daily kitchen use. When you mix your mortar, you are starting a chemical reaction. If you add too much water, you weaken the polymer chains. If you do not let it slake, the chemicals do not fully activate. You end up with a chalky, weak bond that cannot handle the vibration of a dishwasher or the heavy footfalls of a busy family. I see this all the time. An installer rushes the mix, the mortar dries too fast, and the bond is compromised before the first person even walks on it. High-traffic areas like the sink demand the highest grade of adhesive. Do not buy the cheap bags at the big-box store. Those are for backsplashes, not floors. You need a high-latex content mortar that can handle the micro-movements of a residential wood-framed floor. If you get the chemistry wrong, the physics will punish you every single time.