The ‘String Line’ Test for Curbless Shower Floor Perfection
The subfloor secret that contractors ignore
I spent three days grinding concrete on a job last month just so the floor wouldn’t click like a castanet. Most guys skip the leveling compound. They think the underlayment will hide the dip. It won’t. I walked into a luxury master suite last year where a 12,000 dollar tile installation was failing. The homeowner could hear the tiles crunching. When we pulled them up, the thin-set was only making contact on forty percent of the surface. The installer had ignored a half-inch belly in the slab. A floor is only as good as the subfloor beneath it. If you do not start with a dead-level plane, your curbless shower will be a disaster from day one. I have seen guys try to build up a slope with thin-set alone. That is a recipe for chemical failure and structural cracking. You need the grit to spend the time on your knees with a diamond grinder before the first bucket of mortar even gets opened.
The geometry of a true zero entry threshold
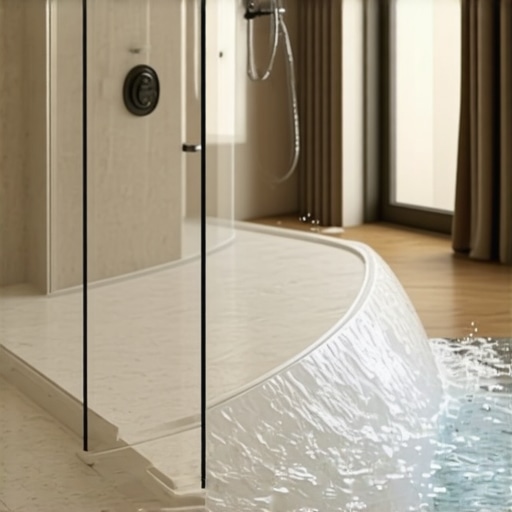
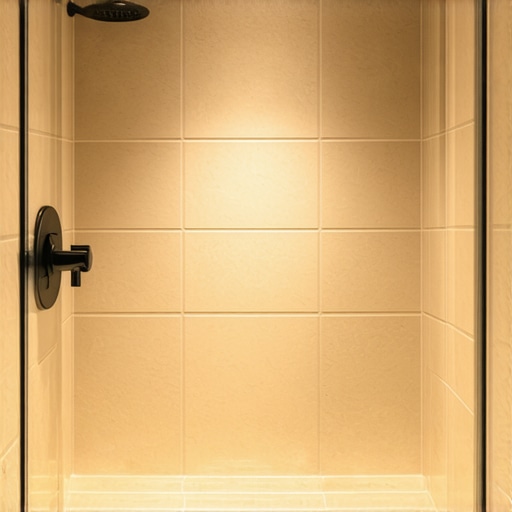
Zero entry thresholds require a structural slab depression or a tapered joist system to facilitate a continuous floor level without a physical curb. This engineering requires a quarter inch per foot slope toward the linear drain or center point to ensure hydrostatic pressure does not push water into the dry zone. Achieving this perfection relies on the string line test. I stretch a high-visibility nylon line across the entire room. If that line touches the floor in the center but shows a gap at the edges, your subfloor is crowning. If it hangs in the air, you have a valley. In a curbless shower, there is no margin for error. You are fighting gravity and surface tension. If the transition between the shower and the bathroom floor is off by even an eighth of an inch, you will feel it every time you walk in. It is the difference between a high-end architectural feature and a trip hazard.
“A floor is only as good as the subfloor beneath it; deflection is the enemy of every joint.” – Master Flooring Axiom
The physics of the envelope cut
Envelope cuts are essential for large format tiles in curbless showers where multi-directional slopes converge. By cutting the tile diagonally from the drain corner to the wall perimeter, you create a geometric fold that allows the rigid material to follow the integral pitch of the subfloor. This prevents tile lippage and ensures that water cannot pool in the grout joints. When I am working with a three-foot by three-foot porcelain slab, the physics of the bend are unforgiving. You cannot force a flat piece of stone to bend. You have to respect the geometry. I see too many modern builds where the installer tries to use smaller mosaics to hide a bad slope. While mosaics are easier to work with, a master prefers the clean lines of an envelope cut. It shows you know how to handle a wet saw and a transit level. The intersection of those planes must be crisp. If the cut is jagged, your waterproofing relies entirely on the sealant, which is a failure point waiting to happen.
The chemistry of the waterproofing bond
Modified thin-set mortars utilize polymer additives to create a high-strength bond between the waterproofing membrane and the tile substrate. This chemical interaction is critical in wet environments where thermal expansion and moisture vapor transmission can degrade lower-grade adhesives. I only use premium modified mortars that meet or exceed ANSI A118.11 standards. The polymers act as bridge-builders. They provide a level of flexibility. In a curbless setup, the transition area is a high-stress zone. The wood or concrete of the main floor might move at a different rate than the shower pan. If your thin-set is too brittle, the bond will snap. I have seen it happen in a dozen houses. People buy the cheap bags at the big box stores and wonder why their grout is cracking six months later. It is because they saved ten dollars on a bag of mud and ruined a ten-thousand dollar shower.
| Subfloor Material | Min Thickness | Deflection Limit | Acclimation Time |
|---|---|---|---|
| Plywood Underlayment | 5/8 inch | L/360 | 48 Hours |
| Concrete Slab | 4 inches | N/A | 28 Days |
| Cement Backer Board | 1/2 inch | L/720 | None |
| Self-Leveling Underlayment | 1/4 inch | L/360 | 24 Hours |
The 1/8 inch that ruins everything
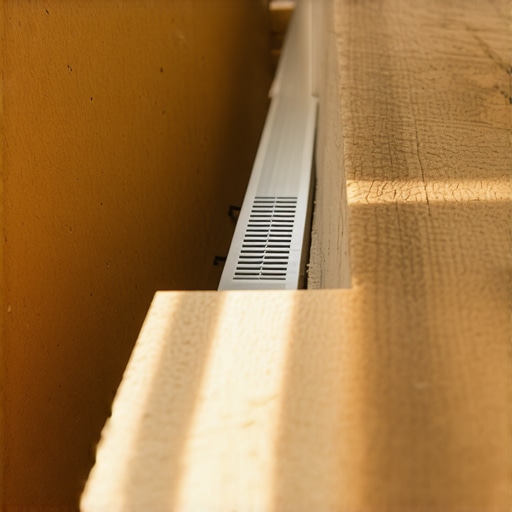
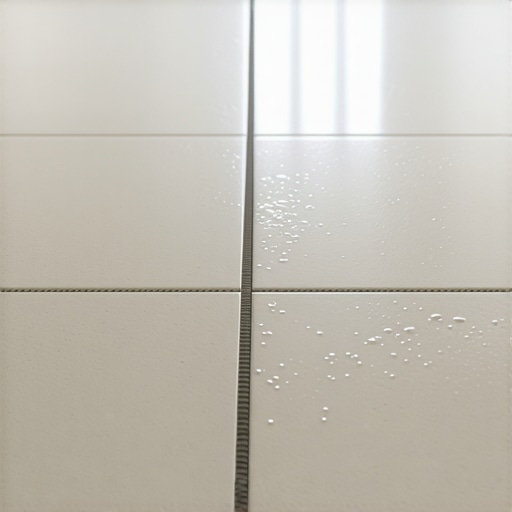
Lippage control systems are mandatory for rectified tiles to maintain a flat walking surface across the shower threshold. Even a one eighth inch deviation can catch a toe or prevent a wheelchair from gliding smoothly, which defeats the purpose of an ADA compliant shower. I use mechanical leveling clips on every single job. Some old-timers think they can eye-ball it. They are wrong. In the morning light, when the sun hits that floor at an angle, every high edge will cast a shadow. It looks like a mountain range. For a curbless shower, this is even more dangerous. If the tile at the entrance is higher than the floor outside, water will wick out through the grout line. This is the capillary effect. It will rot your subfloor in the hallway before you even notice the leak. I have torn out entire floors because of a three-foot section that was not perfectly flush.
Transitioning from wet to dry zones
Transitioning from tile to laminate or carpet installs requires a moisture-resistant bridge and a mechanical fastening system that accounts for lateral expansion. While waterproof LVP is popular, it must never be locked under heavy cabinetry or fixed thresholds because the material needs to float to prevent buckling and joint separation. Many homeowners want that seamless look where the shower tile meets the bedroom carpet. This is where the real work happens. You cannot just butt the carpet up to the tile and call it a day. You need a Z-bar or a specialized transition strip that protects the edge of the tile. If that tile edge is exposed, it will chip. If the carpet is not stretched properly at the junction, it will gather and trip someone. In humid regions like Houston, the moisture from the shower will cause the carpet tack strip to rust if you do not use stainless steel or treated wood. It is the small details that keep me in business while the cheap guys are out there dodging warranty calls.
- Verify subfloor deflection meets L/360 requirements before starting.
- Apply a liquid-applied waterproofing membrane at least six inches past the shower entry.
- Check the string line tension every three feet to ensure a consistent slope.
- Ensure the linear drain is perfectly level even if the floor is sloped.
- Use a silicone-based sealant at the change of plane instead of hard grout.
- Acclimate all materials to the room temperature for seventy-two hours.
“The drainage of water is the primary function of the floor; aesthetics are a secondary benefit of proper engineering.” – TCNA Handbook Principle
The myth of the thick underlayment
While most people want the thickest underlayment for their laminate or LVP, too much cushion actually causes the locking mechanisms to snap under pressure. This is a hard truth for many. They think more foam equals more comfort. In reality, it creates a trampoline effect. When you walk, the joints flex. After ten thousand steps, that plastic tongue and groove will shear off. Then you have a floating floor that is actually just a collection of loose planks. For the area outside your curbless shower, you want a high-density, low-compression underlayment. It should feel firm. This is especially true near the tile transition. If the soft floor sinks while the tile stays rigid, you will have a vertical gap that collects dirt and moisture. I always tell my clients to buy the high-grade rubberized underlayment. It costs more, but your floor will stay quiet and the joints will stay locked for twenty years.
Humidity and the Phoenix desert effect
In dry climates like Phoenix, the lack of moisture will shrink your baseboards until they show a gap against the tile. This environmental stress is just as dangerous as the swampy humidity of the coast. For a curbless shower, the wood framing around the shower pocket can shrink and pull away from the mud bed. This creates a hairline crack in your waterproofing. I always recommend using a slip-sheet or a decoupling membrane in these regions. It allows the subfloor and the tile to move independently. If you bond the tile directly to a slab in the desert, the slab will shrink as it cures and pull the tile with it. You will wake up one morning to a loud pop and a crack running right through the center of your beautiful walk-in shower. It is about managing the movement. Everything moves. The house is a living thing that breathes with the seasons. If you do not plan for that movement, you are just building a timed demolition project. Always use the string line. Trust the physics. Ignore the shortcuts. That is how you build a floor that lasts a lifetime.