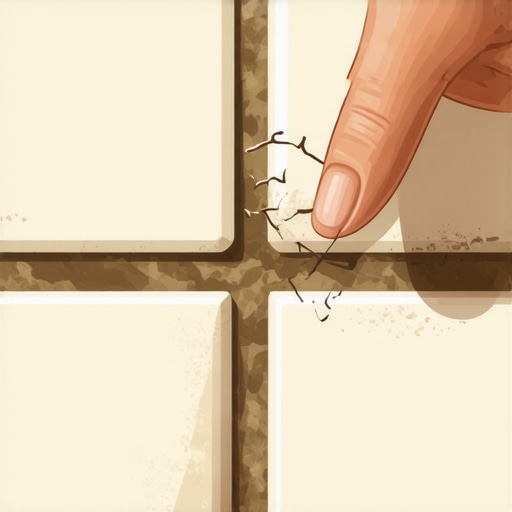
Why Your Shower Grout Is Soft Enough to Scratch with a Fingernail
Why Your Shower Grout Is Soft Enough to Scratch with a Fingernail
You spent thousands on a custom tile shower only to find that the grout lines feel like damp chalk. You can dig a fingernail into the joint and pull out a sandy slurry. This is not a cosmetic quirk. It is a fundamental failure of the chemical bond and the structural integrity of the installation. Soft grout indicates that the hydration process was sabotaged by improper mixing, contaminated water, or a subfloor that stole the moisture before the cement could cure.
The chemistry of a failed cure
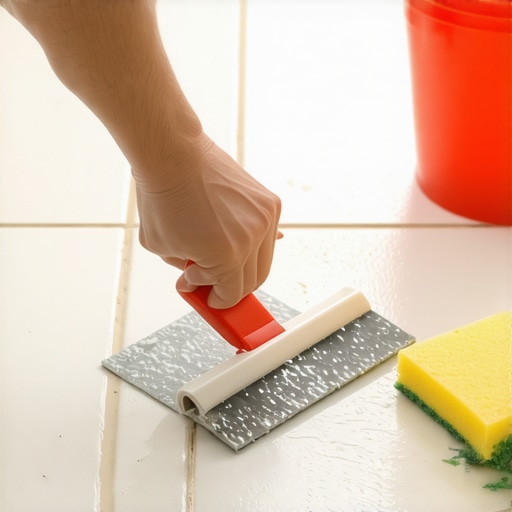
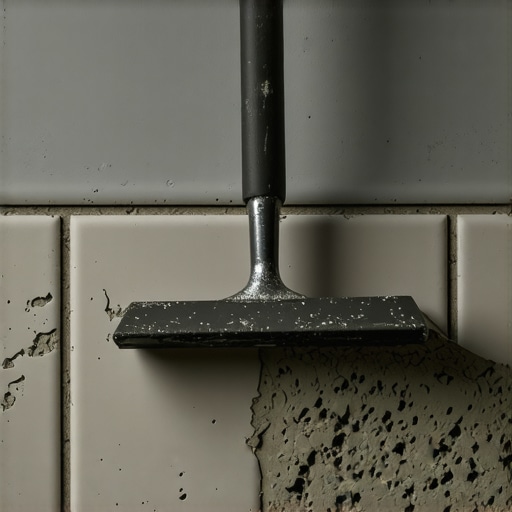
Soft grout is almost always caused by an incorrect water-to-powder ratio during the mixing phase or the introduction of too much moisture during the cleaning process. When Portland cement based grout is mixed with too much water, the particles are pushed too far apart. As that water evaporates, it leaves behind a network of microscopic voids. These voids turn what should be a dense, stone-like lattice into a brittle sponge. If the grout was mixed correctly but then wiped with a soaking wet sponge, the installer effectively diluted the surface chemistry, resulting in a soft, dusty finish that will never achieve its rated compressive strength. This is a violation of ANSI A118.6 standards which govern the physical properties of cementitious grouts.
The subfloor secret that ruins everything
Most guys skip the leveling compound. They think the underlayment will hide the dip. It won’t. I spent three days grinding concrete on a job last month just so the floor wouldn’t click like a castanet. I once walked onto a site where the tile guy blamed the grout for cracking. I took a six foot level to the slab and found a half inch dip over four feet. When the subfloor moves, the grout is the first thing to give. In a shower, the problem is even more acute. If the pre-slope under your liner is not perfectly pitched or if the mortar bed was mixed too ‘dry’ or ‘lean,’ it can actually suck the moisture out of your grout from the bottom up. This is a phenomenon called moisture theft. The grout doesn’t have enough water left to complete its exothermic reaction, and you end up with a powdery mess that scratches off with a light touch. It is the same reason we talk about floor leveling when we prep for laminate or a carpet install. Without a flat, stable base, every finish material is doomed to fail.
“A floor is only as good as the subfloor beneath it; deflection is the enemy of every joint.” – Master Flooring Axiom
The physics of the molecular bond
When we look at grout under a microscope, we are looking for the formation of Calcium Silicate Hydrate (C-S-H) crystals. These crystals grow and interlock during the curing process. If the environment is too hot or the humidity is too low, the water evaporates before the crystals can fully form. This is why professional installers often talk about ‘damp curing.’ In high-heat regions like Phoenix or Las Vegas, you might need to mist the grout lines to keep them from drying out too fast. Conversely, in the swampy humidity of the Gulf Coast, the grout might take three times as long to reach its initial set. If you disturb it too early, you break those growing crystal chains. You are left with a permanent structural weakness. You cannot simply ‘seal’ soft grout and hope for the best. A sealer is a topical treatment, not a chemical strengthener. If the core is soft, the sealer will just peel off along with the top layer of grout.
The 1/8 inch that ruins everything
The width of your grout joint determines the type of grout you must use and its ultimate resistance to scratching. Sanded grout is used for joints wider than 1/8 inch because the sand acts as a structural bridge to prevent shrinkage. If you try to force unsanded grout into a 1/4 inch gap, it will shrink, crack, and remain soft because it lacks that internal aggregate. On the flip side, if you try to shove sanded grout into a tiny 1/16 inch joint, the sand grains will get stuck at the top. This creates ‘bridging’ where the bottom of the joint is actually hollow. When you step on the tile or wipe the wall, that thin bridge of grout collapses into the void. It feels soft because there is literally nothing beneath it. This is why precision in floor leveling and tile spacing is the difference between a thirty year shower and a three year renovation.
Comparing grout performance metrics
| Grout Type | Minimum Joint Width | Max Compressive Strength | Water Absorption Rate |
|---|---|---|---|
| Standard Sanded | 1/8 inch | 3,000 PSI | High |
| High-Performance | 1/16 inch | 5,000 PSI | Low |
| Epoxy Grout | 1/16 inch | 8,000 PSI | Zero |
The ghost in the expansion gap
Movement is the silent killer of grout. Every shower should have movement joints where the walls meet the floor and in the corners. If those joints are filled with hard grout instead of a 100 percent silicone sealant, the grout will inevitably fail. As the house settles or as the temperature changes, the tile expands and contracts. Because grout is rigid, it cannot handle this stress. It will either crack or become crushed into a fine powder. This powder looks like soft grout, but it is actually the remains of a once-solid joint that was pulverized by structural movement. This is similar to why laminate needs a perimeter expansion gap. Without room to breathe, the material destroys itself from the inside out.
“Cementitious grout is not a substitute for structural movement joints; rigidity leads to ruin.” – TCNA Handbook Principle
The pre-grout inspection checklist
- Check that all thinset has been cleared from the joints to a depth of at least two-thirds the tile thickness.
- Ensure the tile is fully bonded and does not ‘thump’ when tapped, indicating a hollow spot.
- Verify the batch numbers on grout bags to ensure color and chemical consistency.
- Confirm the subfloor deflection meets the L/360 standard for ceramic or L/720 for natural stone.
- Clean the tile faces of all dust and debris that could contaminate the grout mix.
The regional moisture battle
Climate plays a massive role in why your grout might be failing. In humid regions, the water in your mix stays present longer, which can be a good thing for curing but a bad thing for color consistency. If the installer uses a wet sponge to clean up in a high-humidity environment, the water sits on the surface and bleeds into the joint. In dry climates, the opposite happens. The dry air and the dry subfloor act like a vacuum, pulling moisture out of the grout before it can harden. You must adapt your technique to the geography. In a dry climate, you might need to use a grout additive or a pre-mixed urethane grout that is less sensitive to evaporation rates. In a wet climate, you have to be disciplined with your sponge. Squeeze it until no more drops fall before you ever touch the tile surface. If you don’t, you are just painting the grout with water.
Why thinset choice matters more than the tile
The bond between the tile and the substrate affects the grout. If you used a cheap, non-modified thinset on a large format porcelain tile, the tile isn’t actually stuck to the floor. It is just sitting there. Every time you walk on it, the tile micro-moves. That micro-movement grinds the grout into dust. You might think the grout is soft, but the grout is actually being murdered by the tile. We see this often in quick carpet install jobs where they try to transition to a small tiled entry without proper floor leveling. The transition height is wrong, people trip on the edge, the tile loses its bond, and the grout turns to sand. Use a high-polymer modified mortar that meets ANSI A118.15 requirements to ensure the tile stays put. This protects the grout from mechanical stress.
The final verdict on structural integrity
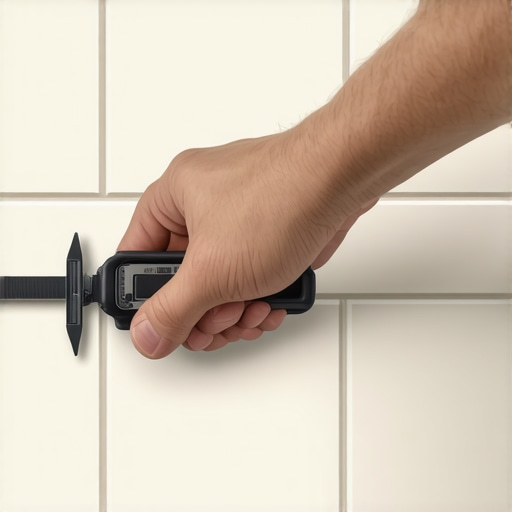
Fixing soft grout is a labor-intensive process. You cannot simply apply a hardener over the top. The failed material must be mechanically removed using a carbide-tipped grout saw or an oscillating tool. You must be careful not to chip the edges of the tile. Once the joints are cleared, you have to address the root cause. If the problem was too much water, mix the new batch to a ‘peanut butter’ consistency and let it slake for ten minutes before a final stir. If the problem was a shifting subfloor, you might be looking at a total tear-out. A floor is a system, not a collection of parts. When one part fails, it is usually because the system was compromised at the foundation. Respect the chemistry and the physics of the install, and your grout will be as hard as the stone it holds together.