How to Fix a Hollow Sounding Tile in Your New Shower Floor
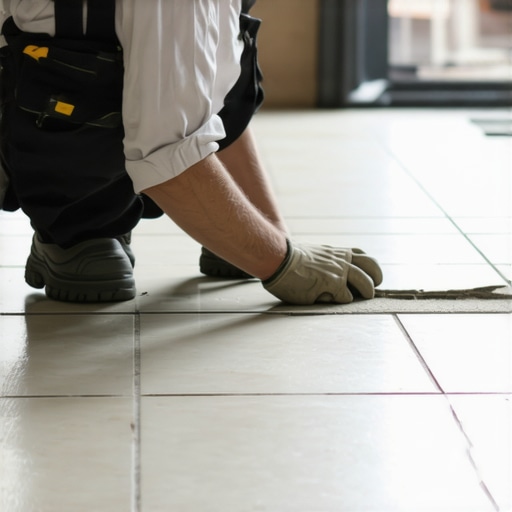
I have spent twenty five years on my knees with a moisture meter and a level. I smell like WD-40 and oak dust. Most people think a floor is just something pretty to walk on. They are wrong. A floor is a structural performance surface. I spent three days grinding concrete on a job last month just so the floor would not click like a castanet. Most guys skip the leveling compound. They think the underlayment will hide the dip. It will not. When you hear that hollow thud in your brand new shower, it is the sound of a failure in the mechanical bond between the tile and the substrate. It is the sound of a shortcut coming back to haunt you. You have a void where there should be a solid cementitious connection. Fixing it requires understanding the physics of thin-set and the chemistry of adhesives.
The phantom knock under the drain
A hollow sounding tile in a shower floor usually indicates poor mortar coverage or delamination from the waterproofing membrane. To fix it without a full teardown, you can use specialized floor repair adhesives injected through the grout lines or remove and reset the specific loose tiles. This phenomenon often occurs because the installer used the spot bonding method, which is a violation of TCNA standards for wet areas. When you tap a tile and hear a drum like sound, you are hearing air pockets. In a shower, those air pockets are not just a nuisance. They are reservoirs for stagnant water. Moisture seeps through the grout, fills the void, and sits there. Eventually, this leads to mold, grout failure, and the eventual disintegration of the subfloor bond. You are not just fixing a sound; you are preventing a structural collapse of your waterproofing system.
Why your subfloor is lying to you
The subfloor is the foundation of every successful installation. Whether you are dealing with a carpet install or a complex tile layout, the substrate must be flat within 1/8 inch over 10 feet. Most installers ignore this. They assume the mortar will fill the gaps. Mortar is not a leveler. It is an adhesive. If there is a dip in the subfloor, the tile will bridge that gap. When you step on it, the tile flexes. Over time, that flex snaps the bond. This is similar to why laminate floors bounce or why floor leveling is the most skipped step in residential construction. If the subfloor is plywood, it might be too thin, causing deflection. If it is concrete, it might have been too dusty or porous, sucking the moisture out of the thin-set before a chemical bond could form.
“A floor is only as good as the subfloor beneath it; deflection is the enemy of every joint.” – Master Flooring Axiom
The 1/8 inch that ruins everything
Precision is the difference between a lifetime floor and a five year floor. In a shower environment, the slope to the drain must be perfect. If the installer creates a flat spot, water pools. If they use too much thin-set to try and fix the slope, the mortar shrinks as it cures. This shrinkage pulls the tile away from the membrane, creating that dreaded hollow sound. You need a polymer modified thin-set that can handle the thermal expansion of hot water. When hot water hits a cold tile, the material expands. If the bond is weak, the tile pops. I have seen 15000 dollar bathrooms ruined because someone used an unmodified mortar on a waterproof membrane where it could not properly hydrate.
| Material Property | Modified Thin-set | Unmodified Thin-set | Epoxy Grout |
|---|---|---|---|
| Adhesion Strength | High | Medium | Extreme |
| Flexibility | Yes | No | Slight |
| Water Resistance | High | High | Waterproof |
| Cure Time | 24 Hours | 24 Hours | 12 Hours |
The ghost in the expansion gap
Every floor needs room to breathe. Even in a shower, you need movement joints at the perimeter. If the tile is jammed tight against the wall, any house movement will put pressure on the field tiles. This pressure causes the tiles to tent or delaminate. It is the same reason laminate floors buckle when they hit a baseboard. You must use a 100 percent silicone sealant in the corners rather than hard grout. Hard grout in a corner is a recipe for cracking and bond failure. The physics of the structure demand that the floor be allowed to shift independently of the walls. When it cannot move, it loses its grip on the floor.
- Tap every tile with a plastic mallet to locate all hollow spots.
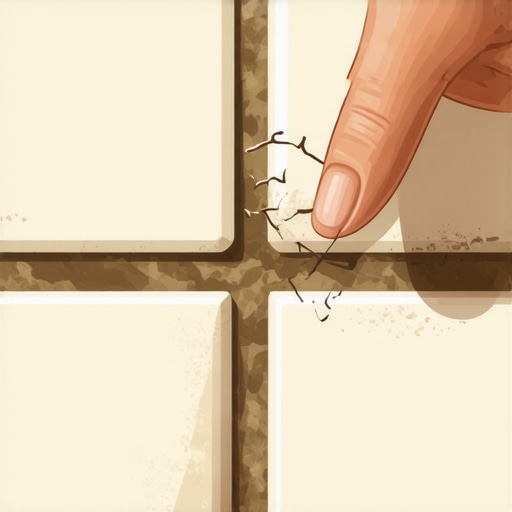
- Check the grout lines for hairline cracks which indicate movement.
- Measure the deflection of the subfloor from the crawlspace if possible.
- Verify if a topical waterproofing membrane was used.
- Ensure the mortar was applied with directional troweling to collapse ridges.
The injection method for surgical repair
If you only have one or two hollow tiles, you do not need to rip out the whole pan. You can perform a surgical injection. You drill small holes into the grout lines surrounding the hollow tile. Then, you use a pressure syringe to inject a high strength, low viscosity acrylic or epoxy adhesive. This liquid flows into the void and fills the air pocket. You must be careful not to puncture the waterproofing membrane. This is a high stakes game. If you hit the liner, you have created a leak. I always use a depth stop on my drill bit. Once the adhesive is cured, you scrape out the old grout and replace it. It is a fix that saves the aesthetic while restoring structural integrity. However, this only works if the tile is still physically in place and not cracked.
“Mortar coverage must be 95 percent in wet areas to ensure a permanent bond and prevent water management failures.” – TCNA Handbook Standards
The chemistry of adhesive failure
Thin-set is a mixture of Portland cement, sand, and water retention agents. Polymer modified versions add powdered resins. These resins are what allow the mortar to stick to non porous surfaces like porcelain or glass. If the installer mixed the mortar with too much water, the resulting bond is brittle and full of microscopic air bubbles. This is called a weak crystalline structure. When you walk on it, those crystals shatter. The tile is then essentially floating on a bed of sand. You can tell if this happened if you pull a tile and the mortar crumbles in your hand. Proper mixing is a science. You must let the mortar slake for ten minutes to allow the chemicals to fully activate. Skipping the slake is a rookie mistake that leads to hollow floors every single time.
Regional climate impacts on shower bonds
In high humidity regions like the Gulf Coast, the moisture in the air can slow the evaporation of water from the mortar bed. If the floor is sealed too early with grout, the moisture gets trapped. In dry climates like Phoenix, the substrate can be so thirsty that it steals the water from the mix instantly. This is why I always damp down a concrete subfloor before I spread my thin-set. It is called achieving a Saturated Surface Dry condition. If you do not do this in a desert climate, your tile will have the lifespan of a dragonfly. You have to adapt your chemistry to the zip code you are working in.
Final structural assessment
Fixing a hollow tile is about more than just sound. It is about the longevity of the home. If you ignore a hollow spot in a shower, you are inviting a slow motion disaster. Eventually, the movement will tear the waterproofing. Then the subfloor rots. Then the joists fail. I have replaced entire bathrooms because a homeowner ignored a clicky tile for three years. Address the void now. Whether you inject it with epoxy or pull it and reset it with proper 95 percent coverage, do it right. A floor should be silent, solid, and immovable. Anything else is just a temporary decoration. Use a notched trowel, collapse your ridges, and never, ever spot bond. Your knees and your wallet will thank you in a decade.