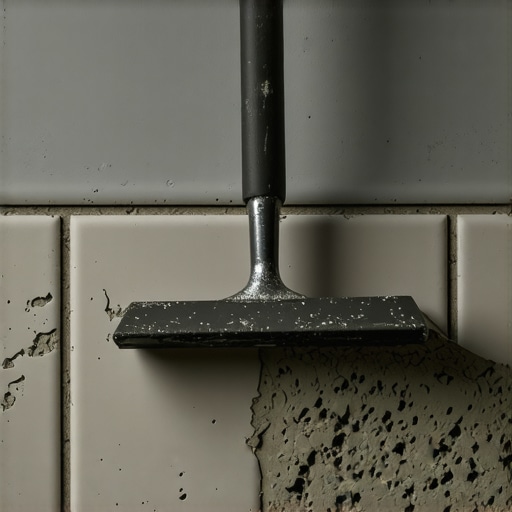
The ‘Trowel Notch’ Rule for Ensuring Full Tile Coverage in Showers
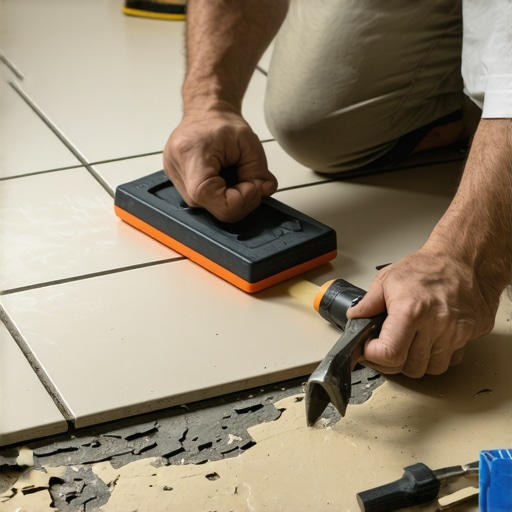
I spent three days grinding concrete on a job last month just so the floor wouldn’t click like a castanet. Most guys skip the leveling compound because they think the underlayment will hide the dip. It won’t. I have seen countless shower floors fail because an installer thought they could compensate for a bad subfloor with a thicker bed of thin-set. It is a recipe for disaster. When you are standing in a shower, you are standing on a structural assembly that must manage water, weight, and thermal expansion simultaneously. If you do not get the trowel notch right, you are essentially building a house on a foundation of air bubbles. I have seen thousand dollar porcelain slabs crack right down the middle because of a single hollow spot. My hands are permanently stained with the dust of these failures, and I am here to tell you that the secret to a lifetime floor is found in the ridges of your mortar bed.
The phantom failure of the pretty tile
Full tile coverage in showers requires a minimum of 95 percent contact between the mortar and the tile back to prevent moisture traps. Without this coverage, water seeps into air voids, leading to mold growth and bond failure. The Tile Council of North America is very clear about this specific percentage for wet areas because any air pocket becomes a reservoir for stagnant water. This is not about aesthetics. It is about preventing the microscopic degradation of the adhesive bond through constant moisture exposure.
Physics of the ridge collapse
Collapsing the ridges of thin-set mortar is the only way to achieve a void-less bond between the tile and the substrate. When you comb mortar in straight lines, the air has an escape path as you press the tile down. If you use swirl patterns, you trap air in the center of the swirls, creating pockets where the tile is not supported. This mechanical bond is what keeps the assembly rigid under the pressure of foot traffic and the shifting of the house structure. Thin-set is not a filler. It is a structural glue that must be compressed into a solid layer.
“A floor is only as good as the subfloor beneath it; deflection is the enemy of every joint.” – Master Flooring Axiom
Why your trowel shape is an engineering decision
The choice between a square notch and a U-notch trowel depends on the volume of mortar needed to bridge the gap between the tile and the floor. Square notches provide more volume but can be harder to collapse if the mortar is too stiff. U-notches allow for an easier collapse and are often preferred for smaller tiles where precision is paramount. You must calculate the height of the ridge based on the flatness of your substrate. A floor that is out of level by even 1/8 inch requires a larger notch to ensure the low spots still receive 95 percent coverage.
| Trowel Size | Coverage Percentage Target | Common Application |
|---|---|---|
| 1/4 x 1/4 Square | 95% in Wet Areas | Standard Wall Tile |
| 3/8 x 3/8 Square | 95% in Wet Areas | 12×12 Floor Tile |
| 1/2 x 1/2 Square | 95% in Wet Areas | Large Format Porcelain |
| Slant Notch | 98% in Wet Areas | Heavy Commercial Floors |
The 1/8 inch that ruins everything
Floor leveling is the mandatory precursor to any successful tile installation in a shower environment. If your subfloor has a dip, your trowel ridges will not reach the back of the tile in those specific areas. You might think you can just add a glob of mortar, but that creates a shrinkage point that will pull the tile unevenly as it cures. Use a high-quality self-leveling underlayment to get the surface within 1/8 inch over 10 feet before you even think about opening a bag of thin-set. This ensures your trowel notches remain consistent across the entire span.
The ritual of the pull test
Every installer must perform a pull test on the first few tiles of every job to verify that the notch size is providing adequate coverage. You set the tile, beat it in with a rubber mallet, and then immediately pry it back up. Look at the back of the tile. If you see individual ridges that have not flattened into a solid sheet, your notch is too small or your mortar is too dry. If you see less than 95 percent coverage, you stop the job and move to a larger trowel. There is no guessing in professional flooring. You verify the bond physically or you risk a callback that will cost you three times the original labor price.
“Substrate preparation is the most critical phase of tile installation; ignoring it ensures bond failure.” – TCNA Technical Manual
Moisture barriers and the invisible death of grout
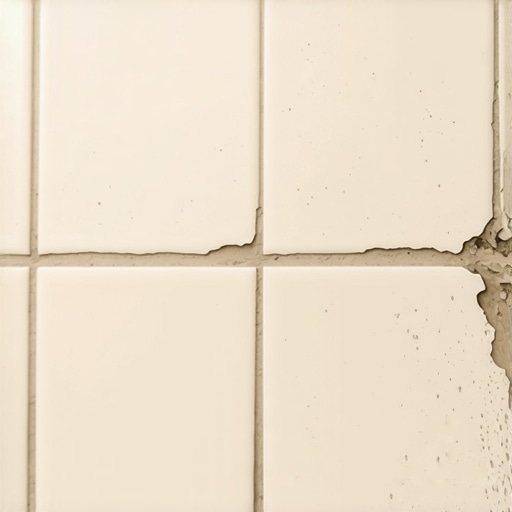
Waterproofing layers like liquid membranes or sheet membranes must be fully bonded to the substrate to prevent delamination under the tile. Many people blame the grout when a shower leaks, but grout is not waterproof. It is a porous material. The real work is done by the membrane underneath. If your trowel notches are inconsistent on top of this membrane, you create uneven stress points that can eventually tear the waterproofing. You need a smooth, continuous support system to protect the integrity of the moisture barrier over decades of use.
Checklist for a structural shower floor
- Check subfloor deflection to ensure it meets L/360 standards for ceramic or L/720 for stone.
- Grind high spots and fill low spots with polymer-modified leveling compounds.
- Ensure the mortar is mixed to a peanut butter consistency for maximum ridge hold.
- Comb mortar in straight lines parallel to the short side of the tile.
- Back-butter every tile to fill the microscopic pores in the porcelain body.
- Press and slide the tile at least 1/4 inch to collapse the ridges.
- Verify coverage with a pull test on at least two tiles per row.
The chemistry of polymer modified thin-set
Modern thin-sets contain liquid latex or dry polymers that increase the shear strength and flexibility of the bond. These chemicals allow the floor to handle the slight expansion and contraction that happens when hot water hits a cold floor. If you use a cheap, unmodified mortar in a shower, the bond will eventually crystallize and snap. The trowel notch plays a role here too. A thicker, well-collapsed bed of modified mortar provides a buffer that absorbs structural movement without transferring that stress to the tile itself. It is a shock absorber made of cement and chemistry.
Myths about large format porcelain
Large format tiles require specialized large-hole trowels because they are rarely perfectly flat from the factory. Most tiles over 15 inches have a slight crown or bow. If you use a small notch, the center of the tile will never touch the mortar. This creates a massive hollow sound when walked upon and makes the tile prone to cracking if something heavy is dropped. You must use a 1/2 inch notch or larger for these stones, and back-buttering the tile is not optional. It is a technical requirement for a surface that will be subjected to the constant humidity of a bathroom.
Legacy of the trowel notch
A floor is a permanent part of the building architecture. It is not a rug that you swap out when you get bored. When I walk away from a shower install, I want to know that fifty years from now, someone is going to have a nightmare of a time trying to demo that floor because the bond is so perfect. That security comes from the discipline of the trowel. It comes from the sore knees and the dusty lungs of doing the prep work that no one sees but everyone feels. Do not let a 10 dollar trowel be the reason your 10,000 dollar bathroom fails. Use the right notch, collapse the ridges, and build something that lasts.”,”image”:{“imagePrompt”:”A close-up, high-detail macro shot of a metal trowel combing gray polymer-modified thin-set mortar into perfect, straight ridges on a shower floor substrate. The texture of the mortar is thick and gritty. In the background, a large porcelain tile is ready to be set. The lighting is harsh and professional, highlighting the depth of the 1/2 inch notches.”,”imageTitle”:”Professional Trowel Notching Technique”,”imageAlt”:”A professional installer combing thin-set mortar into straight ridges for a shower tile installation.”},”categoryId”:1,”postTime”:”2023-10-27T10:00:00Z”}