How to Remove Dried Grout from Tile Without Scratching the Finish
The nightmare of the cured haze
Removing dried grout haze requires a balance of chemical softening and gentle mechanical friction. You must identify if the grout is cementitious or epoxy-based before applying any solvent. Sulfamic acid solutions often work for cement, while specialized strippers are needed for epoxy polymers on glazed surfaces. I spent three days grinding concrete on a job last month just so the floor wouldn’t click like a castanet, and that experience taught me one thing: the prep and the cleanup are where the real engineering happens. If you leave grout to sit on a porcelain face for more than twenty four hours, you are no longer cleaning; you are performing a surgical extraction. The grout has begun its hydration process, forming a crystalline structure that interlocks with the microscopic pores of the tile surface. It is a chemical bond that defies simple wiping. You need to understand the physics of the bond to break it without ruining the aesthetics of a high-end install. Most guys skip the leveling compound and then wonder why the grout accumulates in the low spots. They think the underlayment will hide the dip. It won’t. When the tile sits in a valley, the grout pool becomes a thick slab that is ten times harder to remove than a standard haze. I have seen fifteen thousand dollar marble jobs ruined because someone used a steel putty knife on a soft stone. It makes my blood boil. You have to respect the Mohs scale of mineral hardness. If your tool is harder than your tile, you are going to leave a permanent scar. We are here to avoid that.
Chemical bonds and the porcelain surface
The interaction between grout and tile is a matter of surface tension and molecular adhesion. Cementitious grout relies on calcium silicate hydrate crystals that grow into the surface irregularities of the tile. To break this bond, you must introduce a reagent that can weaken the crystal matrix without etching the underlying ceramic glaze or natural stone. Most homeowners reach for the harshest acid they can find at a big box store, which is a massive mistake. You are dealing with a delicate balance of chemistry. For standard cement grout, a diluted solution of white vinegar or a professional grade sulfamic acid is the standard. However, you have to be careful with natural stone. If you put acid on travertine or limestone, you are basically dissolving the floor. The acid reacts with the calcium carbonate in the stone, creating a permanent dull spot. This is why we use pH neutral cleaners for the first pass. You want to hydrate the grout first. Wetting the dried residue allows the water to penetrate the capillaries of the grout, softening the structure. It is like trying to move a mountain; you do not do it all at once. You take it grain by grain. I always keep a spray bottle of distilled water on hand. Tap water has minerals that can contribute to efflorescence, which is that white powdery ghost that haunts grout lines after they dry. We are looking for a clean, structural finish, not a science experiment gone wrong.
“A floor is only as good as the subfloor beneath it; deflection is the enemy of every joint.” – Master Flooring Axiom
The mechanical approach to stubborn chunks
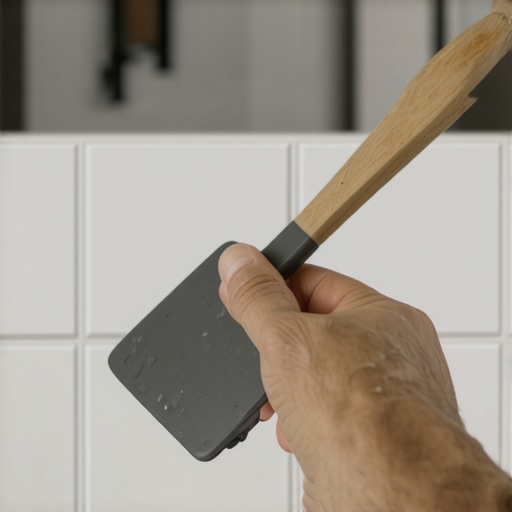
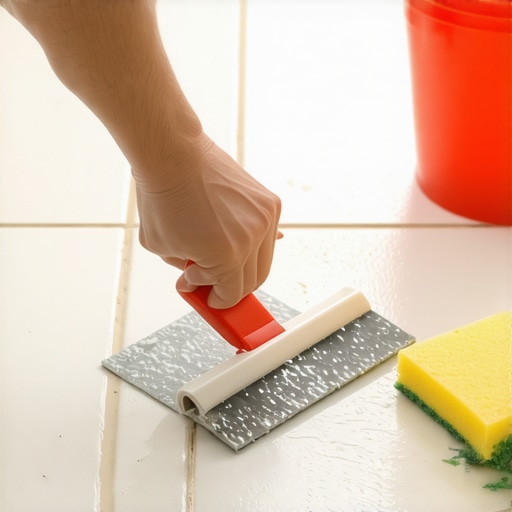
Mechanical removal of grout chunks involves using non marring tools like plastic scrapers or wooden blocks to shear the bond without penetrating the tile glaze. If the grout has fully carbonized, a damp wooden dowel can often provide enough focused pressure to pop the residue off the ceramic face. I have a bucket of wooden shims and plastic scrapers that have seen more action than my power tools. The trick is the angle of attack. You never want to approach a grout glob from the top. You want to get under the edge. By applying lateral pressure at the base of the chunk, you are using the tile surface as a fulcrum to snap the bond. It is a game of physics. Wood is fantastic for this because it is softer than the glaze but harder than the partially cured grout. I have spent hours on my knees with a piece of oak scrap, rubbing at stubborn spots. It generates heat through friction, which can actually help soften the polymers in modern grouts. If you are dealing with a textured tile, like a wood look porcelain, you have to follow the grain. If you scrub across the texture, you are just pushing the grout deeper into the valleys. You need a stiff nylon brush, something that can get into those microscopic ruts and pull the pigment out. Never use steel wool. The tiny fragments of metal will break off, get trapped in the grout, and then rust the first time someone mops. Now you have a rust problem on top of a grout problem.
Why subfloor movement creates grout chaos
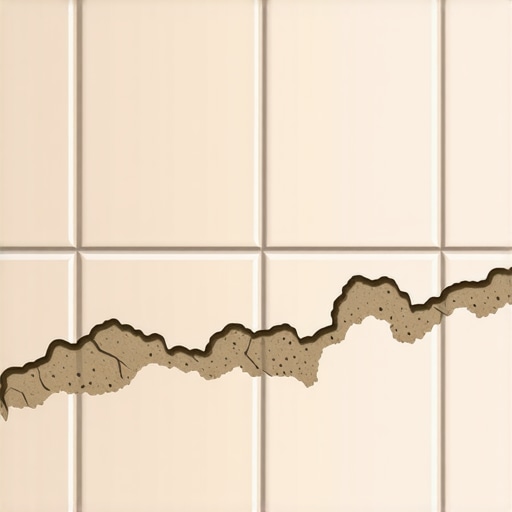
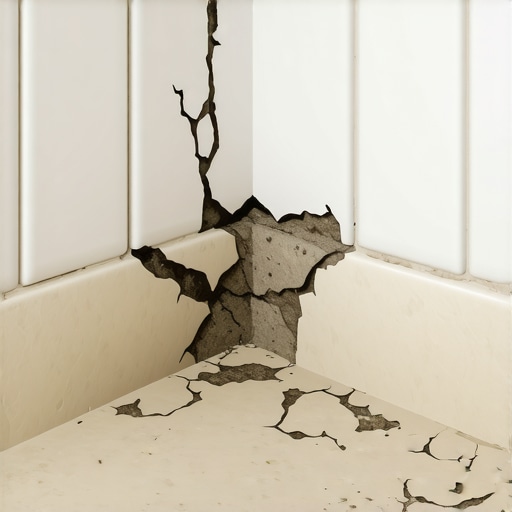
Subfloor deflection and improper floor leveling often lead to uneven grout distribution that makes cleaning nearly impossible. When a subfloor has too much flex, the tile moves, causing the grout to crack or pool in areas where the lippage is most prominent. Ensuring a flat surface is the first step in grout management. If I walk onto a job and see a subfloor that looks like the rolling hills of Kentucky, I know the grout job is going to be a disaster. You cannot put a rigid product like tile over a trampoline. The TCNA has strict standards for deflection, usually L over three hundred sixty for ceramic and L over seven hundred twenty for stone. If your floor is bouncing, the grout is going to pop out of the joints and smear across the surface. This creates a haze that is physically bonded to a moving target. I always tell my guys that the floor is a system. The joists, the subfloor, the thinset, the tile, and the grout all have to work in harmony. If one part of the system fails, the whole thing looks like garbage. Most people think they can just slap some grout in the holes and call it a day. But if that tile is rocking even a millimeter, it is going to pump the grout out like a piston. That is how you get those thick, dried on messes that require a chisel to remove. If you had leveled the floor with a high quality self leveler first, the grout would have sat perfectly in the channel, making the cleanup a five minute job instead of a five hour ordeal.
| Method | Tool Used | Risk Level | Best For |
|---|---|---|---|
| Hydraulic Softening | Distilled Water / Steam | Low | Fresh haze (under 24 hours) |
| Wood Shearing | Oak Block / Shim | Low | Large chunks on glazed tile |
| Acidic Neutralization | Sulfamic Acid Solution | Medium | Heavy cementitious residue |
| Plastic Abrasion | Nylon Scrub Pad | Low | Textured porcelain surfaces |
| Polymer Stripping | Commercial Epoxy Remover | High | Epoxy grout mistakes |
The danger of acidic overreaction
Using acids to remove grout requires extreme caution because high concentrations can damage the grout joints themselves. An acid that is too strong will eat away the pigment and the structural integrity of the grout you want to keep, leading to sandy, crumbling joints. Always neutralize the area with a basic solution after treatment. I have seen guys go in with straight muriatic acid because they were in a rush to get to the next job. It is a disaster. The acid doesn’t know when to stop eating. It hits the grout in the joint and starts a chemical reaction that releases carbon dioxide gas, creating tiny voids in the structure. Now you have a porous, weak joint that is going to soak up every drop of coffee and wine that hits the floor. You have to be precise. If you use an acidic cleaner, you follow it up with a wash of baking soda and water or a professional neutralizing agent. This stops the reaction dead. Think of it like a car engine. You don’t just floor it and hope for the best; you have to know when to hit the brakes. The chemistry of the tile itself matters too. Some glazes contain metallic oxides that can react with acids, changing the color of the tile permanently. You go from a beautiful navy blue to a mottled grey in seconds. Always test a small, inconspicuous area, like inside a closet or under where the fridge will sit. If you skip the test, you are gambling with the homeowner’s biggest investment.
The local climate and drying times
Environmental factors such as humidity and temperature drastically affect how quickly grout cures and how difficult it is to remove. In dry climates like Phoenix, grout can flash dry on the surface of the tile in minutes, while in humid areas, the working time is significantly extended. I remember a job in the middle of a summer heatwave where the thinset was drying before we could even get the tile notched. We had to set up a swamp cooler just to keep the grout from turning into stone on the trowel. If you are working in a dry environment, you have to work in small sections. You grout three square feet, then you wash. You grout another three, you wash. If you try to grout the whole room at once, by the time you get back to the start, that grout is baked on. It is not coming off without a fight. Conversely, in a humid basement, you might be waiting for hours for the grout to set up enough to even touch it with a sponge. If you go in too early with water, you wash the pigment out of the joints and end up with a splotchy, ugly mess. You have to read the room. I use a moisture meter even for the grout phase sometimes. It tells me exactly what the slab is doing. If the concrete is sucking the moisture out of the grout from below, the surface is going to dry even faster. It is all about managing the rate of evaporation. We are looking for a slow, controlled cure.
“Grout is the most misunderstood component of the flooring assembly; it is both a structural filler and a decorative seal.” – Tile Council of North America Guide
- Check the tile hardness on the Mohs scale before selecting tools.
- Identify the grout type: cementitious, high performance, or epoxy.
- Always perform a dry scrape with a plastic tool before introducing chemicals.
- Use distilled water to prevent mineral staining during the final wipe.
- Maintain a forty five degree angle when wiping to avoid pulling grout from the joints.
- Ensure the subfloor is stable to prevent future grout cracking and debris.
Maintaining the integrity of the glaze
Protecting the tile glaze during the cleaning process is paramount to the longevity of the floor’s appearance. Once a glaze is scratched or etched, it becomes a magnet for dirt and bacteria, making future maintenance a nightmare for the occupant. Use soft materials and patience over aggressive force. People ask me why I am so obsessed with the finish. It is because I know that once that factory seal is gone, it is gone forever. You can try to wax it or seal it, but it will never have that same depth and clarity. When you are removing dried grout, you are walking a tightrope. One wrong move with a metal blade and you have a silver streak across a black tile that will catch the light every time someone walks by. It is better to spend three hours with a damp sponge and a wooden stick than thirty seconds with a razor blade and a lifetime of regret. I have built my reputation on the details. When I leave a job, that floor looks like a sheet of glass. There is no haze, no scratches, and the grout lines are as straight as a laser. It takes discipline. It takes knowing when to walk away and let the chemicals do the work. If the grout is too hard, you apply a poultice. You soak a paper towel in your cleaning solution, lay it over the spot, and cover it with plastic wrap. Come back in an hour, and that stubborn chunk will have softened up enough to wipe away with your thumb. That is the mark of a master. We don’t force the floor to do what we want; we understand its nature and work within it. The science of flooring is the science of patience. It will buckle if you rush it. It will shine if you respect it. Removing grout is the final act in a long play. Don’t mess up the ending.