Why Your Shower Grout Is Falling Out in Tiny Chunks
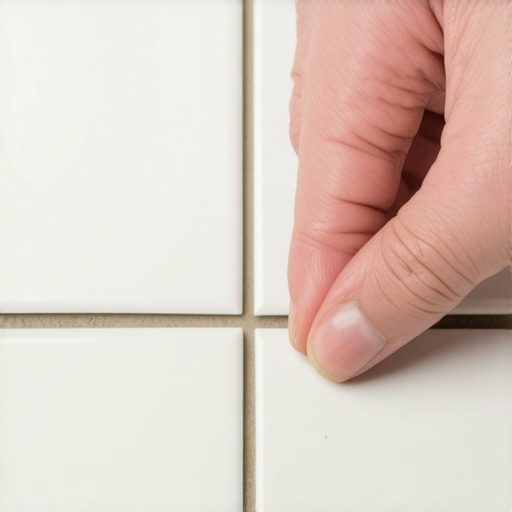
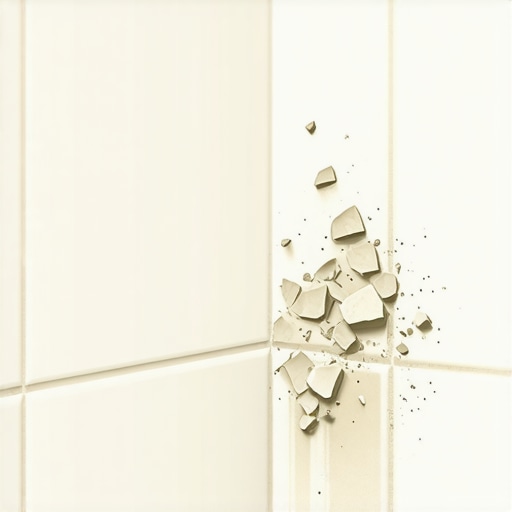
I spent three days grinding concrete on a job last month just so the floor wouldn’t click like a castanet. Most guys skip the leveling compound. They think the underlayment will hide the dip. It won’t. I have seen it a thousand times in bathrooms across the country where the homeowner thinks they have a grout problem when they actually have a structural engineering disaster. When you see those tiny, sandy pieces of grout sitting on the shower floor, you are not just looking at a cosmetic failure. You are looking at the evidence of a floor that is moving more than it should. My hands are stained with the gray dust of thin-set and my knees have the permanent calluses of a man who respects the Tile Council of North America standards. Most people treat a shower like a decorative box. I treat it like a pressurized vessel. If the foundation is weak, the skin will crack. It is that simple.
The physics of the invisible bounce
Grout falls out because the substrate beneath the tile is flexing beyond the allowable deflection limits of the material. When a subfloor moves more than L/360 of the span under a live load, the rigid grout joints are forced to act as shock absorbers. Since Portland cement is not elastic, it shatters under the compression and tension cycles of your daily shower. This is the structural reality that most discount contractors ignore. They slap down a piece of cement board and call it a day. I look at the joist spacing. I look at the thickness of the plywood. If you have 16 inch on-center joists with a single layer of 5/8 inch subflooring, your grout is doomed from the start. You need mass and rigidity. Without it, the tile becomes a lever that snaps the grout bond at the microscopic level. This movement is often so slight you cannot feel it with your feet, but the crystalline structure of the grout feels every single millimeter of that shift.
“A floor is only as good as the subfloor beneath it, deflection is the enemy of every joint.” – Master Flooring Axiom
The chemistry of the hydration failure
Shower grout fails when the mixing ratio of water to powder is incorrect or when the substrate sucks the moisture out of the mix too quickly. If you add too much water to make the grout easier to spread, you are effectively diluting the polymer chains and creating a porous, weak lattice once the water evaporates. This is called the water-to-cement ratio, and it is the difference between a rock-hard joint and a sandy mess. When the grout dries, the space once occupied by excess water becomes a void. These microscopic air pockets make the grout brittle. Conversely, if you apply grout to a bone-dry cement backer board without wiping it down with a damp sponge first, the board will drink the water right out of the grout. This stops the chemical hydration process. The grout never reaches its intended PSI strength. It just sits there, a half-baked cake waiting to crumble the first time you step on it. You can smell when a mix is right. It has a specific, heavy weight to it that a cheap, watery mix lacks.
The movement joint myth
Hard grout in the corners of a shower is a guaranteed failure point because every structure expands and contracts with temperature changes. You cannot put a rigid material in a change of plane. This means where the wall meets the floor, or where two walls meet, you must use a 100 percent silicone sealant, not grout. When the house settles or the wood studs behind the tile swell with the humidity of a Houston summer, that corner joint is going to move. If there is grout there, it will be crushed into dust or pushed out in chunks. I see this mistake on 90 percent of the ‘pro’ jobs I am called to fix. They think they are being neat by grouting the corners. They are actually just setting a timer for a leak. A shower is a living thing. It breathes. It grows when it is hot and shrinks when it is cold. You have to give it room to move or it will find its own room by breaking your tile work.
| Grout Type | Flexibility Rating | Moisture Resistance | Best Use Case |
|---|---|---|---|
| Sanded Grout | Very Low | Moderate | Large joints over 1/8 inch |
| Unsanded Grout | Very Low | Low | Wall tiles with narrow joints |
| High-Performance Cement | Medium | High | High-traffic residential showers |
| Epoxy Grout | High | Total | Steam showers and commercial kitchens |
The subfloor leveling requirement
An uneven subfloor creates voids under the tile that allow for vertical movement, which inevitably shears the grout away from the tile edge. If you are installing laminate or tile, the floor must be flat to within 1/8 inch over a 10-foot radius. Most people think ‘level’ and ‘flat’ are the same thing. They are not. A floor can be tilted like a ramp and still be flat enough for a successful tile install. But a floor with a dip in the middle is a grout killer. When you step on a tile that is bridging a low spot, the tile bows. That bowing action pinches the grout on one side and pulls it away on the other. I have spent countless hours with a 10-foot straightedge and a bag of self-leveling underlayment because I refuse to let my grout lines fail. If the floor is not flat, the installation is a lie. This applies to carpet install too, though people are lazier there. A dip in the floor under a carpet will eventually stretch the backing, but in a shower, that same dip is a catastrophic failure point.
- Check joist deflection ratings before laying the first tile.
- Ensure the subfloor is at least 1 1/8 inches thick for natural stone.
- Wipe down backer board to prevent flash-drying of the grout.
- Use a digital scale to measure grout water for perfect consistency.
- Never skip the perimeter expansion gaps behind the baseboards.
The ghost in the expansion gap
Grout will often pop out if the installer did not leave an expansion gap at the perimeter of the room where the tile meets the wall. Even in a small shower, the entire assembly needs a fraction of an inch to expand. If the tile is wedged tight against the wall studs, the pressure has nowhere to go but up. This creates a tenting effect. The grout is the weakest link in that chain of pressure. It will explode out of the joints as the tiles push against each other. It is the same principle that ruins a laminate floor when it is installed without a 1/4 inch gap at the drywall. The floor grows, hits the wall, and buckles. In a shower, this buckling leads to water infiltration. Once water gets behind the tile and hits the thin-set, the bond starts to degrade. This creates a cycle of failure. The wetter it gets, the more it moves. The more it moves, the more grout you lose. You end up with a shower that smells like a wet basement and grout that you can vacuum up with a shop vac.
“Deflection is not a suggestion; it is a law of physics that governs the lifespan of every ceramic surface.” – TCNA Installation Handbook
The regional humidity factor
The environmental conditions of your specific region dictate the curing time and the type of grout additives required for a permanent bond. In the swampy humidity of Houston, a grout might take twice as long to reach full hardness. If you seal it too early, you trap moisture inside the joint, which weakens the final structure. In the dry heat of Phoenix, the moisture can evaporate so fast that the grout becomes chalky before it ever cures. I have to adjust my chemistry based on the zip code. This is why I distrust ‘all-in-one’ bags that claim to work everywhere without modification. You have to know the local dew point. You have to know if the house has a crawlspace that is dumping moisture into the subfloor from below. A solid wood floor will cup like a potato chip if the crawlspace is wet, and a tile floor will spit out its grout just as fast. We are fighting a war against moisture and movement. Most installers are just playing with mud. I am building a structure that will outlive the house.