Why Your Shower Door Is Leaking Water onto the Bathroom Floor
A bathroom floor should be a fortress. Instead, most homeowners treat it like a stage set. I have spent twenty five years on my knees with a moisture meter and a level, and I can tell you that a leaking shower door is rarely about the glass itself. It is about physics, structural deflection, and the chemistry of failed polymers. Most guys skip the leveling compound. They think the underlayment will hide the dip. It won’t. I spent three days grinding concrete on a job last month just so the floor wouldn’t click like a castanet, only to find the shower curb was pitched away from the drain. That is the reality of the trade. You are fighting gravity and water tension every single day.
The hidden mechanics of bathroom water damage
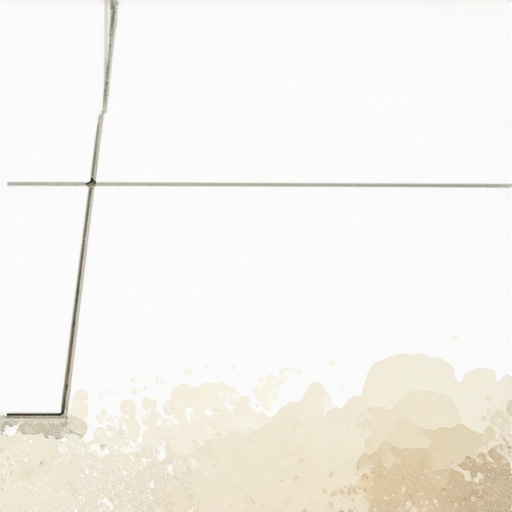
Shower door leaks occur when the physical barrier fails to redirect water back into the pan. This is often caused by misaligned glass hinges, worn out vinyl sweeps, or improper curb pitching. Addressing the root cause requires analyzing the hydrostatic pressure of the shower spray against the door seals and the structural integrity of the floor leveling. If your subfloor has even a slight dip near the threshold, water will find it and sit there until it rots your joists.
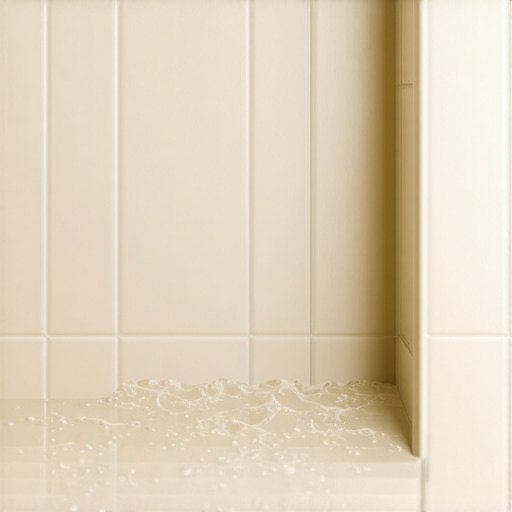
When we talk about water migration, we are talking about capillary action. Water does not just sit. It moves. It climbs. It finds the path of least resistance through your grout lines and under your baseboards. If you have a carpet install adjacent to the bathroom, that carpet acts like a wick. It pulls the moisture out of the bathroom and into the subfloor of the hallway. I have seen solid oak floors three rooms away start to buckle because a shower sweep was missing a quarter inch of rubber. This is not a cosmetic issue. This is a structural engineering challenge that requires a deep understanding of how materials interact with moisture at a molecular level.
Why your subfloor is lying to you
Subfloor levelness is the most ignored factor in bathroom waterproofing. A floor that is out of level by just 1/8 inch over ten feet can cause a glass door to hang improperly. This misalignment prevents the polyvinyl chloride seals from making full contact with the curb, leading to consistent puddling. Use a self leveling underlayment to ensure the transition from the shower to the main floor is perfectly flat.
Most people think they can just slap down some laminate or LVP and call it a day. They ignore the humps in the plywood or the dips in the slab. When you hang a heavy 3/8 inch or 1/2 inch tempered glass door, that weight is concentrated on specific points. If the floor under the curb is not rock solid, that curb will compress or tilt over time. I have seen curbs made of stacked 2x4s that weren’t kiln dried. As that wood loses moisture, it shrinks. The curb tilts. Suddenly, the water that used to run back into the drain is now running toward your vanity. You need to use a solid foam curb or a properly packed mud bed that has been reinforced with lath.
“A floor is only as good as the subfloor beneath it; deflection is the enemy of every joint.” – Master Flooring Axiom
The failure of the builder grade sweep
Vinyl sweeps are the primary defense against water escape at the bottom of a shower door. Over time, these components suffer from polymer degradation due to exposure to hard water minerals and caustic cleaning agents. When the sweep loses its elasticity, it creates a gap that allows water to bypass the threshold. Replacing a sweep every twelve months is a mandatory maintenance task for any frameless glass system.
The chemistry of these sweeps is fascinating. They are usually made of a co-extruded vinyl. The part that grips the glass is rigid, while the fins that touch the curb are soft. But soap scum and body oils break down the plasticizers in that soft vinyl. It becomes brittle. It cracks. You might not even see the crack, but water molecules are small enough to vibrate through that opening every time the shower head hits the glass. If you are using a cheap, thin sweep from a big box retailer, you are asking for trouble. You want a high mil thickness fin that has a drip rail to physically kick the water back toward the inside of the shower.
The 1/8 inch that ruins everything
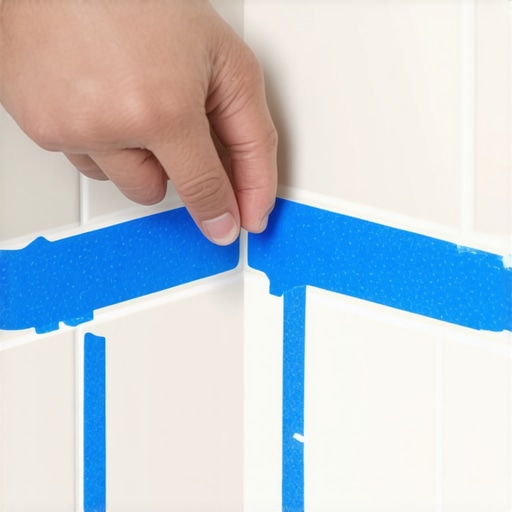
Precision in the expansion gap is what separates a master installer from a handyman. If you are installing laminate or LVP up to a shower threshold, you must leave a 1/4 inch gap and fill it with 100 percent silicone sealant. Failure to provide this gap causes the floor to peak or buckle when humidity rises, which can then put pressure on the shower enclosure itself. The floor must be allowed to move independently of the wet area.
I have walked into bathrooms where the installer ran the laminate tight against the shower base. The first time the steam hit that room, the floor expanded. Since it had nowhere to go, it pushed against the shower curb. This actually moved the curb enough to break the silicone seal at the bottom of the glass. Now you have two problems. You have a floor that is cupping and a shower that is leaking into the subfloor. You have to understand the modulus of elasticity of your sealant. A cheap acrylic caulk will crack within six months. You need a high grade silicone that can handle 25 percent movement without losing its bond to the substrate.
| Material Type | Moisture Resistance | Janka Hardness | Acclimation Time |
|---|---|---|---|
| Solid White Oak | Low | 1360 | 10 to 14 Days |
| Engineered Maple | Medium | 1450 | 3 to 5 Days |
| Waterproof LVP | High | N/A | 48 Hours |
| Porcelain Tile | Extreme | N/A | None |
The ghost in the expansion gap
Expansion gaps are often misunderstood as empty voids, but they are actually functional buffer zones. In the context of a shower leak, these gaps must be waterproofed with backer rod and silicone to prevent liquid from reaching the raw edge of the flooring. For carpet install projects near bathrooms, the transition strip must be elevated to prevent the pad from acting as a capillary sponge. This protects the structural integrity of the surrounding rooms.
If you have a leak and you have carpet outside the door, you are in for a bad time. Carpet padding is basically a giant sponge. It will hold gallons of water without feeling wet to the touch on the surface. By the time you smell the mold, the subfloor is already black. This is why I always recommend a tile border of at least twelve inches outside any shower door before the carpet begins. It gives you a splash zone. It gives you a chance to see the water before it disappears into the fibers. The physics of water retention in synthetic fibers is a nightmare for indoor air quality.
Technical checklist for a dry bathroom floor
- Check the curb pitch using a digital level to ensure a minimum 2 percent slope toward the drain.
- Inspect glass hinges for set screw slippage which causes the door to sag and drag.
- Verify that the sweep is properly seated and the drip rail is facing the interior.
- Test the perimeter seals by running a low pressure hose along the outside of the glass.
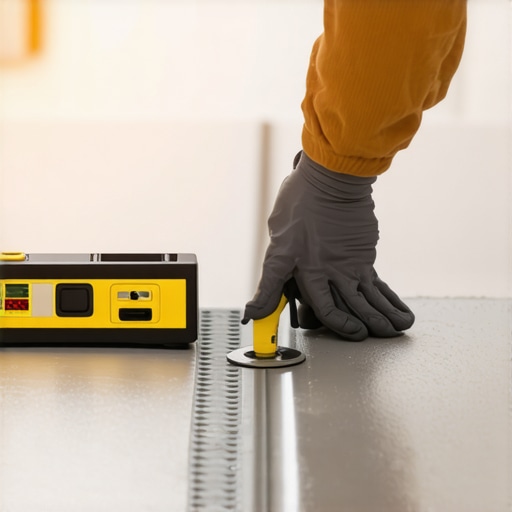
- Measure the moisture content of the subfloor near the threshold using a pinless meter.
- Confirm that the expansion gap between the flooring and the shower is filled with non hardening sealant.
When you are looking at the door, look at the hinges. People forget that glass is heavy. A standard panel can weigh eighty pounds. Those hinges are held by friction and sometimes a small notch in the glass. Over time, the door sags. It might only sag a sixteenth of an inch, but that is enough to make the sweep drag on the curb. When the sweep drags, it wears down. When it wears down, it leaks. It is a chain reaction of mechanical failure. I always tell my clients to tighten their hinge screws every six months. It is a five minute fix that saves a five thousand dollar floor.
“Water is a patient hunter; it will find the one microscopic hole you left in your waterproofing.” – Tile Council of North America Standard
The chemistry of the failed sweep
Adhesive failure at the threshold is often the result of improper surface preparation. Before applying new silicone or installing a threshold, the surface must be cleaned with denatured alcohol to remove all residual oils. If any mineral deposits remain, the chemical bond of the sealant will be compromised, allowing water to tunnel under the bead through microscopic voids. This is the most common cause of mystery leaks.
I see it all the time. A guy scrapes off the old caulk with a putty knife and just squirts the new stuff right on top. That is a failure waiting to happen. The old silicone leaves a thin film that nothing will stick to, not even new silicone. You have to get that surface surgically clean. I use a razor blade, followed by a non abrasive scrub pad, and finally a heavy wipe with denatured alcohol. Only then do I apply the bead. And for the love of the trade, don’t use your spit to smooth the bead. The bacteria in your saliva will cause mold to grow inside the silicone. Use a profiling tool or a gloved finger with a bit of soapy water. That is how you get a seal that actually lasts ten years instead of ten months.
The structural reality is that your house is moving. It breathes. It expands in the summer and contracts in the winter. If your shower door and your floor are locked together too tightly, something is going to break. Usually, it is the seal. By understanding the physics of these materials and the way water behaves at the molecular level, you can build a bathroom that stays dry. It takes more time. It takes more effort. But it is the only way to do it right. Stop looking at the tile and start looking at the subfloor. That is where the truth is hidden.