Why Your Kitchen Sink Floor Is Swelling and How to Seal the Edges
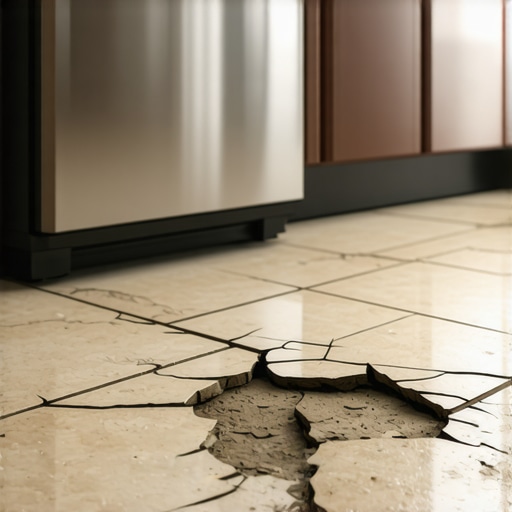
I have spent twenty-five years on my knees with a moisture meter and a level. I have seen the same tragedy play out in hundreds of kitchens. A homeowner spends thousands on a beautiful new floor and then three months later the boards around the kitchen sink start to rise. They look like little mountain ranges. This is not a manufacturing defect. It is a failure of physics and installation. I once walked into a house where a fifteen thousand dollar wide-plank walnut floor was cupping so bad it looked like a potato chip because the installer did not check the crawlspace humidity and neglected to seal the area under the dishwasher. That sight stays with you. It smells like damp wood and regret. When your floor swells near the sink, you are witnessing the physical expansion of wood fibers or core materials as they absorb moisture through capillary action. Most people think their waterproof flooring is an invincible shield. It is not. The top layer might be plastic, but the joints and the perimeter are the Achilles heel of every installation. If you do not understand the relationship between hydrostatic pressure and the expansion gap, your floor is a ticking time bomb.
The physics of moisture absorption in flooring cores
Flooring swells near kitchen sinks because water penetrates the unprotected joints and saturates the core material, leading to a breakdown of the internal bonds. This process is known as thickness swell. When liquid water sits on a seam, it does not just stay there. Surface tension pulls the liquid into the tight space between boards. If the core is made of High-Density Fiberboard or HDF, the wood fibers expand as they soak up the liquid. This expansion is often permanent. Even when the floor dries out, the fibers remain stretched and distorted. This is why you see those raised edges that never go back down. In the flooring industry, we measure this by the percentage of weight gain and thickness change after twenty-four hours of submersion. Most laminate floors will fail this test if the edges are not treated with a wax or a hydrophobic coating during manufacturing. Even LVP or Luxury Vinyl Plank can suffer. While the core of LVP is often a stone plastic composite that does not absorb water, the moisture can get trapped underneath. This trapped water breeds mold and causes the adhesive or the underlayment to fail. You are not just fighting a puddle. You are fighting the molecular attraction between water molecules and porous surfaces.
“A floor is only as good as the subfloor beneath it; deflection is the enemy of every joint.” – Master Flooring Axiom
Why your laminate acts like a thirsty sponge
Laminate flooring is essentially a photograph of wood glued to a compressed board of sawdust and resin. The resin provides some protection, but the raw edges of the tongue and groove are almost always vulnerable. When you splash water while washing dishes, the liquid finds its way into the expansion gap at the wall or the tiny crevices between the planks. Once the water hits the HDF core, the wood cells begin to hydrate. Wood is hygroscopic. It wants to be in equilibrium with its environment. In a kitchen, the local humidity near the sink is often ten percent higher than the rest of the house. This constant exposure to micro-moisture weakens the urea-formaldehyde or melamine-formaldehyde glues holding the board together. The result is a floor that grows in size. Since the floor is locked against the walls, it has nowhere to go but up. This creates the buckling effect. I have seen floors grow by a full half inch across a ten foot span just from sink splashes. It is a slow motion disaster that most people ignore until they start tripping over the seams.
| Material Type | Swell Rate (24hr) | Moisture Resistance | Recovery Potential |
|---|---|---|---|
| Solid Hardwood | High | Low | Medium |
| Engineered Wood | Medium | Moderate | Low |
| HDF Laminate | Very High | Low | Zero |
| SPC Vinyl (LVP) | Zero | High | High |
The structural lie of waterproof flooring labels
The term waterproof in the flooring industry usually refers to the material itself and not the entire installation system. Manufacturers love to print the word waterproof in big letters on the box. What they mean is that if you drop a piece of the plank in a bucket of water, the plank will not fall apart. What they do not tell you is that the water can still pass through the click-lock joints. Once that water is under the floor, it stays there. It cannot evaporate through the plastic top layer. This creates a dark and damp environment that rots your subfloor. Whether you have plywood or a concrete slab, standing water is a catastrophe. On a concrete slab, the water can trigger an alkaline reaction that eats the flooring adhesive. In a wooden subfloor, it starts the process of fungal decay. I have pulled up floors that looked fine on top but were covered in black mold underneath because the homeowner believed the waterproof label and never wiped up spills. You must treat every seam as a potential leak point. There is no such thing as a waterproof floor if the perimeter is not sealed with the correct chemistry.
The mechanics of the perimeter seal and expansion gaps
Sealing the edges of a floor involves creating a flexible and water-tight barrier between the flooring and the vertical surfaces like cabinets or walls. You cannot just cram caulk into the gap. A floor needs to move. It expands and contracts with the seasons. If you use a rigid filler, the floor will either break the seal or buckle the boards. The industry standard is to use a 100% silicone sealant. Silicone is highly flexible and has excellent adhesion to both the flooring finish and the cabinet toe-kicks. Before you seal, you must ensure the expansion gap is the correct width. For most rooms, this is a quarter of an inch. Around a kitchen sink, I prefer three-eighths of an inch to allow for the higher moisture fluctuations. You fill this gap with a foam backer rod first. The backer rod acts as a bond breaker. It ensures the silicone only sticks to the flooring and the wall, allowing it to stretch like a rubber band as the floor moves. Without the backer rod, the silicone sticks to the subfloor and tears as soon as the house shifts. This is the difference between a hack job and a professional installation.
“Moisture is the primary cause of flooring failure; control the environment or the floor will control you.” – Master Flooring Axiom
Detection methods for hidden subfloor moisture
A professional installer never guesses about moisture; they use calibrated instruments to identify the exact percentage of water in the substrate. If your floor is already swelling, you need to know if the leak is active or if it was a one-time spill. I use two types of meters. A pin-less meter uses electromagnetic signals to check for moisture up to an inch deep without damaging the floor. A pin-type meter actually probes into the wood to give a specific Moisture Content or MC percentage. For hardwood, we want to see between six and nine percent. Anything over twelve percent is a red flag. If you are on a concrete slab, we use calcium chloride tests or in-situ RH probes. These probes measure the Relative Humidity inside the concrete itself. If the concrete is at eighty-five percent RH, that moisture will eventually migrate upward and destroy your flooring. You might think the floor is swelling because of the sink, but it could be the slab breathing moisture from the ground. This is why a vapor barrier is not optional. It is a vital component of the structural assembly. I spent three days grinding concrete on a job last month just so the floor would not click like a castanet and to ensure the moisture barrier would bond properly.
Silicone versus acrylic caulk in high moisture zones
The chemistry of your sealant determines whether your floor will survive the next five years or fail within six months. Most homeowners grab a tube of cheap painter’s caulk. This is a mistake. Acrylic latex caulk shrinks as it dries. It becomes brittle. When the floor moves, the caulk cracks and leaves a path for water. You need 100% silicone. Silicone is inorganic. It does not provide a food source for mold. It remains flexible in temperatures from forty below zero to four hundred degrees. More importantly, it has a high movement capability. Look for a product rated for Class 25 movement. This means the joint can expand or contract twenty-five percent of its width without failing. When you apply it, you need to tool the joint with a soapy finger or a specialized tool to ensure it is pressed firmly into the grain of the flooring. This creates a mechanical bond that water cannot bypass. If you are working with natural stone or certain types of light-colored marble, make sure you use a non-staining silicone. Standard silicone can leach oils into the stone and create a permanent dark shadow around your sink.
How to seal your kitchen floor edges properly
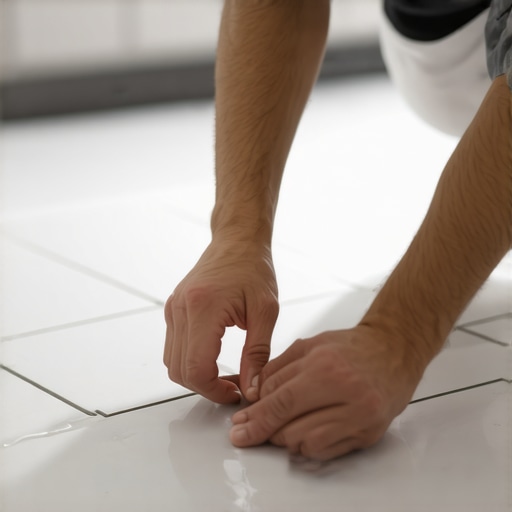
- Remove the baseboards and the cabinet toe-kicks carefully to expose the expansion gap.
- Clean out all sawdust and debris from the gap using a vacuum with a HEPA filter.
- Check the moisture levels of the subfloor with a meter to ensure everything is dry before sealing.
- Insert a closed-cell foam backer rod into the gap to provide support for the sealant.
- Apply a continuous bead of 100% silicone sealant along the entire perimeter of the kitchen cabinets.
- Tool the silicone bead to ensure a smooth and concave surface that sheds water away from the gap.
- Reinstall the baseboards or toe-kicks, making sure they sit slightly above the floor to avoid pinching.
- Apply a small bead of clear silicone where the baseboard meets the floor for a double layer of protection.
Repairing the damage without a full tear out
If the swelling is minor, you can sometimes save the floor by using a combination of heat, weight, and strategic injections. Once the wood fibers have stretched, they usually stay that way. However, I have had success by placing a heavy weight on the high spot for several weeks after drying the area out with a dehumidifier. For laminate, if the edges are peaking, you can sometimes use a specialized floor repair kit that includes a wax stick and a heating element to seal the exposed core. If the board is severely damaged, you will have to replace it. This is where the click-lock system is a blessing and a curse. You have to take apart the floor from the nearest wall to reach the damaged plank. It is tedious work. It requires patience and a gentle touch with a pull bar. If you have a glue-down floor, you can cut out the single board and glue in a new one, but matching the height is a challenge. You will likely need to sand down the subfloor or use a leveling compound to make the new board sit flush. This is why I always tell clients to buy two extra boxes of flooring. You will never find that same dye lot five years from now when you need it.
The importance of underlayment in moisture management
The underlayment is the silent partner in your flooring system and it plays a massive role in how moisture affects the surface. Many people buy the thickest underlayment they can find, thinking it will be more comfortable. This is a mistake. Too much cushion actually causes the locking mechanisms on LVP or laminate to snap under pressure because the floor deflects too much when you walk on it. You want a high-density underlayment with a built-in vapor barrier. Look for a Perm Rating of less than one. This means the material is nearly impermeable to water vapor. In a kitchen, you want an underlayment that features antimicrobial properties to prevent the growth of mold if water does get underneath. Some modern underlayments have grooves that allow for airflow, which can help small amounts of moisture evaporate before they cause damage. However, no underlayment can save a floor from a major sink leak. It is only a secondary line of defense. Your primary defense is the surface seal and your own habits of maintenance. If you see water, dry it. It is that simple.