The ‘Bubble’ Test for Finding Air Leaks in Your Shower Liner
I spent three days grinding concrete on a job last month just so the floor wouldn’t click like a castanet. Most guys skip the leveling compound. They think the underlayment will hide the dip. It won’t. I have seen the same laziness in shower builds. A floor is a structural performance surface. If you treat a shower liner like a casual plastic sheet, you are inviting rot into your floor joists. The bubble test is the only way to ensure your shower pan will not destroy the laminate or carpet in the adjacent room. You have to understand the physics of air and water before you even think about the tile.
The secret physics of the bubble test
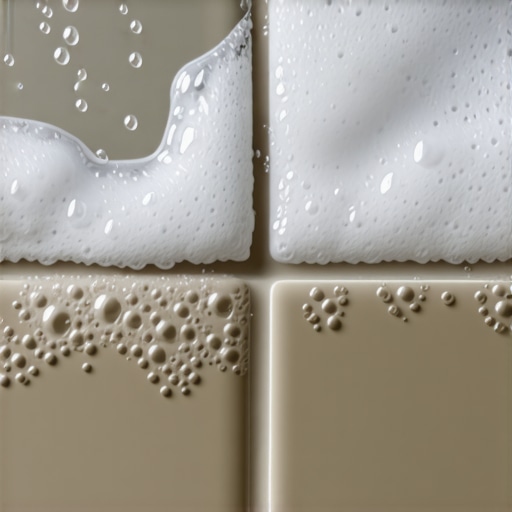
The bubble test works by identifying localized air pressure escapes through microscopic breaches in the shower liner material or its bonded seams. By sealing the drain and applying a pressurized environment, or by simply observing the displacement of air trapped beneath the liner when a soapy solution is applied, you can visualize leaks that are invisible to the naked eye. This method is the primary diagnostic for ensuring structural integrity before the final mortar bed is placed. If the soap film expands into a sphere, you have a hole. It is that simple. You are looking for pinholes that occur during the rough-in or from a dropped tool. Even a tiny puncture will allow capillary action to pull water into your subfloor for years.
“A floor is only as good as the subfloor beneath it; deflection is the enemy of every joint.” – Master Flooring Axiom
Why your subfloor is lying to you
Subfloors often appear flat to the untrained eye while hiding significant structural dips that compromise shower pan installations and laminate flooring longevity. A subfloor that is out of level by more than 1/8 inch over a 10 foot span will cause a shower liner to stretch unevenly. This creates tension at the corners. When the liner is stressed, it becomes susceptible to tearing. I have walked onto jobs where the installer didn’t check for levelness and the shower pan ended up with a birdbath. This is a puddle that never drains. It sits on the liner and eventually finds a way through. If you are installing laminate next to that shower, the moisture will migrate through the wall plate. Your laminate will swell. The edges will peel. You will be tearing out the whole floor in two years because you didn’t spend the time with a straightedge.
The 1/8 inch that ruins everything
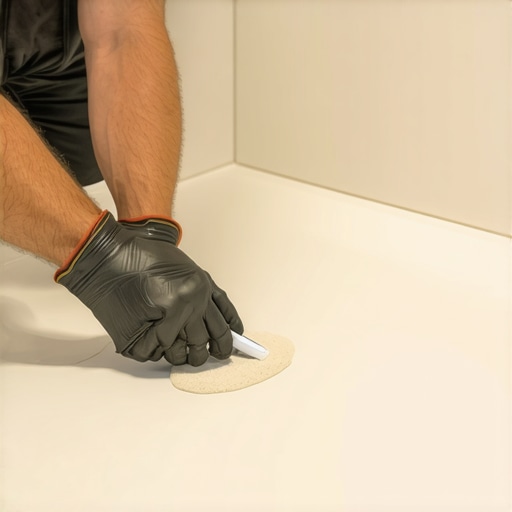
Precision in floor leveling is the difference between a lifetime installation and a structural failure that requires a complete demolition. You need to use a 10 foot straightedge. Mark every low spot with a pencil. Use a high quality self-leveling underlayment. Do not buy the cheap stuff from the big box store. It has too much sand and not enough polymer. A professional grade leveler has a high compressive strength, often exceeding 5000 PSI. This is vital for shower bases because the weight of the water and the person standing in the shower is concentrated on a small area. If the subfloor has a void, the liner will flex. Flexing leads to fatigue. Fatigue leads to a leak. When I grind concrete, I am looking for a surface that is as flat as a pool table. Only then is it ready for a liner.
The chemistry of the PVC bond
The chemical weld of a shower liner involves a molecular fusion process where the solvent dissolves the surface of the PVC to create a single unified layer. This is not like gluing two pieces of wood. It is a chemical reaction. If you do not apply the cement correctly, you get a cold joint. A cold joint looks sealed but it will fail under the weight of a water test. The bubble test identifies these cold joints. You apply the soapy solution over the overlap. If you see tiny bubbles forming like a carbonated drink, the weld is incomplete. You have to clean the area with a specialized primer before re-applying the solvent. Most people rush this. They think the weight of the mud bed will hold it together. It won’t. Water is the universal solvent. It will find the weakness.
| Liner Material | Thickness in Mils | Weld Method | Flexibility Rating |
|---|---|---|---|
| Standard PVC | 40 mil | Solvent Weld | Moderate |
| CPE Membrane | 40 mil | Solvent Weld | High |
| Liquid Applied | 30 mil dry | Curing | Extreme |
Laminate and moisture the death of click lock
Laminate flooring is essentially a high density fiberboard that acts like a sponge when exposed to leaks from an adjacent shower. Even if your laminate is marketed as waterproof, the locking mechanisms are the weak point. If a shower liner fails the bubble test and you ignore it, the water will travel under the wall. It hits the edge of the laminate. The core will expand. This is called peaking. Once the core expands, the floor is ruined. You cannot fix it. You have to replace it. This is why I am so obsessed with the shower pan. The flooring in the rest of the house depends on the shower being a sealed box. The bubble test is the insurance policy for the rest of your home.
The checklist for a successful liner test
- Sweep the subfloor three times to ensure no nails or wood chips are present.
- Verify that the pre-slope is a minimum of 1/4 inch per foot toward the drain.
- Apply the solvent cement to both surfaces of the liner overlap.
- Wait the manufacturer recommended time for the bond to cure.
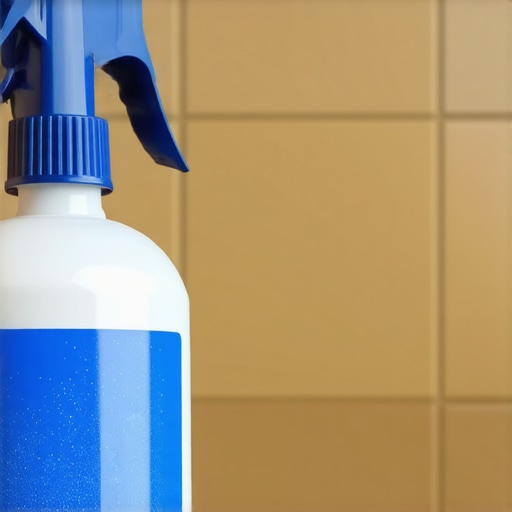
- Mix a solution of high suds dish soap and water.
- Brush the solution over every seam and corner.
- Check for any bubbles expanding from the surface.
- Address any leaks before performing the 24 hour water test.
Carpet install mistakes near wet zones
Installing carpet up to a shower threshold without a proper moisture barrier is a recipe for mold growth and subfloor rot. Carpet is a filter. It catches dust and it catches moisture. If the shower liner has a pinhole leak that you missed because you skipped the bubble test, the carpet tack strip will be the first thing to rot. The wood in the tack strip will turn black. The nails will rust. Then the mold starts. You will smell it before you see it. It is a musty, earthy smell that never goes away. I always tell people to use a transition strip that acts as a dam. But even the best transition won’t save you from a subfloor that is saturated with water from a leaky liner.
“The slope of the subfloor must be at least 1/4 inch per foot toward the drain to ensure proper evacuation of moisture.” – TCNA Handbook
The tragedy of the unlevel shower floor
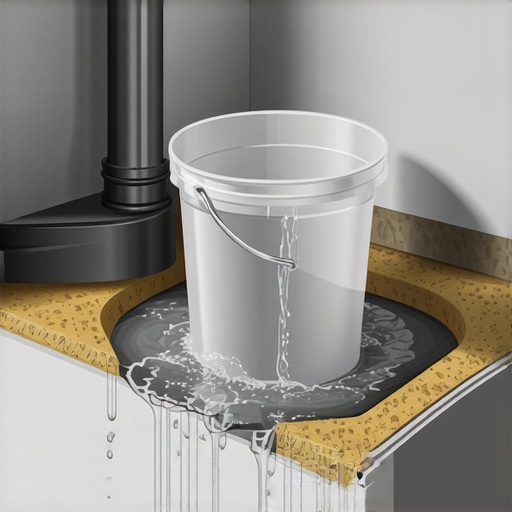
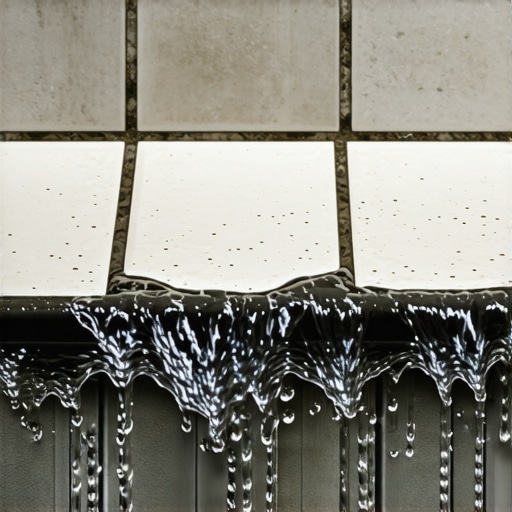
An unlevel shower floor prevents the secondary drainage system from functioning which leads to standing water and liner degradation. Most people think the tile is the waterproof layer. It is not. Grout is porous. Water goes through the grout and hits the liner. The liner then directs that water to the weep holes in the drain. If your subfloor was not leveled properly, the water never reaches the weep holes. It sits on the liner. Over time, the minerals in the water will break down the PVC. This is why the bubble test is vital during the initial phase. It confirms that the liner is a continuous, unbroken surface. If you have a dip in the floor, you are creating a swamp under your tile. This will eventually lead to the failure of the adhesive bond for your tiles, and they will begin to pop off. Your expensive tile job will look like a disaster within three years. Do the work. Level the floor. Test the liner. Protect your home.