The Spiked Roller Secret for Glass-Smooth Subfloors
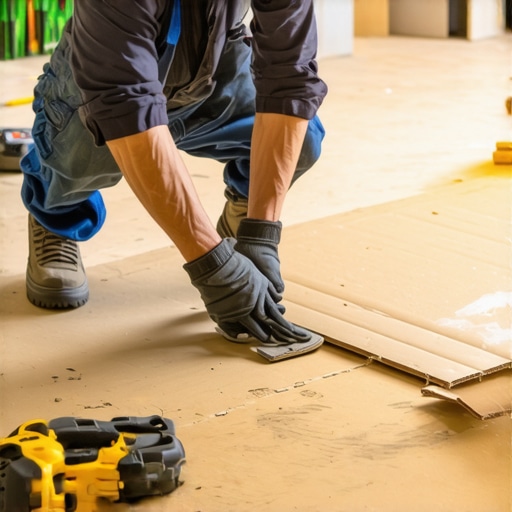
I’ve got the grit of oak dust in my lungs and the smell of WD-40 on my hands. I don’t care about your pretty gray planks if the slab underneath is a disaster. I once spent three days on my knees grinding down a high spot in a coastal condo because the developer thought a thin underlayment would hide a three-quarter inch hump. It didn’t. Most guys skip the leveling compound. They think the underlayment will hide the dip. It won’t. I spent three days grinding concrete on a job last month just so the floor wouldn’t click like a castanet. That job was in a high-rise where the wind off the lake kept the slab cold. The concrete was sweating. You can’t just pour over a sweating slab. You have to understand the vapor drive before you ever touch a bag of cement.
The microscopic war against air bubbles
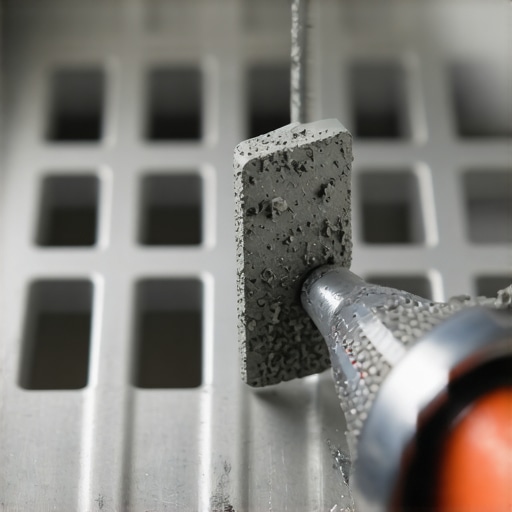
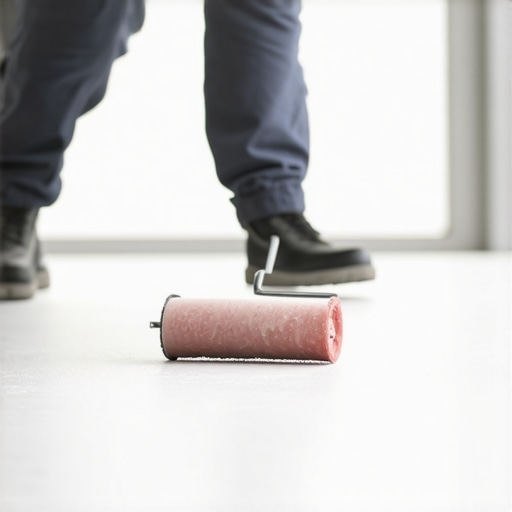
A spiked roller eliminates air bubbles in self-leveling underlayment by breaking surface tension. This process, known as outgassing mitigation, ensures that the cementitious compound achieves its full compressive strength and creates an uninterrupted surface for laminate or carpet install projects. When you mix a high-flow compound at six hundred revolutions per minute, you introduce millions of microscopic oxygen pockets. If those pockets stay, they become voids. Voids become weak points. A weak point under a laminate plank is a recipe for a broken tongue and groove. The spiked roller is not a paintbrush. It is a surface tension agitator. As the plastic or metal spikes move through the wet slurry, they create a pathway for air to escape before the material begins to skin over. This is fundamental for anyone working in high-humidity environments like Florida or the Gulf Coast, where the air pressure can trap moisture in the slab and force it upward during the curing process.
“A floor is only as good as the subfloor beneath it; deflection is the enemy of every joint.” – Master Flooring Axiom
The physics of the perfect pour
Floor leveling requires a precise water to powder ratio to ensure the viscosity allows for natural gravity-fed migration. If the mixture is too thick, the polymers will not cross-link effectively, leading to a brittle substrate that will crack under the dynamic load of heavy furniture or foot traffic. You have to look at the chemistry of calcium aluminate. Unlike standard Portland cement, these compounds are engineered for rapid hydration. This means you have a window of about twenty minutes to get the material on the floor, spread it, and roll it. If you miss that window, you are left with a lumpy mess that looks like the surface of the moon. I’ve seen guys try to add more water to a bucket that was already setting up. That is a death sentence for the floor. Excess water dilutes the binder, meaning the top layer will be nothing but soft dust once it dries. You can’t glue a shower pan or a laminate underlayment to dust.
Why your subfloor is lying to you
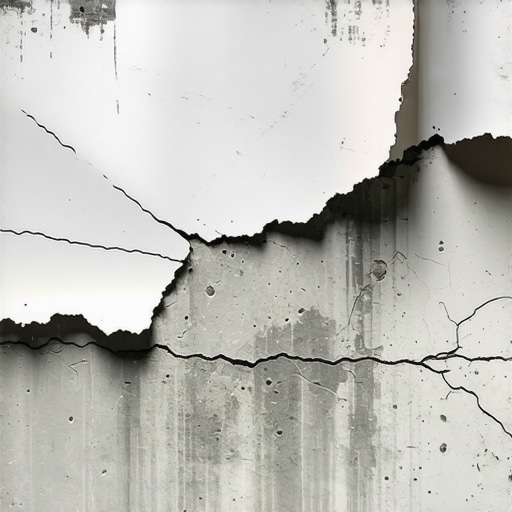
Subfloor flatness is measured using a ten-foot straightedge where the deviation must not exceed one-eighth of an inch. Most concrete slabs appear flat to the naked eye but contain birdbaths and ridges that cause laminate flooring to bounce and carpet install seams to prematurely wear. You need to understand that level and flat are two different things. A floor can be slanted like a sliding board but still be perfectly flat. Conversely, a floor can be perfectly level relative to the earth’s core but have a thousand little hills and valleys. For a shower installation, you need a specific slope, but that slope must be a flat plane. Any dip in that plane becomes a collection point for stagnant water, leading to mold growth and thin-set failure. I’ve seen $20,000 tile jobs ripped out because the installer didn’t spend two hours with a spiked roller and a bag of leveler.
The 1/8 inch that ruins everything
Expansion gaps are the most vital component of a floating floor system because they allow for thermal expansion and hygroscopic movement. Without a quarter-inch perimeter gap, the laminate planks will peak at the joints or buckle in the center of the room during the humid summer months. The spiked roller plays a part here too. By ensuring the floor is glass-smooth all the way to the drywall, you ensure that the planks can slide freely as they grow and shrink. If there is a bump near the wall, the plank gets hung up. It’s like a car hitting a curb. The energy has to go somewhere, so the floor lifts up. This is especially true in regions like the Pacific Northwest, where the seasonal shift in indoor humidity can be as much as forty percent. Your house is a living thing. It breathes. If you lock your floor down with a bad subfloor or no expansion gap, you are asking for a heartbreak.
| Method | Accuracy | Drying Time | Best Use Case |
|---|---|---|---|
| Grinding | 0.5mm | Immediate | High spots in concrete |
| Self-Leveling | 0.1mm | 24 Hours | Large dips and whole rooms |
| Feather Edge | 2.0mm | 2 Hours | Minor transitions |
The ghost in the expansion gap
Acoustic underlayments provide sound dampening but cannot compensate for an uneven subfloor that lacks structural integrity. Many homeowners think that buying a thicker foam will hide the clicks and pops of a sub-standard slab, but the opposite is often true because excessive compression ruins the locking mechanisms. If you have a dip in the floor, the underlayment just follows the dip. When you step on the floor, the plank bends into that dip. That bend puts thousands of pounds of pressure on a piece of plastic the size of a toothpick. Eventually, that toothpick snaps. Then you have a floor that moves every time you walk to the kitchen. Use the spiked roller to get that slab flat first. Then use a thin, high-density underlayment. That is how you get a floor that feels like solid stone under your feet.
- Measure the RH of the slab with a moisture meter.
- Vacuum every speck of dust to ensure the primer sticks.
- Apply the acrylic primer with a soft-bristle brush.
- Mix the leveling compound with a high-torque drill.
- Pour in continuous strips to maintain a wet edge.
- Roll with the spiked roller in a cross-hatch pattern.
The chemical bond that saves the job
Mechanical bonding occurs when the primer penetrates the pores of the concrete to create a tenacious link for the leveling compound. Skipping the primer stage is the most common reason for delamination, where the new floor literally peels away from the old one like an orange rind. You have to think about the surface energy. Concrete is often contaminated with oils, old adhesive, or curing compounds. If you don’t clean it and prime it, the leveler is just sitting on top. It’s not part of the house. I’ve walked onto jobs where I could lift up entire sheets of hardened leveler with a putty knife because the guy before me was too lazy to sweep. Don’t be that guy. Use a spiked roller to integrate the layers and ensure the air is gone, but make sure that primer is tacky before you pour.
“Failure to acclimate flooring is the primary cause of post-installation gapping and buckling.” – NWFA Technical Guidelines
The structural zooming of shower pans
Shower pre-slopes must be glass-smooth to prevent water pooling beneath the waterproofing membrane. While floor leveling in a bedroom focuses on a flat plane, in a shower install, the spiked roller is used on the leveling slurry before the mortar bed is packed to ensure a non-porous foundation. Water is a patient thief. It will find every pin-hole left by an air bubble. If your sub-floor under the shower is pockmarked, water will sit in those tiny craters. It will go stagnant. It will smell. Eventually, it will eat through the thin-set. By using a spiked roller on your initial floor leveling pass in the bathroom, you create a pristine surface for your waterproofing system to bond to. This is the difference between a bathroom that lasts five years and one that lasts fifty.