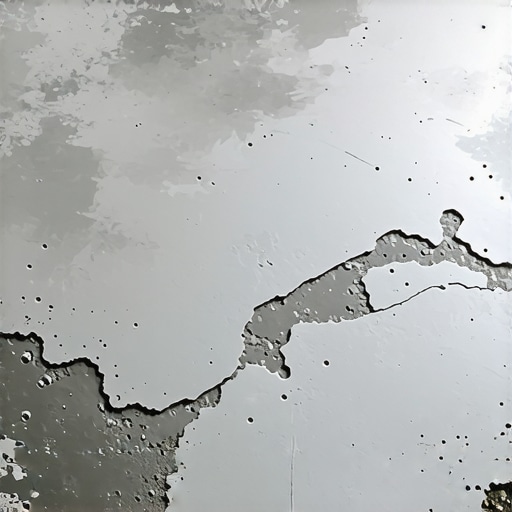
Why Your Floor Leveler Is Bubbling Like a Science Project
Most guys skip the leveling compound. They think the underlayment will hide the dip. It won’t. I spent three days grinding concrete on a job last month just so the floor wouldn’t click like a castanet. I walked onto a site yesterday where the leveler looked like Swiss cheese. The homeowner was panicked. The pro they hired just dumped the bags and left. They didn’t understand the physics of the pour. Concrete is not a solid block. It is a breathing, porous structure filled with microscopic voids. When you pour a heavy, liquid self-leveling underlayment over a dry, unsealed slab, you are initiating a displacement event. The liquid goes down into the pores. The air comes up. This is outgassing. It is the number one reason your floor looks like a science project.
The trap of the unprimed slab
Outgassing occurs when air trapped in the pores of concrete is displaced by the liquid self-leveling underlayment, resulting in surface bubbles and craters. This happens because the concrete substrate was not properly sealed with a high-solids primer before the pour began. You cannot just splash water on the floor and call it prepped. The primer acts as a barrier. It plugs the holes. If you skip this, the air in the slab has nowhere to go but up through your expensive leveler. It will ruin the surface. It will create weak spots. I have seen laminate floors fail in six months because the leveler underneath was basically a brittle sponge of air pockets. You need to treat the concrete like it is thirsty. If it is dry, it will suck the moisture out of your mix too fast, causing it to crack before it even sets.
The chemistry of air entrainment and high speed drills
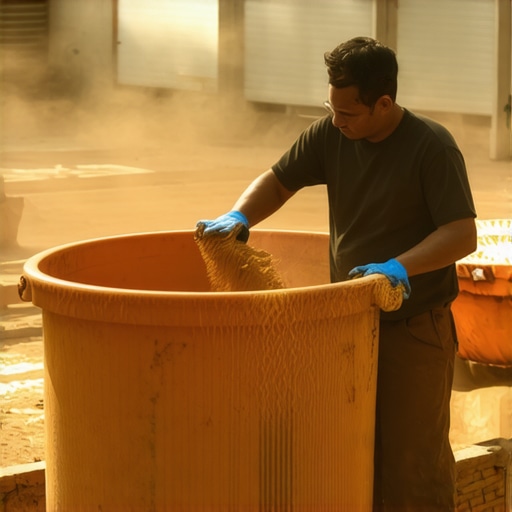
Air entrainment in flooring refers to the unwanted introduction of oxygen into the wet cementitious mix, typically caused by high-RPM mixing paddles or aggressive agitation. When you use a standard 1/2 inch drill at full speed, you are basically whisking a giant grey meringue. You are folding air into the slurry. Those bubbles do not always have the strength to break the surface tension of the mix, so they stay suspended. Once you pour, they rise. If the mix is starting to set, those bubbles get frozen in time. You end up with a floor that has the structural integrity of aero-chocolate. Use a low-speed, high-torque mixer. Keep the paddle submerged. Do not lift it in and out like you are making a milkshake. It is about chemistry, not just moving mud around. Every bubble is a potential failure point for your carpet install or your luxury vinyl plank.
“A floor is only as good as the subfloor beneath it; deflection is the enemy of every joint.” – Master Flooring Axiom
Moisture vapor transmission and the concrete sponge
Moisture vapor transmission rates measure the volume of water vapor passing through a concrete slab over a specific time period, usually expressed in pounds per 1,000 square feet. If your slab is shedding too much vapor, it will push against the leveler from underneath. This is common in showers and basement renovations. The vapor pressure builds up. It creates blisters. You might think the leveler is bubbling from the top, but sometimes the attack is coming from the bottom. This is why a moisture test is not optional. It is a requirement. I use a calcium chloride test or an in-situ probe. If the numbers are high, you need a moisture vapor barrier, not just a standard primer. People want to save fifty bucks on a bucket of specialized epoxy primer, and then they wonder why their fifteen hundred dollar leveler job is peeling up in sheets.
The geometry of the spiked roller
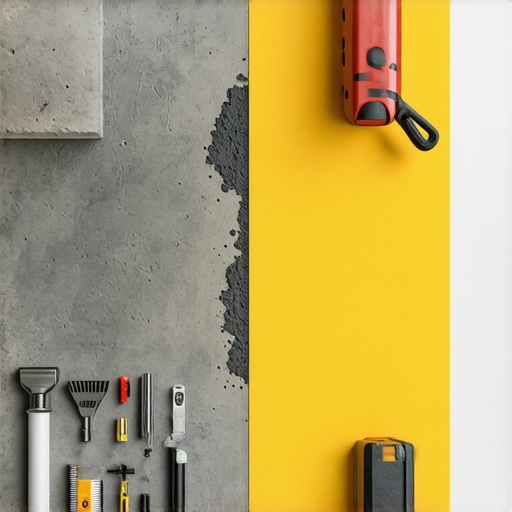
Spiked rollers are specialized flooring tools designed to release trapped air and promote leveling by breaking the surface tension of the wet compound. Think of it as a massage for your floor. As you roll it through the wet mix, the tiny plastic spikes pop the outgassing bubbles before they can harden into craters. But timing is everything. If you roll too late, you leave tracks. If you roll too early and don’t address the primer issue, the bubbles will just come back. It is a dance. You have to watch the surface. You have to look for the tiny pinpricks. If you see them, you are losing the battle against the slab’s porosity. I have spent hours with a spiked roller in hand, wearing spiked shoes so I don’t leave footprints, just to ensure a glass finish. It is the difference between a floor that lasts forty years and one that crumbles under a heavy chair leg.
Technical metrics for subfloor preparation
| Substrate Type | Porosity Level | Required Primer Coats | Max Moisture Limit |
|---|---|---|---|
| New Concrete | Low to Medium | 1 Coat Acrylic | 3 lbs / 1000 sqft |
| Old Absorbent Concrete | High | 2 Coats Acrylic | 3 lbs / 1000 sqft |
| Gypsum Underlayment | Very High | Specialized Primer | Not Recommended for Wet |
| Plywood Subfloor | Variable | Latex-Based Primer | 12% Wood Moisture |
Why your laminate click system will fail
Laminate floor failure often stems from subfloor irregularities exceeding 1/8 inch over 10 feet, which causes the locking mechanisms to flex and eventually snap. When your leveler is full of bubbles, it is not flat. It is not smooth. Those tiny craters create micro-voids. When you walk across the floor, the plank bends into that void. The tongue and groove are made of HDF (High Density Fiberboard). They are not steel. They will fatigue. They will break. Then you get gaps. Then you get squeaks. I have had people call me to fix a squeaky floor, thinking it was the wood. It wasn’t. It was the moonscape of a leveler job underneath. You cannot fix a bad pour with more padding. In fact, too much underlayment cushion makes the problem worse. It increases the vertical movement. You need a rock-solid, flat base.
The professional prep checklist
- Clean the slab of all oils, waxes, and drywall mud.
- Perform a water drop test to check for sealers.
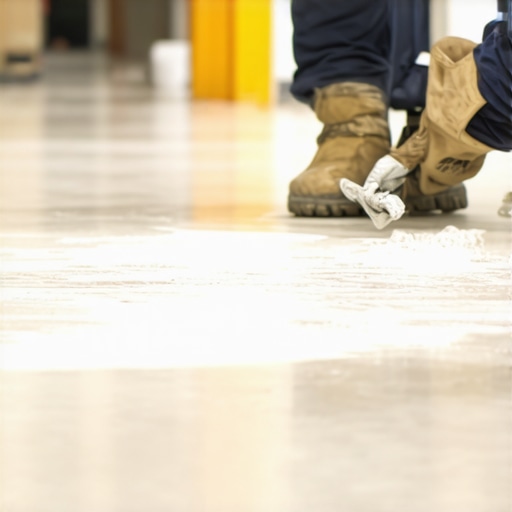
- Apply high-solids primer using a soft-bristle broom to work it into the pores.
- Wait for the primer to become tacky or clear, depending on the brand.
- Mix the leveler with cool water to extend the working time.
- Use a gauge rake to set the depth of the pour.
- Finish with a spiked roller to release entrained air.
“Substrate preparation is the most critical phase of the installation process; failure here guarantees failure of the finished floor.” – TCNA Handbook Guidelines
Regional humidity and the drying curve
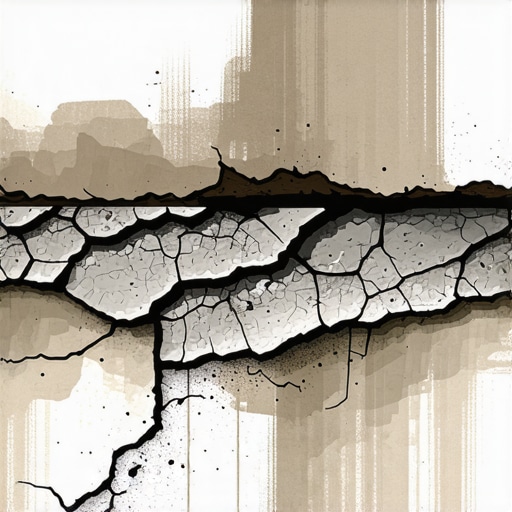
Evaporation rates for self-leveling compounds are heavily influenced by ambient relative humidity and airflow within the installation environment. If you are in the swampy humidity of Houston, your leveler will stay wet forever. If you are in the dry heat of Phoenix, the top will skin over while the bottom is still soup. This leads to surface cracking. It is called checking. It looks like a dried-up lake bed. You have to control the environment. Turn off the HVAC so you don’t have a gale-force wind blowing across the wet cement. Close the windows. Let it hydrate slowly. Chemistry takes time. You cannot rush the crystalline structure of the cement. If you do, you are just inviting a callback. And callbacks are where profits go to die. I would rather spend an extra day on prep than a week on a tear-out. It is about doing it right once.