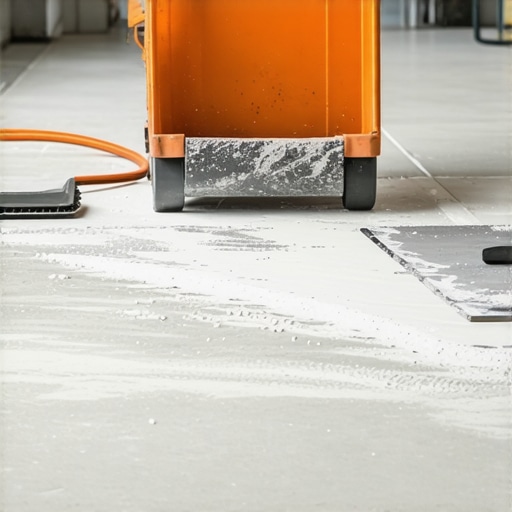
Why Your Floor Leveler has White Powder on the Surface
You see a chalky, white film creeping across your freshly poured subfloor and you think it is just dust. It is not. Most guys skip the leveling compound. They think the underlayment will hide the dip. It won’t. I spent three days grinding concrete on a job last month just so the floor wouldn’t click like a castanet. That job failed because the previous installer ignored the chemistry of the mix. When you see that white powder, you are looking at a structural failure in progress, either through efflorescence or the formation of laitance. This is not a cosmetic issue. It is a sign that your finished floor, whether it is a high-end laminate or a custom tile job in showers, is about to lose its bond to the earth. I have spent twenty-five years staring at subfloors and I can tell you that ignoring the microscopic reality of your concrete slab is the fastest way to a five-figure teardown.
The chemical reality of surface chalking
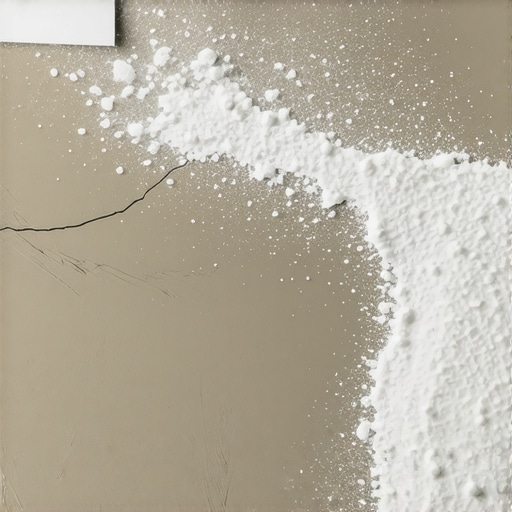
White powder on floor leveler is typically caused by efflorescence or laitance due to improper water-to-powder ratios or high moisture vapor emission rates from the slab. These deposits consist of calcium carbonate or soluble salts that migrate to the surface during the hydration process. If the surface is soft and rubs off easily, you have a weak bond layer that will delaminate under the pressure of foot traffic. This is a physics problem. A floor is a performance surface. If the foundation is turning to dust, the performance ends in a crack. This happens often in a carpet install where the installer thinks the padding will mask the crumbling leveler. It will not. The dust will eventually work its way through the fibers as a fine abrasive.
“A floor is only as good as the subfloor beneath it; deflection is the enemy of every joint.” – Master Flooring Axiom
The physics of hydration and the water ratio error
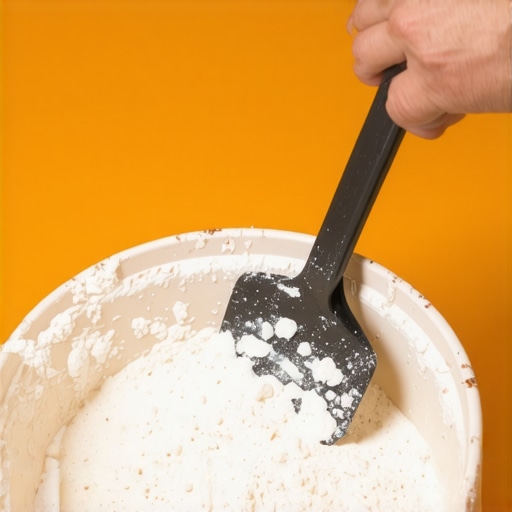
Excessive water in self-leveling underlayment causes the heavy aggregates to sink while the fine cement particles and water rise to the top. This creates a brittle, dusty layer known as laitance. When you are mixing a bag of leveler, you are managing a precise chemical reaction. If you add an extra quart of water to make it flow easier, you destroy the crystalline structure of the cement. The water has to go somewhere. As it evaporates, it carries the lightest particles to the surface. You end up with a floor that looks flat but has the structural integrity of a sugar cube. This is particularly dangerous for laminate flooring. The locking mechanisms on modern planks require a rigid base. If the leveler underneath is chalking, the planks will shift, the joints will squeak, and eventually, the plastic tongues will snap.
Why your moisture meter is lying to you
Surface moisture readings often fail to detect the deep-seated hydrostatic pressure that pushes salts to the surface of a leveler. You might get a dry reading on the top, but the concrete slab underneath is still exhaling vapor. In regions with high water tables, like the coastal areas of Florida or the humid corridors of Houston, this vapor is a constant force. It dissolves minerals within the concrete and carries them upward. When the water hits the air, it evaporates and leaves the minerals behind as white powder. This is efflorescence. If you are preparing for a carpet install in a basement, you must use a calcium chloride test or an in-situ probe. A simple pin meter is a toy when you are dealing with a four-inch thick slab.
The structural impact on laminate and carpet
Chalky residue acts as a bond breaker that prevents adhesives from sticking and creates a friction layer that grinds down the underside of floor coverings. For a carpet install, this dust eventually turns into a fine grit that eats the primary backing. For laminate, the dust gets into the expansion gaps. I have seen showers where the leveling mud was used on the subfloor outside the pan, and the white powder caused the transition tile to pop off within a week. The leveler must be a solid, monolithic mass. If you can scratch it with a car key and leave a deep groove, it is not a subfloor. It is a liability. You cannot fix this by just vacuuming. You have to get down to the sound material.
| Leveler Type | Water Sensitivity | Drying Time | Common Failure Point |
|---|---|---|---|
| Portland Cement Based | Moderate | 24 Hours | Over-watering / Laitance |
| Gypsum Based | High | 48 Hours | Moisture Re-emulsion |
| Rapid Setting | Low | 4 Hours | Surface Skinning |
The 1/8 inch that ruins everything
Industry standards require subfloors to be level within 1/8 inch over a 10-foot radius to prevent mechanical failure of the flooring. Most people think a little dip is fine. It is not. While most people want the thickest underlayment, too much cushion actually causes the locking mechanisms on LVP or laminate to snap under pressure. You want a flat, hard surface. If your leveler has produced a white powder, that 1/8 inch accuracy is a fantasy. The powder occupies volume. As it breaks down, the floor sinks into the void. This creates deflection. Deflection is the silent killer of floors. It pulls at the seams of your laminate and stresses the waterproof membranes in your showers. You must achieve a flat plane that is chemically stable.
“Efflorescence occurs when soluble salts are transported to the surface by water and deposited upon evaporation.” – TCNA Technical Manual
The ghost in the expansion gap
A failed leveler will often expand and contract at a different rate than the underlying slab, leading to hollow spots and crunching sounds. If you walk across a floor and it sounds like you are stepping on potato chips, the leveler has detached. The white powder you see at the edges of the room is the evidence of this divorce. In a proper carpet install, you might not hear it immediately, but the stretch of the carpet will eventually pull the tack strips out of the crumbly leveler. You need to mechanicaly profile the floor. This means grinding. You have to remove the weak surface until you hit the aggregate. Only then can you prime it and start over. Floor leveling is not about pouring liquid. It is about preparing a substrate.
- Check the slab for a moisture vapor emission rate below 3 lbs per 1000 sq ft.
- Always use the manufacturer’s recommended primer to seal the concrete pores.
- Measure water with a graduated cylinder, not a bucket and a guess.
- Use a spiked roller to release trapped air and prevent pinholes.
- Maintain a consistent temperature to avoid flash drying and surface skinning.
Correction strategies for a dusty subfloor
Remediating a chalky leveler requires mechanical removal of the laitance followed by a high-solids primer to consolidate the surface. Do not try to pour more leveler over the white powder. It will not stick. You are just adding another layer to the sandwich of failure. Use a floor maintainer with a 30-grit diamond attachment. Grind the surface until the white dust is gone and you see the solid, darker cement underneath. Vacuum the area with a HEPA filter. Apply a dedicated subfloor primer. This primer penetrates the remaining dust and glues the molecules together. Only after this preparation should you proceed with your carpet install or laying down laminate. It is a lot of work. It is expensive. But it is the only way to ensure the floor doesn’t fail when the homeowner moves their heavy furniture back into the room. A floor is a structural engineering challenge. Treat it like one. “