The ‘Tape and Drag’ Method for Checking Floor Flatness
The physics of the straightedge
The Tape and Drag method relies on a ten foot straightedge to identify subfloor deviations that exceed one eighth of an inch over a ten foot radius. This technique uses a tactile feedback loop where the installer moves a rigid metal level across the substrate to feel for friction or air gaps. It is the primary diagnostic tool for preventing the mechanical failure of click-lock laminate systems or the cracking of large format porcelain tiles. A flat floor is a structural requirement, not a cosmetic preference.
Most guys skip the leveling compound. They think the underlayment will hide the dip. It won’t. I spent three days grinding concrete on a job last month just so the floor wouldn’t click like a castanet. That job was a lesson in humility. The homeowner had bought a high end engineered white oak, but the slab looked like the rolling hills of Kentucky. If I had just thrown the planks down, the tongues would have snapped within six months. Instead, I lived in a respirator and a cloud of silica dust until that slab was within the NWFA tolerance. That is the difference between a floor that lasts forty years and a floor that becomes a lawsuit in forty days. You smell the WD-40 on my tools and the oak dust in my hair, and you know I do not take shortcuts. A floor is a performance surface. If the substrate is garbage, the finish will be garbage.
Why your subfloor is lying to you
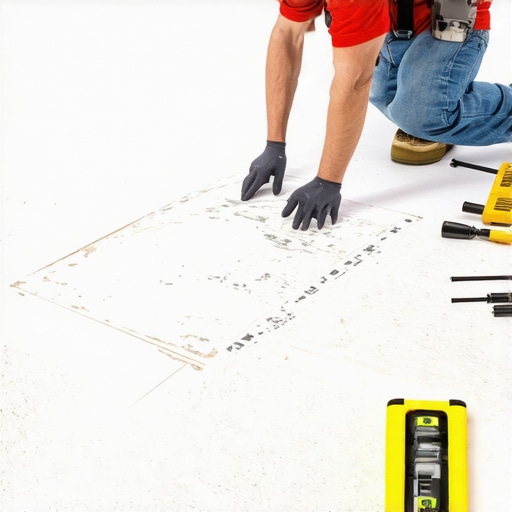
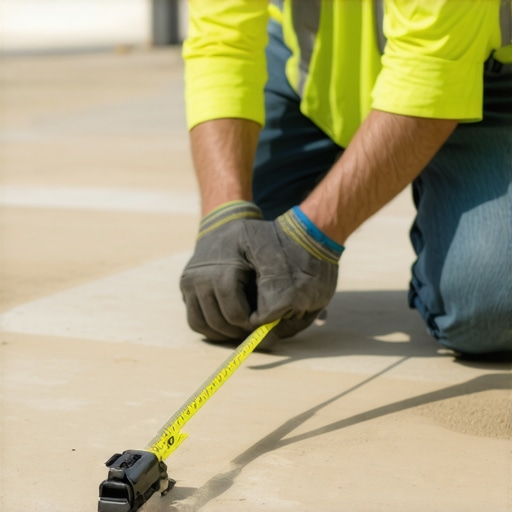
A subfloor might look level to the naked eye, but human optics are poorly calibrated for detecting a three sixteenths inch dip over ten feet. This is why the Tape and Drag method is mandatory for any serious flooring architect. You take a ten foot straightedge, preferably a box beam level, and you drag it across the room in a star pattern. When the level hits a high spot, it will pivot or rock. When it passes over a low spot, you will see light beneath the edge. You mark these areas with a carpenter’s pencil. Low spots get filled with a high compression strength self leveling underlayment, and high spots get ground down with a diamond cup wheel. This is not about being a perfectionist. This is about the physics of deflection. When you step on a piece of laminate over a dip, the joint flexes. That flex creates friction. Friction creates heat and noise. Eventually, the locking mechanism shears off. You are left with a floating floor that actually floats away from the wall.
“A floor is only as good as the subfloor beneath it; deflection is the enemy of every joint.” – Master Flooring Axiom
The one eighth inch that ruins everything
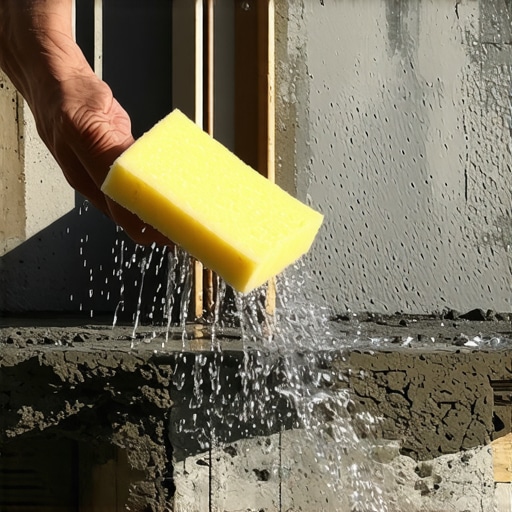
Floor leveling requires a deep understanding of the chemical bond between the primer and the concrete substrate. If you pour self leveling underlayment over a dusty, unprimed slab, it will delaminate. The mechanical bond fails because the concrete sucks the moisture out of the underlayment before the polymers can cross link. You need to use a high solids acrylic primer. This creates a bridge between the old concrete and the new leveling compound. I always look for a primer that leaves a tacky, translucent film. This ensures the wet pour of the leveling agent can flow out to its true physical level without being held back by surface tension or premature dehydration. We are talking about the molecular level of adhesion here. It is the difference between a monolithic slab and a layered mess that will eventually crunch under your feet.
| Material | Flatness Requirement | Max Variation |
|---|---|---|
| Solid Hardwood | 3/16 inch over 10 feet | 0.1875 inch |
| Laminate and LVP | 1/8 inch over 10 feet | 0.125 inch |
| Ceramic Tile | 1/4 inch over 10 feet | 0.25 inch |
| Carpet Install | 1/2 inch over 10 feet | 0.5 inch |
The ghost in the expansion gap
Every floor breathes. Whether it is a laminate install or a solid wood plank, the material reacts to the relative humidity in the air. In the swampy humidity of Houston, wood expands until it crushes itself against the drywall if you do not leave a proper gap. In the dry heat of Phoenix, those same boards will shrink until you can see the subfloor through the gaps. You must leave at least a quarter inch of space at every vertical obstruction. This is not a suggestion. It is a law of thermodynamics. I have seen floors buckle two feet off the ground because an installer ran the laminate tight to the baseboards. The floor had nowhere to go, so it went up. The Tape and Drag method helps here too. If the floor is not flat, the expansion and contraction are not uniform. The floor gets hung up on a high spot, and all that force concentrates on one single joint. That is how you get peaked seams.
Laminate and the clicking of failure
Laminate flooring is essentially a photograph of wood glued to a high density fiberboard core. The core is stable, but the joints are fragile. If your subfloor has a dip, the clicking noise you hear is the sound of the tongue and groove rubbing together. Over time, this creates fine wood flour that acts as an abrasive, further wearing down the joint. The Tape and Drag method identifies these failure points before the first plank is ever laid. People often try to solve this with a thicker underlayment. They think a 5mm foam pad will cushion the blow. They are wrong. Too much cushion actually makes the problem worse. It increases the amount of vertical deflection in the joint. You want a high density underlayment with a low compression set. You want something that feels like firm rubber, not a sponge. This supports the joint while providing the necessary sound dampening properties.
“Substrate preparation is the most significant factor in the longevity of a floor covering installation.” – TCNA Handbook Summary
Showers and the geometry of water
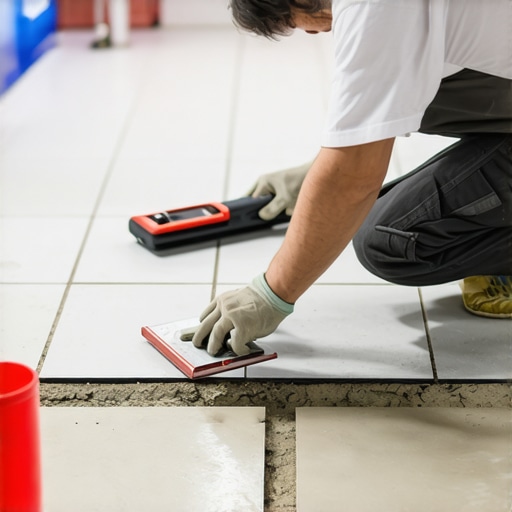
In a shower, flatness is a secondary concern to slope, but the Tape and Drag method still applies to the walls. If your shower walls are not flat, your tile will have lippage. Lippage is when the edge of one tile sits higher than its neighbor. In a shower, this creates a ledge for soap scum and mold to grow. It also looks terrible when the overhead lights hit it. I spend more time shimming studs and applying waterproofing membranes than I do actually setting tile. You use a straightedge on the studs. If a stud is bowed, you plane it down. If it is recessed, you sister a new stud next to it or use cardboard shims. The goal is a perfectly flat plane. When you apply your cement board and your liquid waterproofing, you want a surface that is as true as a mirror. This ensures that the thin set is uniform in thickness. Uniform thin set means uniform drying and no shrinkage cracks.
- Check the moisture content of the subfloor with a pinless meter.
- Use a 10 foot box beam level for the Tape and Drag test.
- Mark every high spot with a red pencil and every low spot with blue.
- Grind the red and fill the blue until the level no longer rocks.
- Vacuum the slab with a HEPA filter to remove all bond breaking dust.
- Prime the surface with a high solids acrylic latex primer.
Carpet install and the hidden sins
Carpet is the only flooring that is forgiving of a bad subfloor, but that does not mean you should ignore the Tape and Drag results. A massive dip in the subfloor will eventually show up as a wear pattern in the carpet. The fibers will crush differently in the low spot than they do on the high spot. Furthermore, if you are doing a stretch-in carpet install, the tack strips need a flat surface to bite into. If the perimeter of the room is wavy, the carpet will pull away from the wall or create puckers at the transitions. I have seen plenty of builders throw cheap carpet over a mess of plywood seams and floor joist humps. It looks fine for a week. Then the padding compresses, and the floor looks like a topographical map of the Andes. You still need to sand those plywood seams. You still need to make sure the joists are not crowned. Professionalism is doing the work that nobody will ever see.
The mechanics of a floor are about weight distribution and moisture management. When you walk across a room, you are applying hundreds of pounds of pressure per square inch through your heels. That energy has to go somewhere. If the floor is flat, the energy is transferred directly into the joists and the foundation. If there is a gap, the energy is absorbed by the flooring material itself. This leads to fatigue and failure. Whether you are dealing with a concrete slab or a wooden subfloor, the rules of physics do not change. Use the Tape and Drag method. Respect the tolerances. Do not trust the underlayment to do the work of the leveler. This is the only way to build a floor that outlasts the house around it.