Why your floor leveler is taking forever to harden
I have spent twenty five years on my knees with a moisture meter and a level. I have seen every way a floor can fail. I smell like WD-40 and oak dust most days. Most guys skip the leveling compound. They think the underlayment will hide the dip. It won’t. I spent three days grinding concrete on a job last month just so the floor wouldn’t click like a castanet. When you pour that liquid gold and it stays like pudding for forty eight hours, you have a structural crisis. This is not just a cosmetic delay. It is a sign that the chemistry of your subfloor is fighting the installation. We are going to look at the physics of why your self-leveling underlayment or SLU is refusing to set up. Whether you are prepping for a carpet install or setting up a shower base, the leveler must be rock solid. If it remains soft, your laminate or LVP will fail. The locking mechanisms will snap. The floor will bounce. This is the reality of the trade.
Temperature kills the cure rate
Floor leveler temperature requirements and ambient room heat are the primary drivers of chemical hydration. If the subfloor is below fifty degrees Fahrenheit, the chemical reaction between the water and the calcium aluminate cement slows to a crawl. Most manufacturers specify a sixty to eighty degree window for optimal performance. When the slab is cold, the polymers cannot cross-link properly. You are left with a soft, chalky mess that will eventually crack under the weight of your furniture. Most people think only of the air temperature. That is a rookie mistake. The slab itself holds the thermal mass. If you are working in a basement in the winter, that concrete is a heat sink. It pulls the energy out of the leveler. Without that heat, the exothermic reaction stalls. You need to pre-condition the space for at least forty eight hours. Use a space heater. Check the surface with an infrared thermometer. If that slab is cold, your leveler will stay wet for days.
“A floor is only as good as the subfloor beneath it; deflection is the enemy of every joint.” – Master Flooring Axiom
The ratio of water to powder
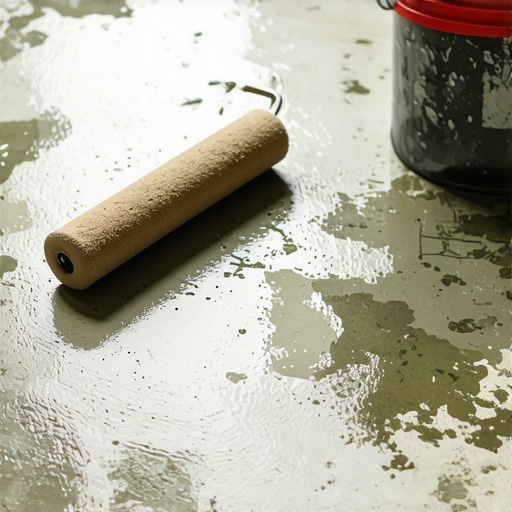
Mixing water volume and self-leveling compound ratios determine the final compressive strength and the drying speed of the product. If you add even an extra pint of water to a fifty pound bag, you destroy the chemistry. This isn’t like mixing pancake batter. This is precision engineering. Excessive water causes the heavy aggregates to sink to the bottom while the polymers float to the top. This creates a weak, white film on the surface called laitance. It looks like it is dry, but underneath, it is still a soup. The water has nowhere to go. It is trapped in a suspension. I have seen guys eyeball the water. They are the same guys I see on the job site two days later trying to dry it out with a hair dryer. Use a measuring bucket. Not a bucket with a mark on it. A real, graduated measuring container. If the mix is too thin, it will never reach the three thousand PSI rating needed for a proper floor. It will just be a brittle layer of dust.
| Temperature | Humidity | Estimated Dry Time |
|---|---|---|
| 50F | 80% | 48-72 hours |
| 70F | 50% | 4-6 hours |
| 90F | 20% | 2-3 hours |
Porosity and the primer failure
Subfloor porosity and primer application are essential for controlling how the leveler interacts with the ground. If you did not use a primer, the subfloor might be drinking the water out of the leveler too fast or not at all. If the concrete is sealed and non-porous, the leveler just sits on top like water on a waxed car. It has no mechanical bond. Without a bond, the moisture cannot wick into the substrate to facilitate drying. Conversely, if the subfloor is too porous and you didn’t prime it, the wood or concrete sucks the water out of the bottom of the leveler before the crystals can grow. This leaves the top wet while the bottom is a dry powder. It is a disaster. You need to use a high-quality acrylic primer. It regulates the absorption. It ensures the leveler stays fluid long enough to find its level, then cures uniformly from bottom to top. Skipping primer is the fastest way to ruin a three thousand dollar floor.
- Check the batch date on the leveler bag.
- Verify the water bucket volume with a scale.
- Test subfloor temperature with an IR thermometer.
- Apply the correct acrylic primer for your substrate.
- Ensure the room has zero drafts during the initial set.
Airflow and the skinning effect
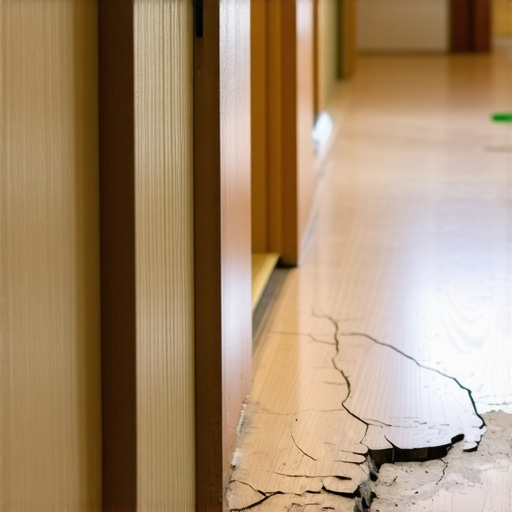
Surface airflow and evaporation rates can actually work against you if they are not managed during the first hour of the pour. Many people think putting a big fan on a wet leveler will make it dry faster. It won’t. It will cause skinning. This is when the very top layer dries out and forms a plastic-like film, trapping the rest of the moisture underneath. This is especially dangerous when prepping for a carpet install. You think it is dry because you can touch it, but as soon as you stretch that carpet, the leveler underneath crumbles. Airflow should be minimal for the first four hours. You want the humidity to stay slightly elevated right at the surface to allow the cement to hydrate. After the initial set, then you can bring in the dehumidifiers. But if you rush the start, you get a floor that looks like a cracked lake bed in a drought.
“The integrity of a tile installation is found in the mortar bed and the subfloor preparation.” – TCNA Handbook Wisdom
The chemistry of the induction period
Calcium aluminate and hydration heat are the molecular components that make professional levelers work. When you mix the powder with water, you trigger an exothermic reaction. This generates heat. If you touch the leveler an hour after the pour, it should feel warm. If it is cold, the reaction is not happening. This often happens with expired product. Check the date codes. Leveler has a shelf life of about six months to a year. After that, the chemical retardants and accelerators break down. If you use old bags from the back of the warehouse, they might stay soft forever. The polymers lose their ability to re-disperse. The cement loses its kick. You are basically pouring mud. While most people want the thickest underlayment, too much cushion actually causes the locking mechanisms on LVP to snap under pressure. The same logic applies to leveler. It needs to be a dense, stone-like surface. If it is soft, it is useless. You are better off scraping it up while it is still wet than trying to save it once it has turned into a gummy mess.